Simple Winter Garland
If you are anything like me, you probably aren’t ready to say goodbye to the feeling given by the extra greenery and lights of the holiday season. I packed away all of my Christmas decor this past weekend and I decided I still wanted to have some garlands up around our home. I came up with a simple swag using the boxwood garlands and dried eucalyptus I already had on hand from the holidays. The only new items I purchased were two lambs ear vines from the Target Dollar Spot. (they were $5 each.) I put together a little tutorial for you below. If you have any questions, please don’t hesitate to reach out to me!
I started by removing the pine from the boxwood garland. I had twisted together two inexpensive swags to give the appearance of a more lush garland.
This is what the boxwood and lambs ear garlands look like on their own.
I simply twisted them together. These are both wire based, so they are quite easy to manipulate.
I twisted until the end of each garland. I tried to alternate the boxwood bunches with the lambs ear leaves.
I attached the combined garlands to my dining room shelves using command hooks.
I carefully removed the dried eucalyptus stems from my Christmas floral arrangements. It is pretty delicate after being dried for over a month.
I stuck the dried stems into sparse looking areas of the garland to give it a fuller, more lush appearance.
Make sure to get the leaves of all the garlands and stems facing in the same direction to give a more unified, natural appearance.
And that is it! Super simple and the perfect little winter pick me up. Please share your designs with me when you do your own!
Spring Centerpiece DIY
Happy Spring! I just cannot believe a quarter of the year has already passed. We are definitely welcoming blue skies and greener things down here in the sunshine state. With the pleasant breeze and drier air, spring is my favorite season in Florida by far. Today I’m joining four other home decor bloggers to share some simple, inexpensive, but beautiful DIY projects. I will be sharing a great decor piece that is super easy and inexpensive to make. Aside from the greenery and the paint supplies, it only cost me $4!
Here is what you will need from Dollar Tree:
glittery bunnies on a pick (they look like peeps! 4 for $1 at Dollar Tree)
galvanized “jardin” planter (available in English for my non-Francophile friends)
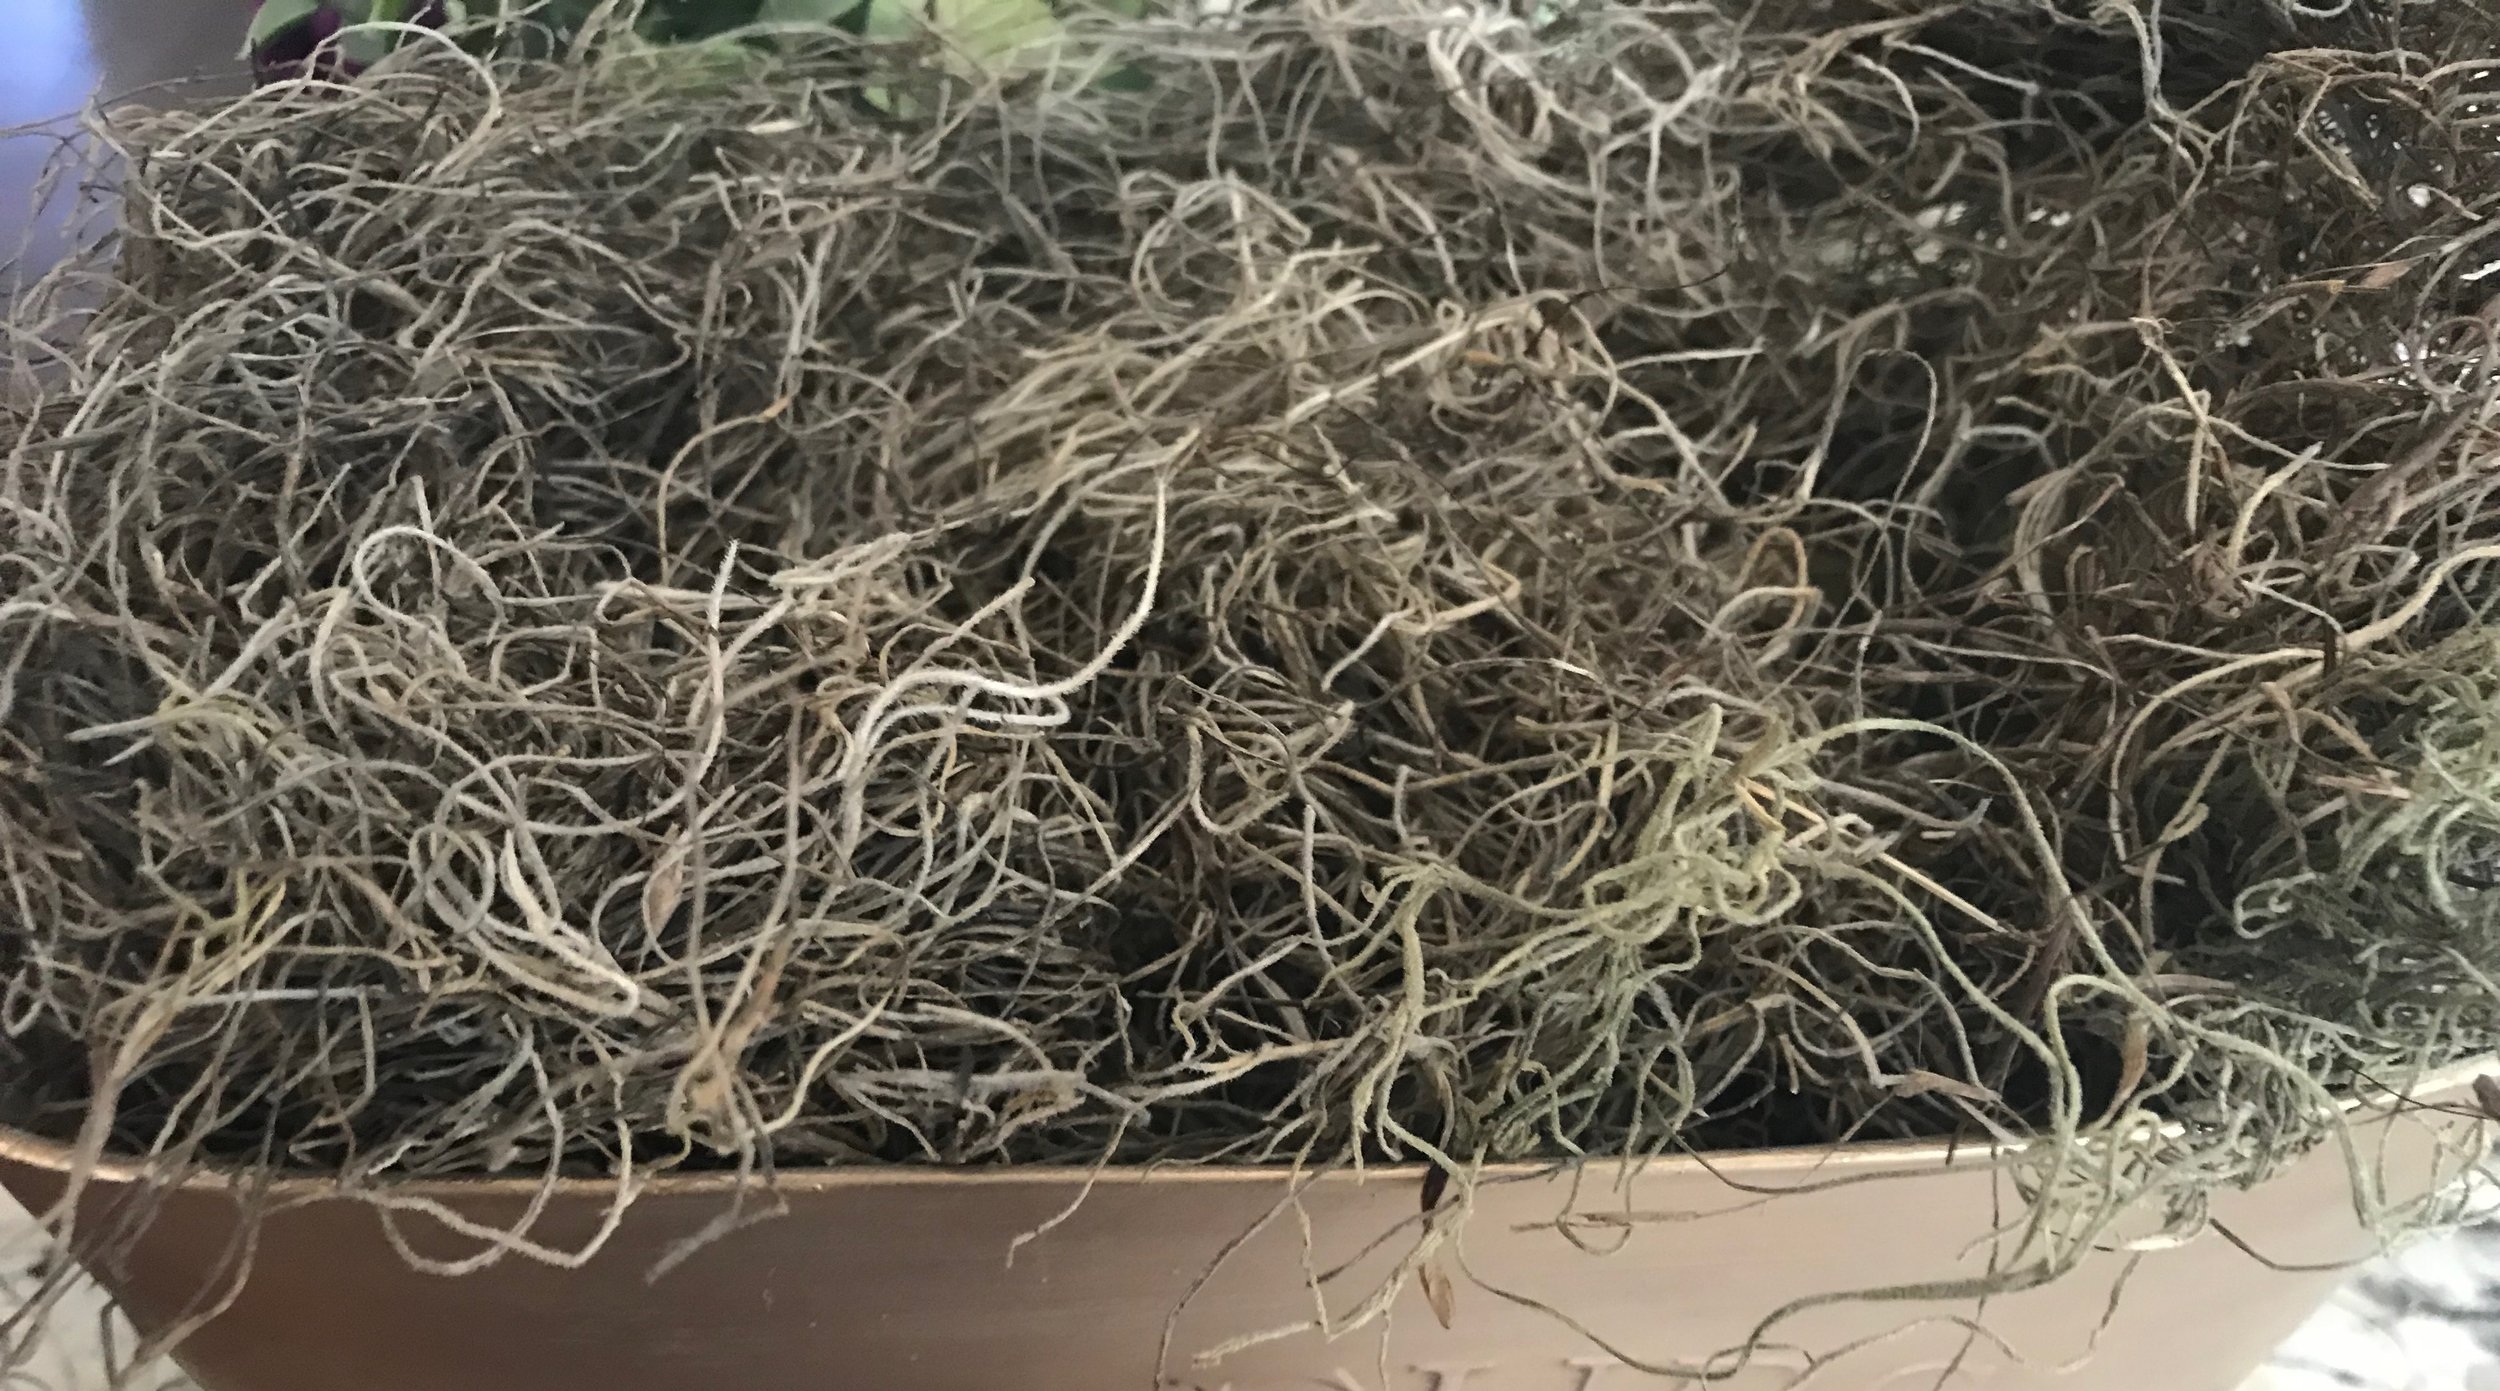
one bag of decorative moss (Is it just me or does this smell like chamomile tea?)
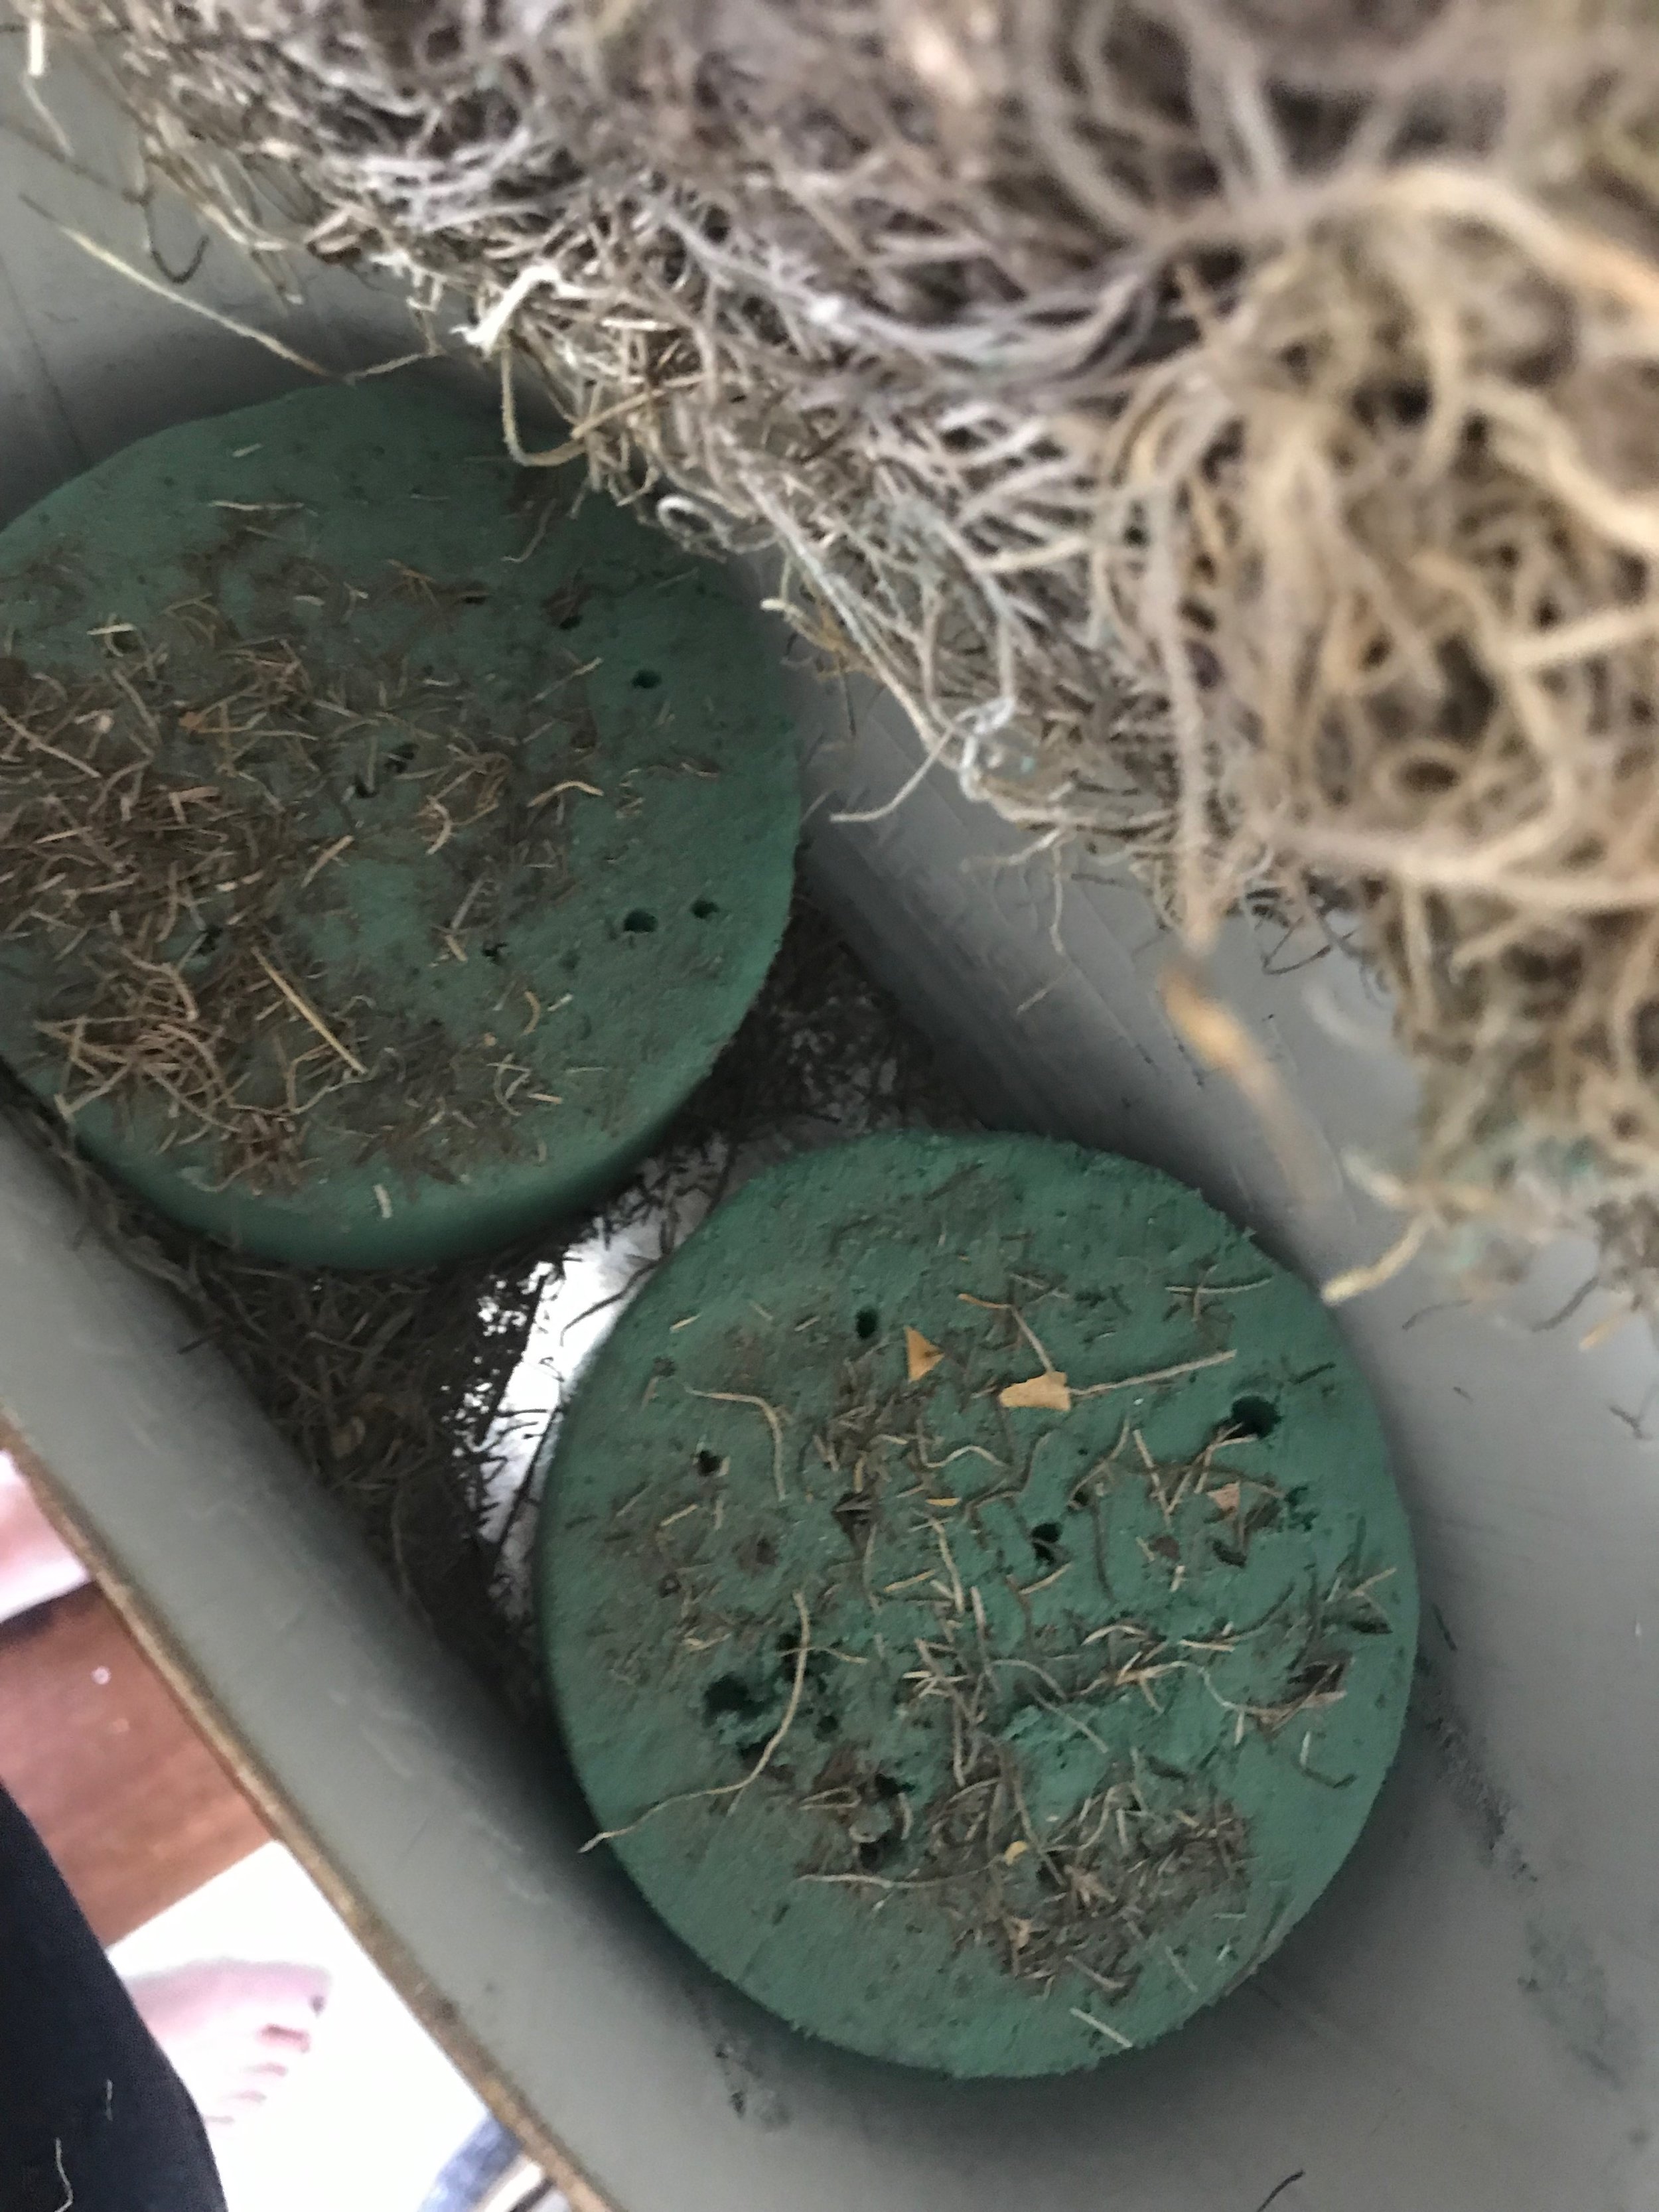
two floral foam circles (2 for $1)
assorted greenery (I used two faux herb plants from IKEA)
Here is what you need from home or your favorite place to buy paint supplies:
gray chalky finish paint (I used Dixie Belle, but any brand is fine)
antiquing glaze (I used valspar)
gold paint or Rub n’ Buff
chip brush (the more beat up, the better)
The first step is painting the bunnies. My first thought was to try to remove the glitter. It was near impossible and as it turns out, completely unnecessary. I just pulled the little tails off and got to painting. They just need one coat of gray paint.
After the paint is mostly dry, use your chippy, janky brush to start applying the antique glaze. Take your time with this step to achieve the look you really want. Get very little on your brush and dab it on a paper towel before you apply it to the bunny. Try to hit the high points and let the gray paint show through. You can always add more glaze, but it is way harder to remove it. I was going for a faux aged wood look, but they ended up looking more like cement bunnies. Either way, they are a huge improvement on the peep situation!
Next up, I got to work on the planter and it was so easy! I used Rub n’ Buff gold to paint the entire thing. You could use gold acrylic paint, spray paint or any color you’d like!
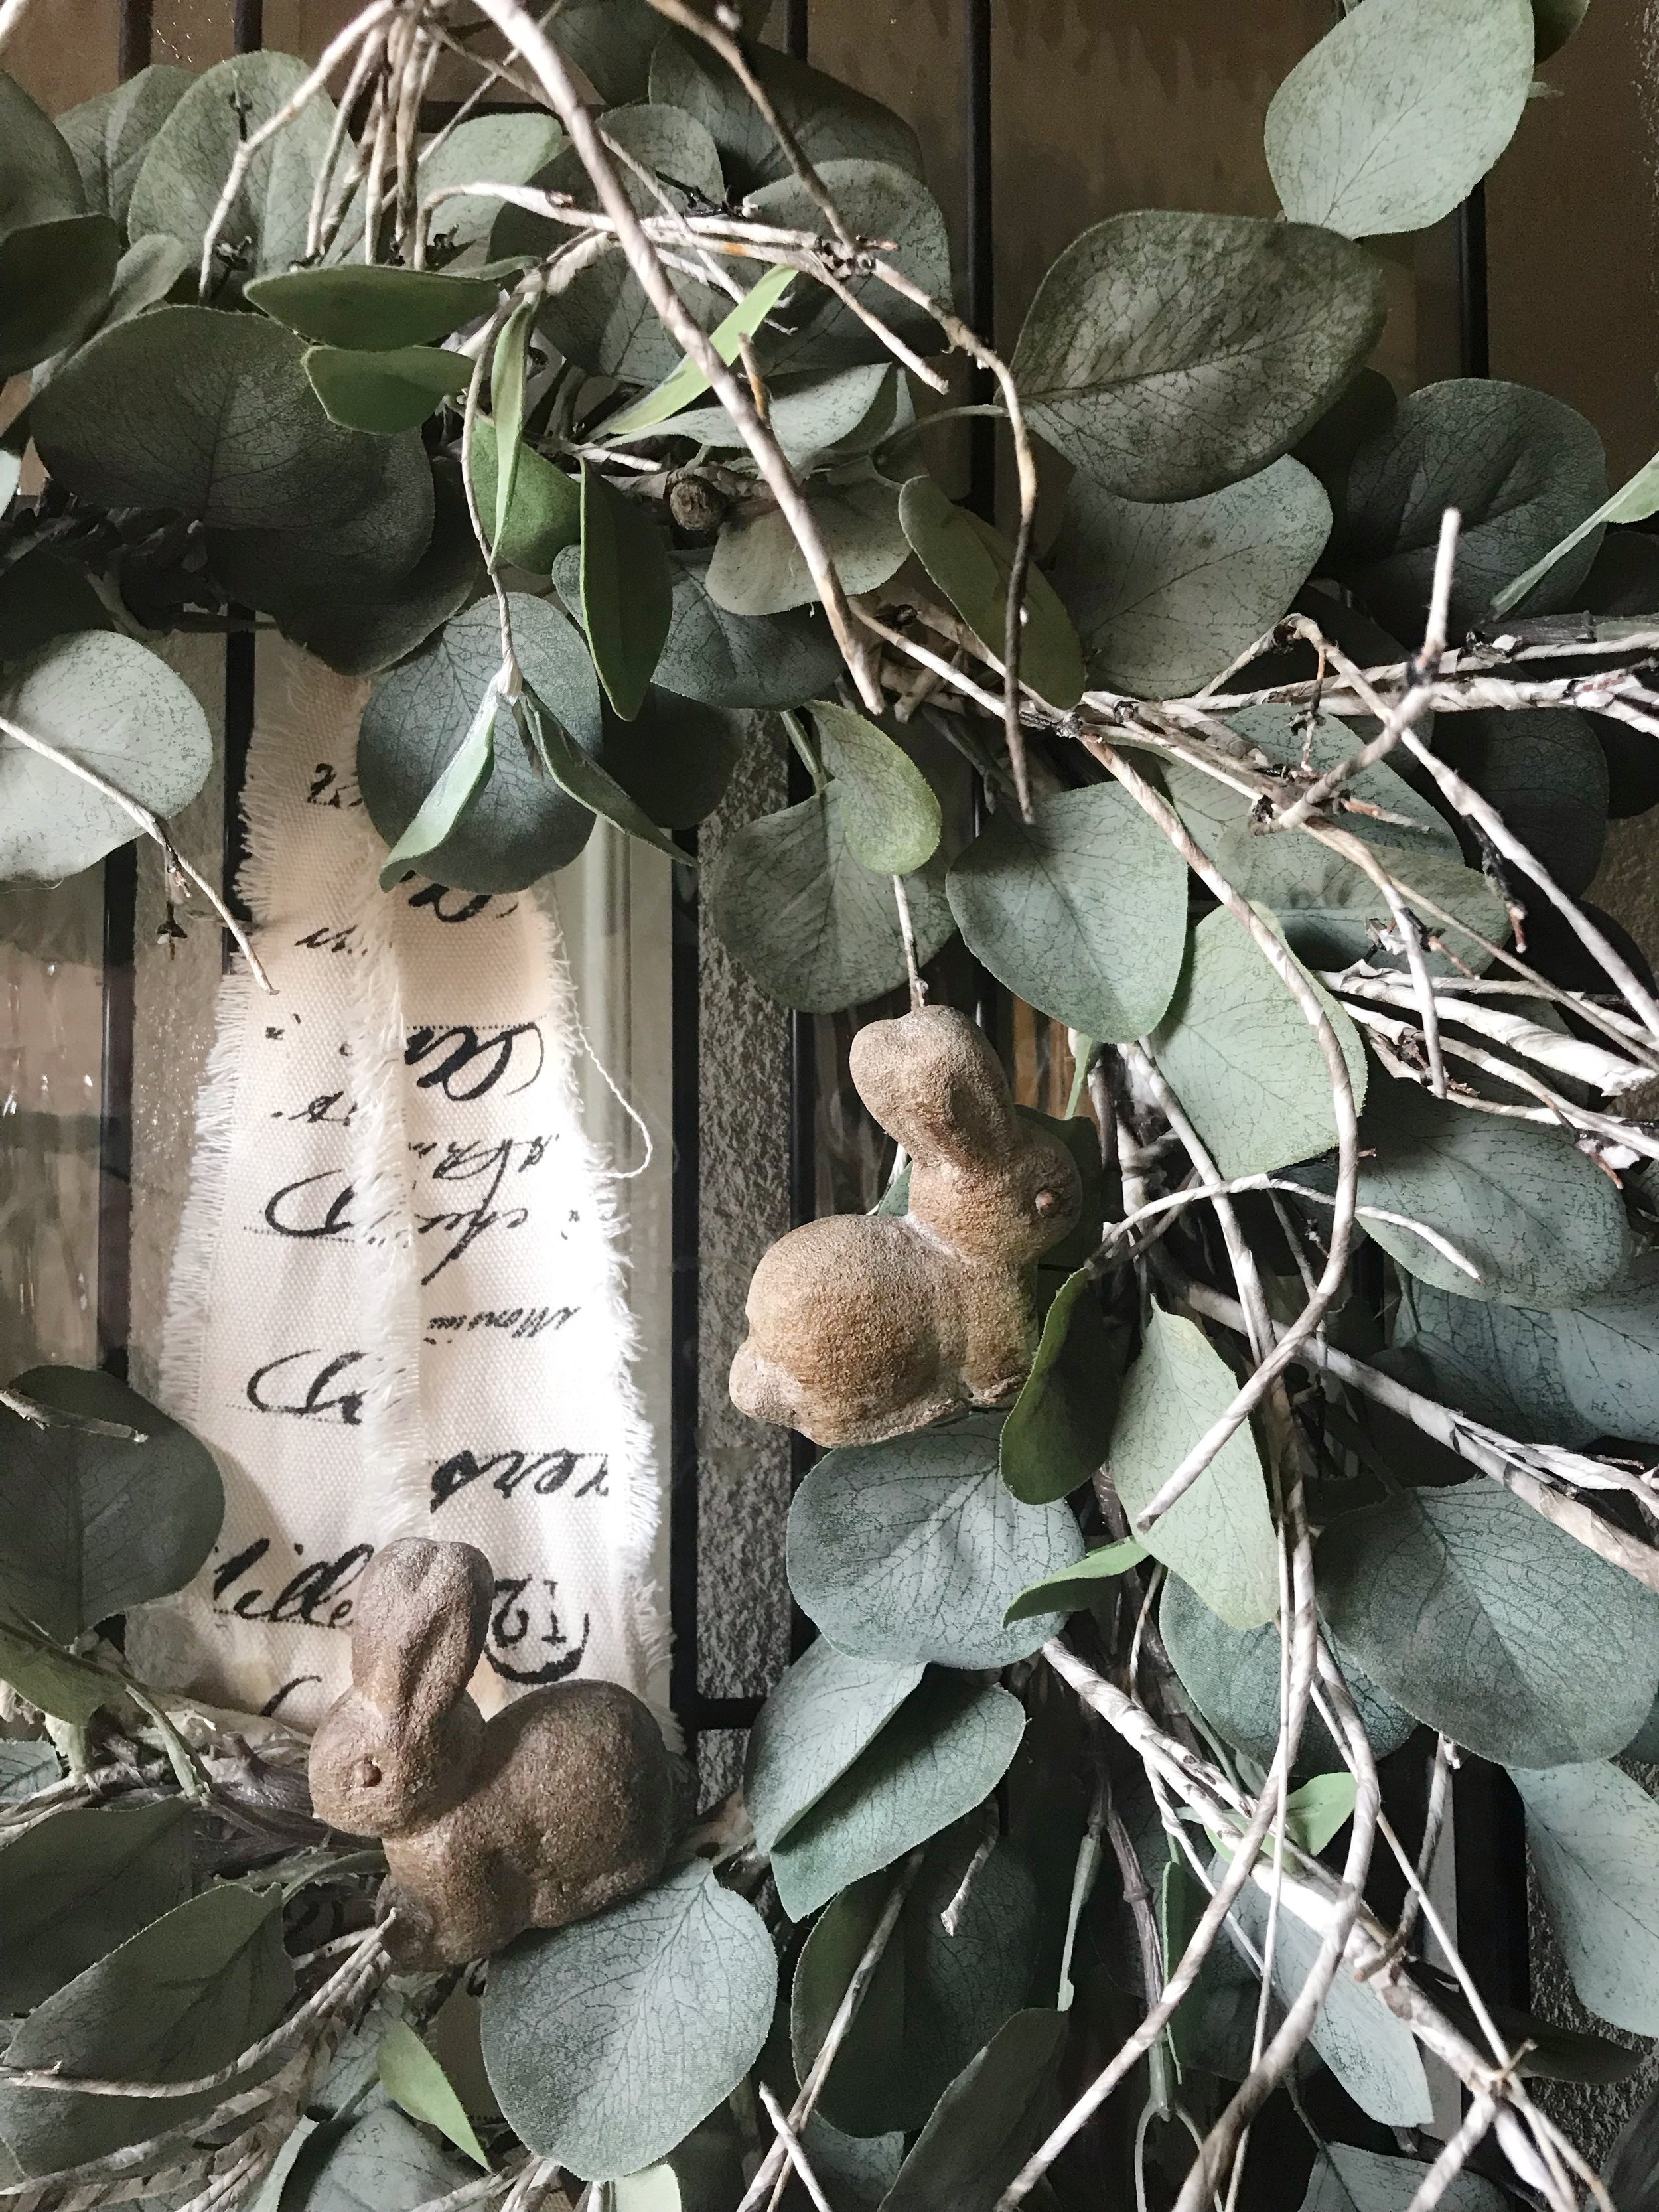
After your planter is dry, add the floral foam, moss and greenery. Place the super cute bunny picks wherever you like!! I am also going to use one on my front door wreath.
I hope you enjoyed this simple DIY for spring. Please be sure to visit my friends and check out their spring projects!!
Cate at West Magnolia Charm
Victoria at The Home Envy
Dani at The Taborhood
Kayleigh at Rusty Barn Blog
Textured Heart Banner
Happy Thursday friends! Can you believe today is the last day of January? To me, it is the shortest and longest month of the year. Has the polar vortex affected you where you are at? We are in Florida and it actually got to 25 this morning! I personally love the cold weather, but most people around me do not. Haha!
Today I have something sweet to warm your heart. I have teamed up with a few great home decor bloggers to share some simple, but beautiful Valentine's Day projects. They are all fairly simple, but will add such a sweet little touch of love to your home.
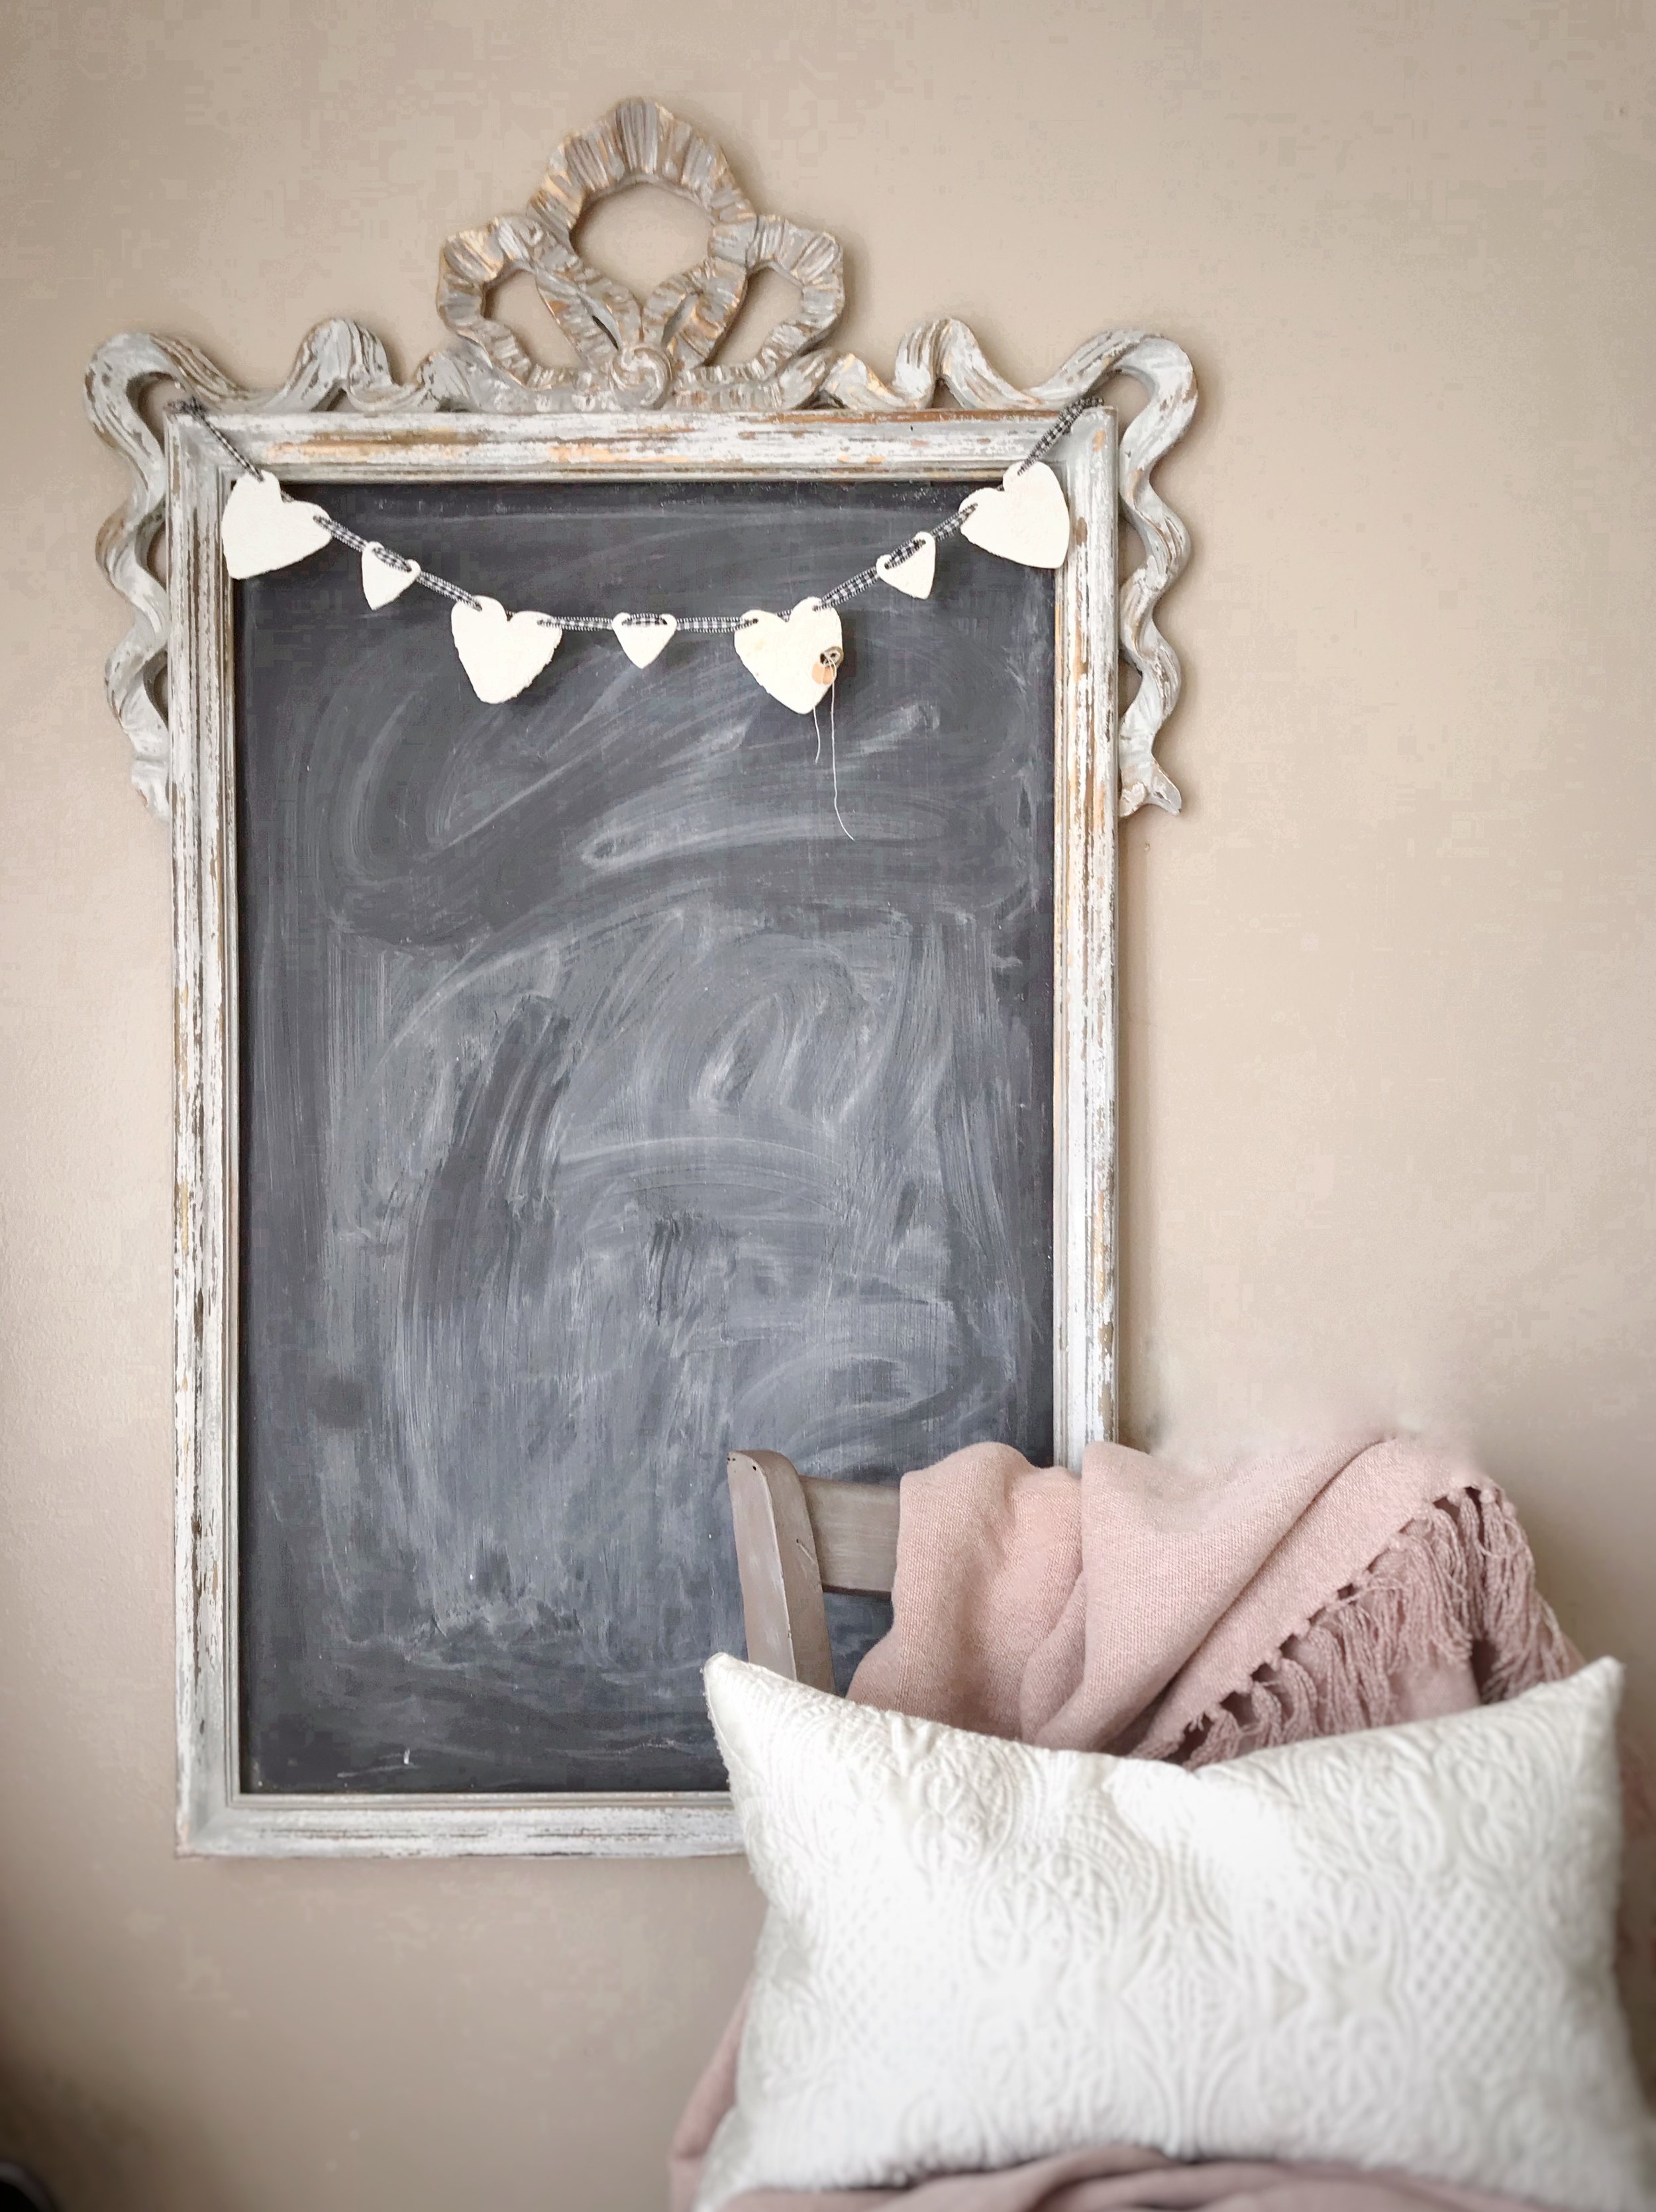
I knew I wanted something simple, neutral, and fresh for my DIY. I got the idea to create heart shaped salt dough ornaments to create a banner with. This is very easy to do and you can even have your kids help!
To get started, you will only need salt, flour, water, and heart cookie cutters. If you prefer your ornaments to be whiter than the natural color of salt dough, you can add a bit of white acrylic paint.
The recipe I used to create the dough:
1 cup flour
1/2 cup salt
1/2 cup warm water
2 oz white acrylic paint
I first dissolved the salt into the water and then mixed in the flour and paint. After it was thoroughly blended, I kneaded it and formed it into two large balls. I rolled them out like cookie dough and cut out the heart shapes. I used a toothpick to create two large holes in the tops of the hearts. This is where I will string the ribbon for the banner.
Now here is where I meet a fork in the road. I did two types of hearts. The directions for each will be below the pictures of each type.
French Scripted Hearts
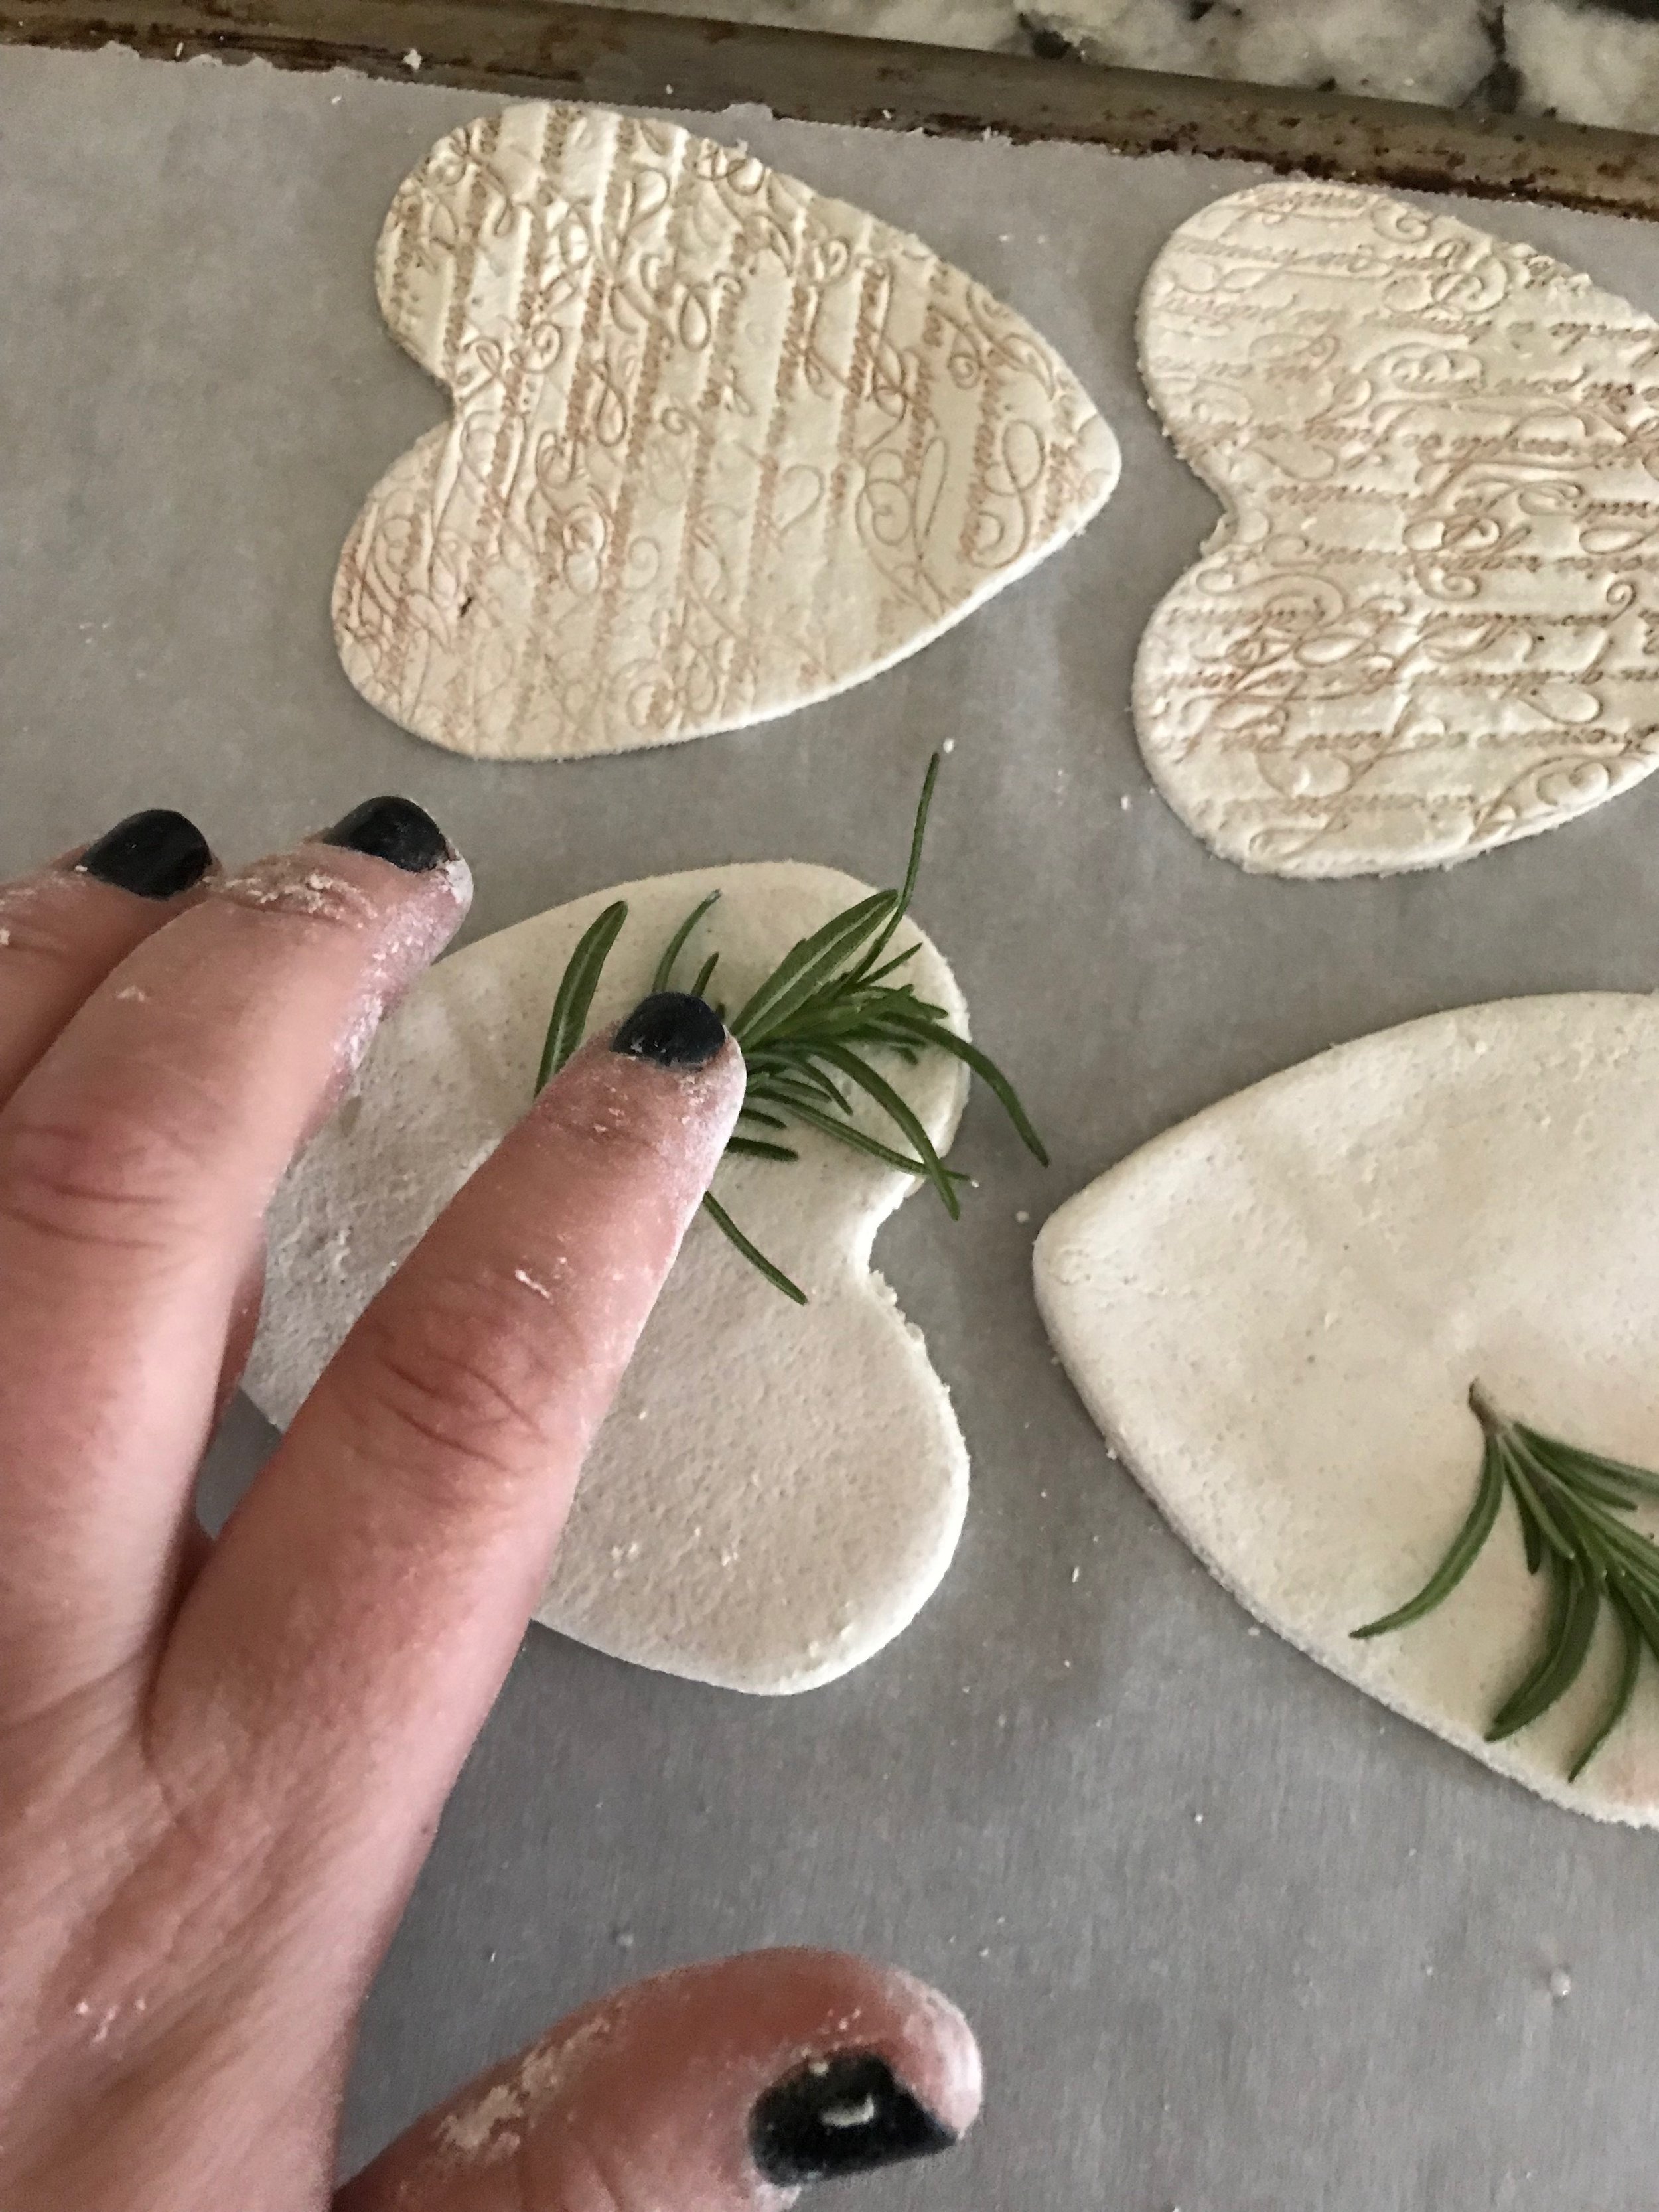
For these fun hearts, I simply used a large french script stamp on the dough immediately after I cut them out. Be sure to dust your stamp with flour before you press it into the dough. It can be tough to dig all of that dough out of your stamps. (Ask me how I know.) I did some with a suede colored ink and I did some with no ink at all. I like how both turned out! I allowed these to dry out at room temperature. It took 3 to 4 days for them to be completely dry.
Once they dried out, I used some vintage buttons to add a little visual interest. I simply used super glue to attach them.
Rosemary Hearts
These were much more simple. After cutting out the hearts and adding the holes, I pressed a small sprig of rosemary into the heart. I did use a drop of water on the dough to heart it stick. I baked these for about 2 to 3 hours at 200 degrees in the oven. Be sure to check them every hour or so to make sure they do not over bake. Of course the thicker they are, the longer they will take.
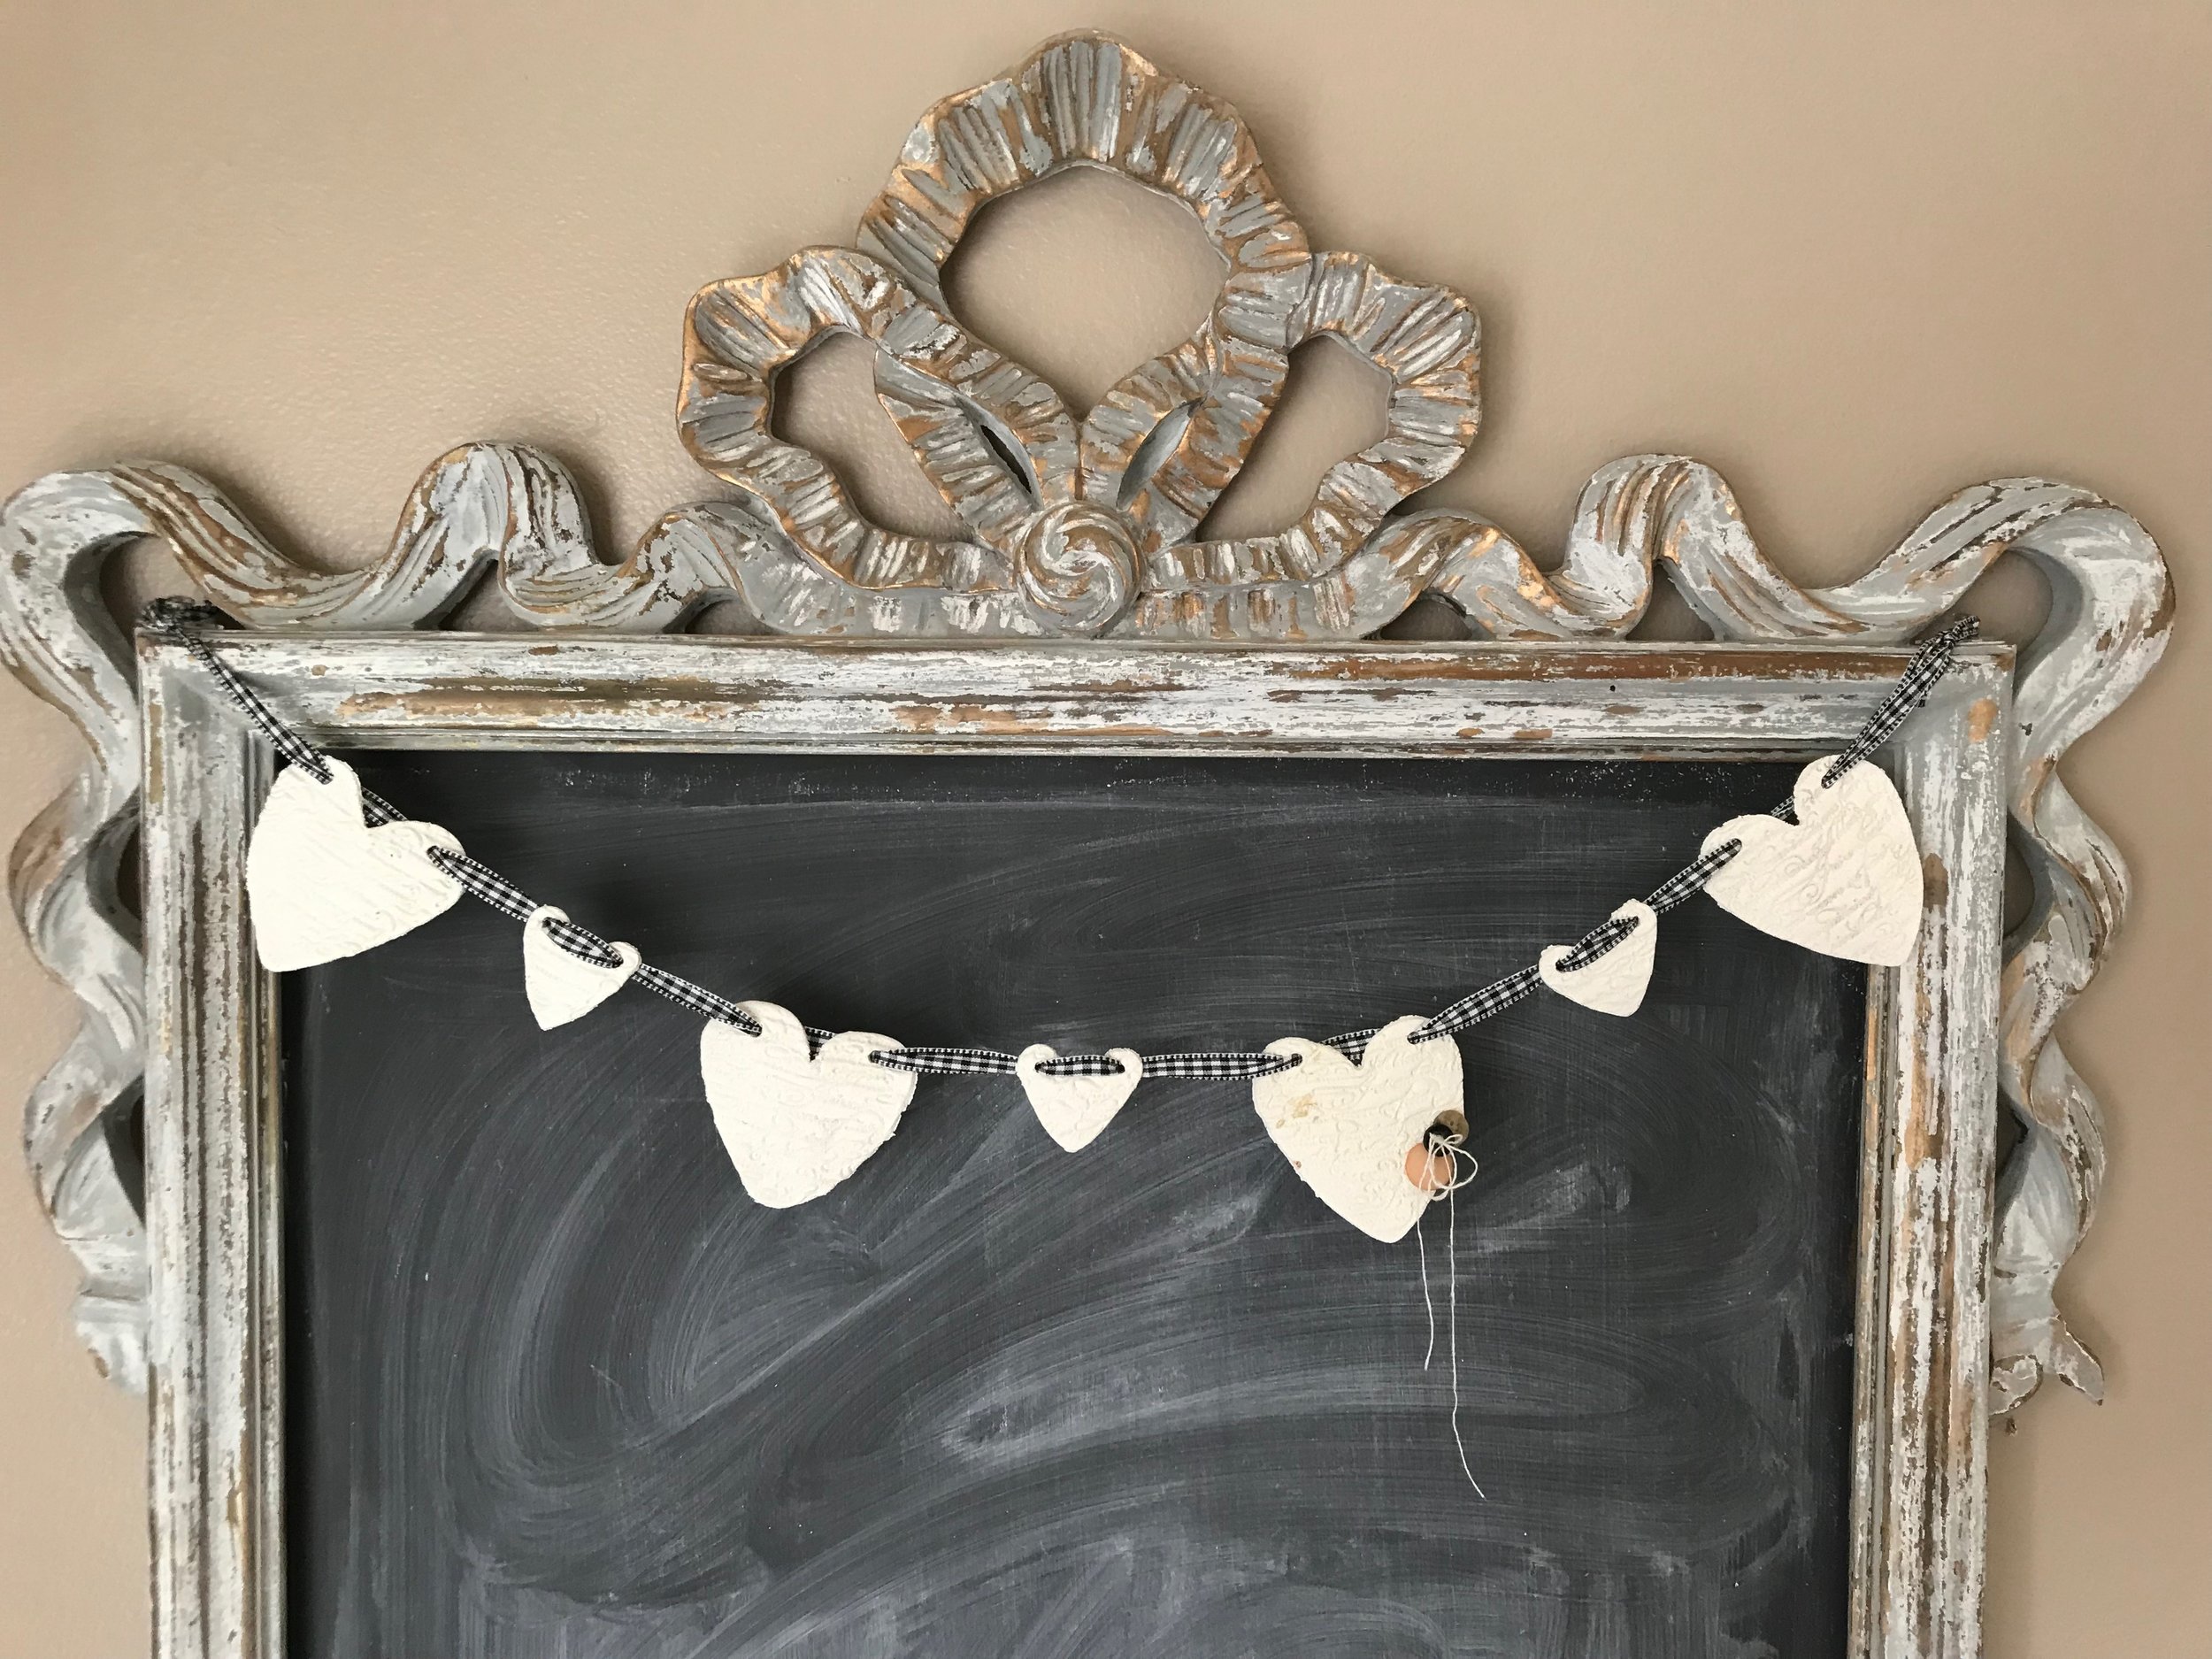
After the hearts were all dry, I used a tapestry needle to thread a 3/8" wide ribbon through them. This helped the edge of the ribbon not to fray as I repeatedly threaded it in and out of the hearts.
Once they are were all strung together, I used command strips and hooks to attach them to the chalkboard in our eat in kitchen. These would be perfect anywhere in your home. They are pretty and the refreshing smell of rosemary is just the thing to lift your winter weary spirits.
Victoria is one of my great new friends from the amazing home decor community over on Instagram. She has such a beautiful, classic style that just draws you in. I am in love with this beautiful stack of personalized books she made for Valentine's Day.
Cate over at West Magnolia Charm has created a one of kind banner for the day of love. It reminds me of all the crocheting I used to do with my grandma and cousins. It also looks super cozy during this crazy winter weather.
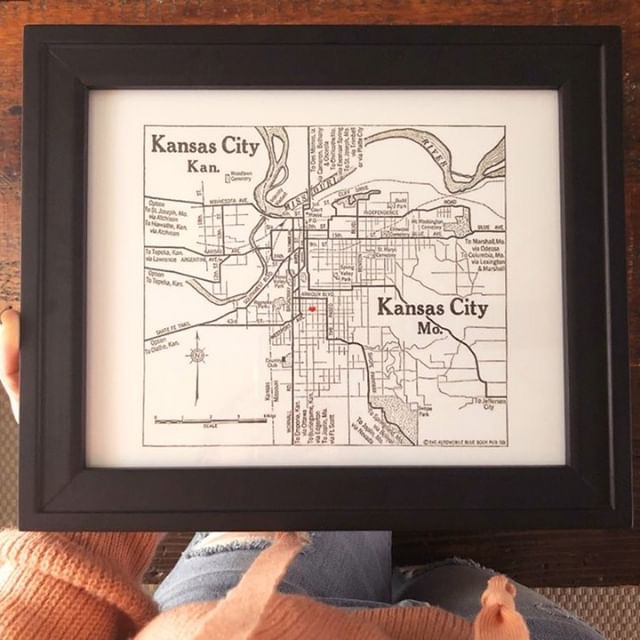
My travel-loving heart is obsessed with the Valentine Map Dani has created at The Taborhood!!!
Kayleigh has put together a lovely rustic wreath to share with us at The Rusty Barn Blog.


