Spring Centerpiece DIY
Happy Spring! I just cannot believe a quarter of the year has already passed. We are definitely welcoming blue skies and greener things down here in the sunshine state. With the pleasant breeze and drier air, spring is my favorite season in Florida by far. Today I’m joining four other home decor bloggers to share some simple, inexpensive, but beautiful DIY projects. I will be sharing a great decor piece that is super easy and inexpensive to make. Aside from the greenery and the paint supplies, it only cost me $4!

Here is what you will need from Dollar Tree:
glittery bunnies on a pick (they look like peeps! 4 for $1 at Dollar Tree)
galvanized “jardin” planter (available in English for my non-Francophile friends)
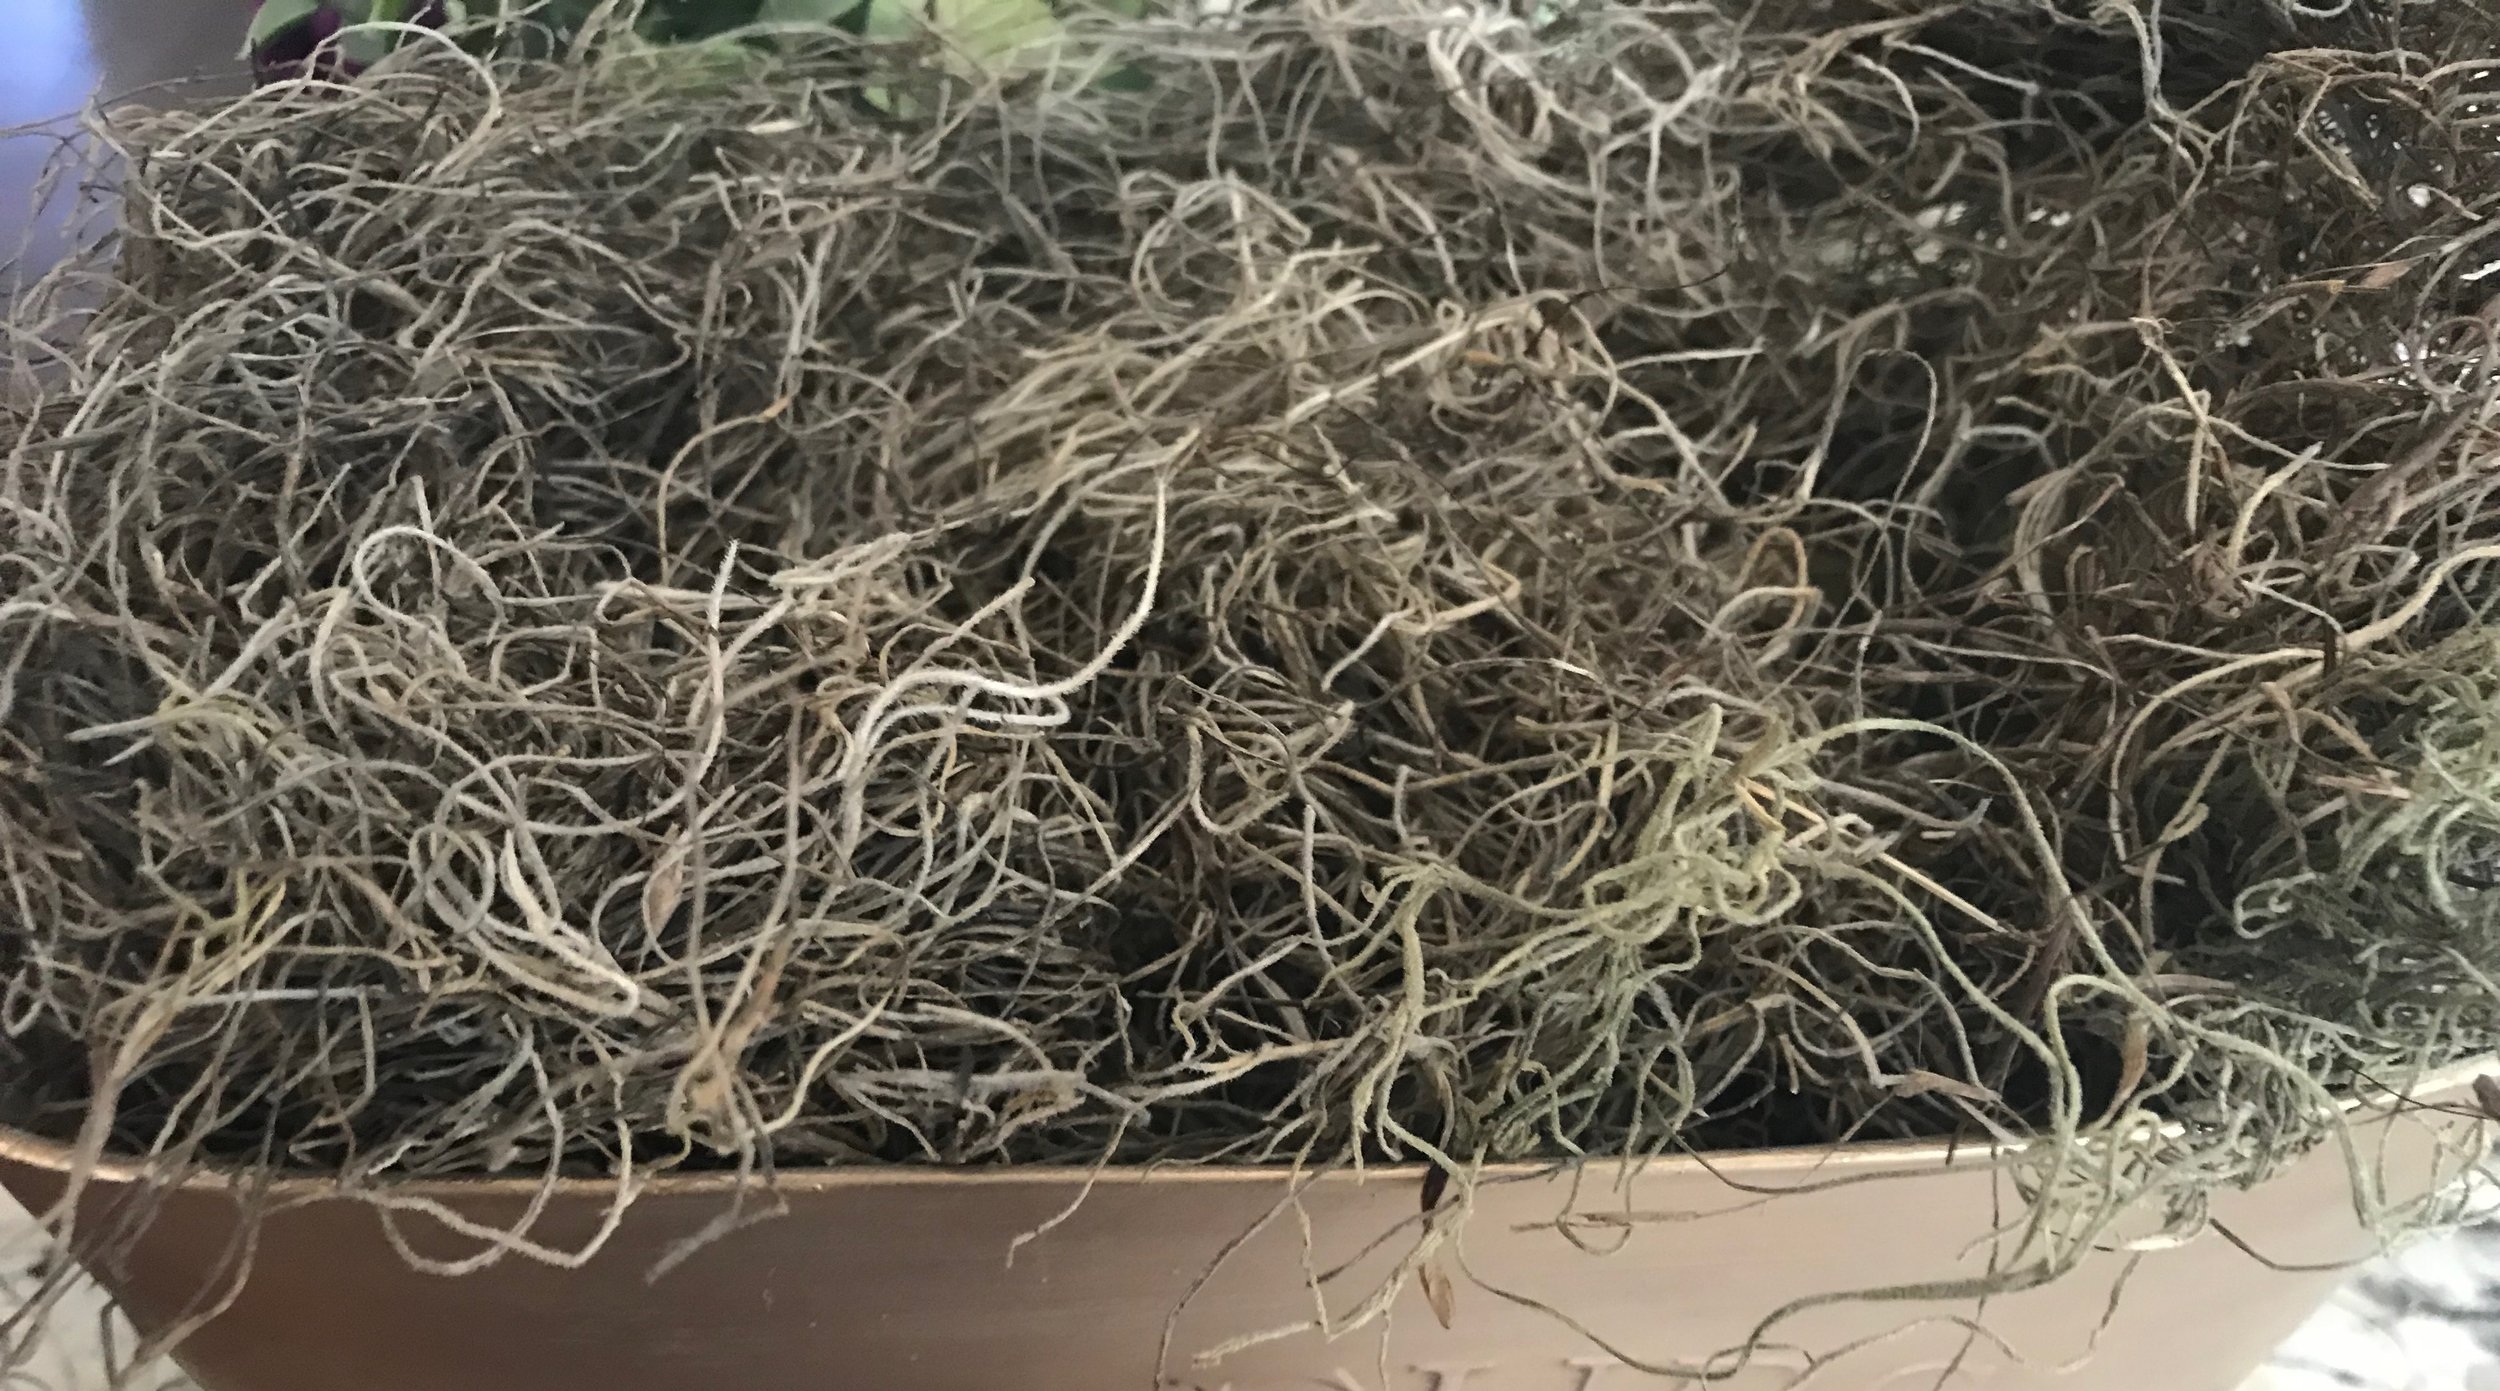
one bag of decorative moss (Is it just me or does this smell like chamomile tea?)
two floral foam circles (2 for $1)
assorted greenery (I used two faux herb plants from IKEA)
Here is what you need from home or your favorite place to buy paint supplies:
gray chalky finish paint (I used Dixie Belle, but any brand is fine)
antiquing glaze (I used valspar)
gold paint or Rub n’ Buff
chip brush (the more beat up, the better)


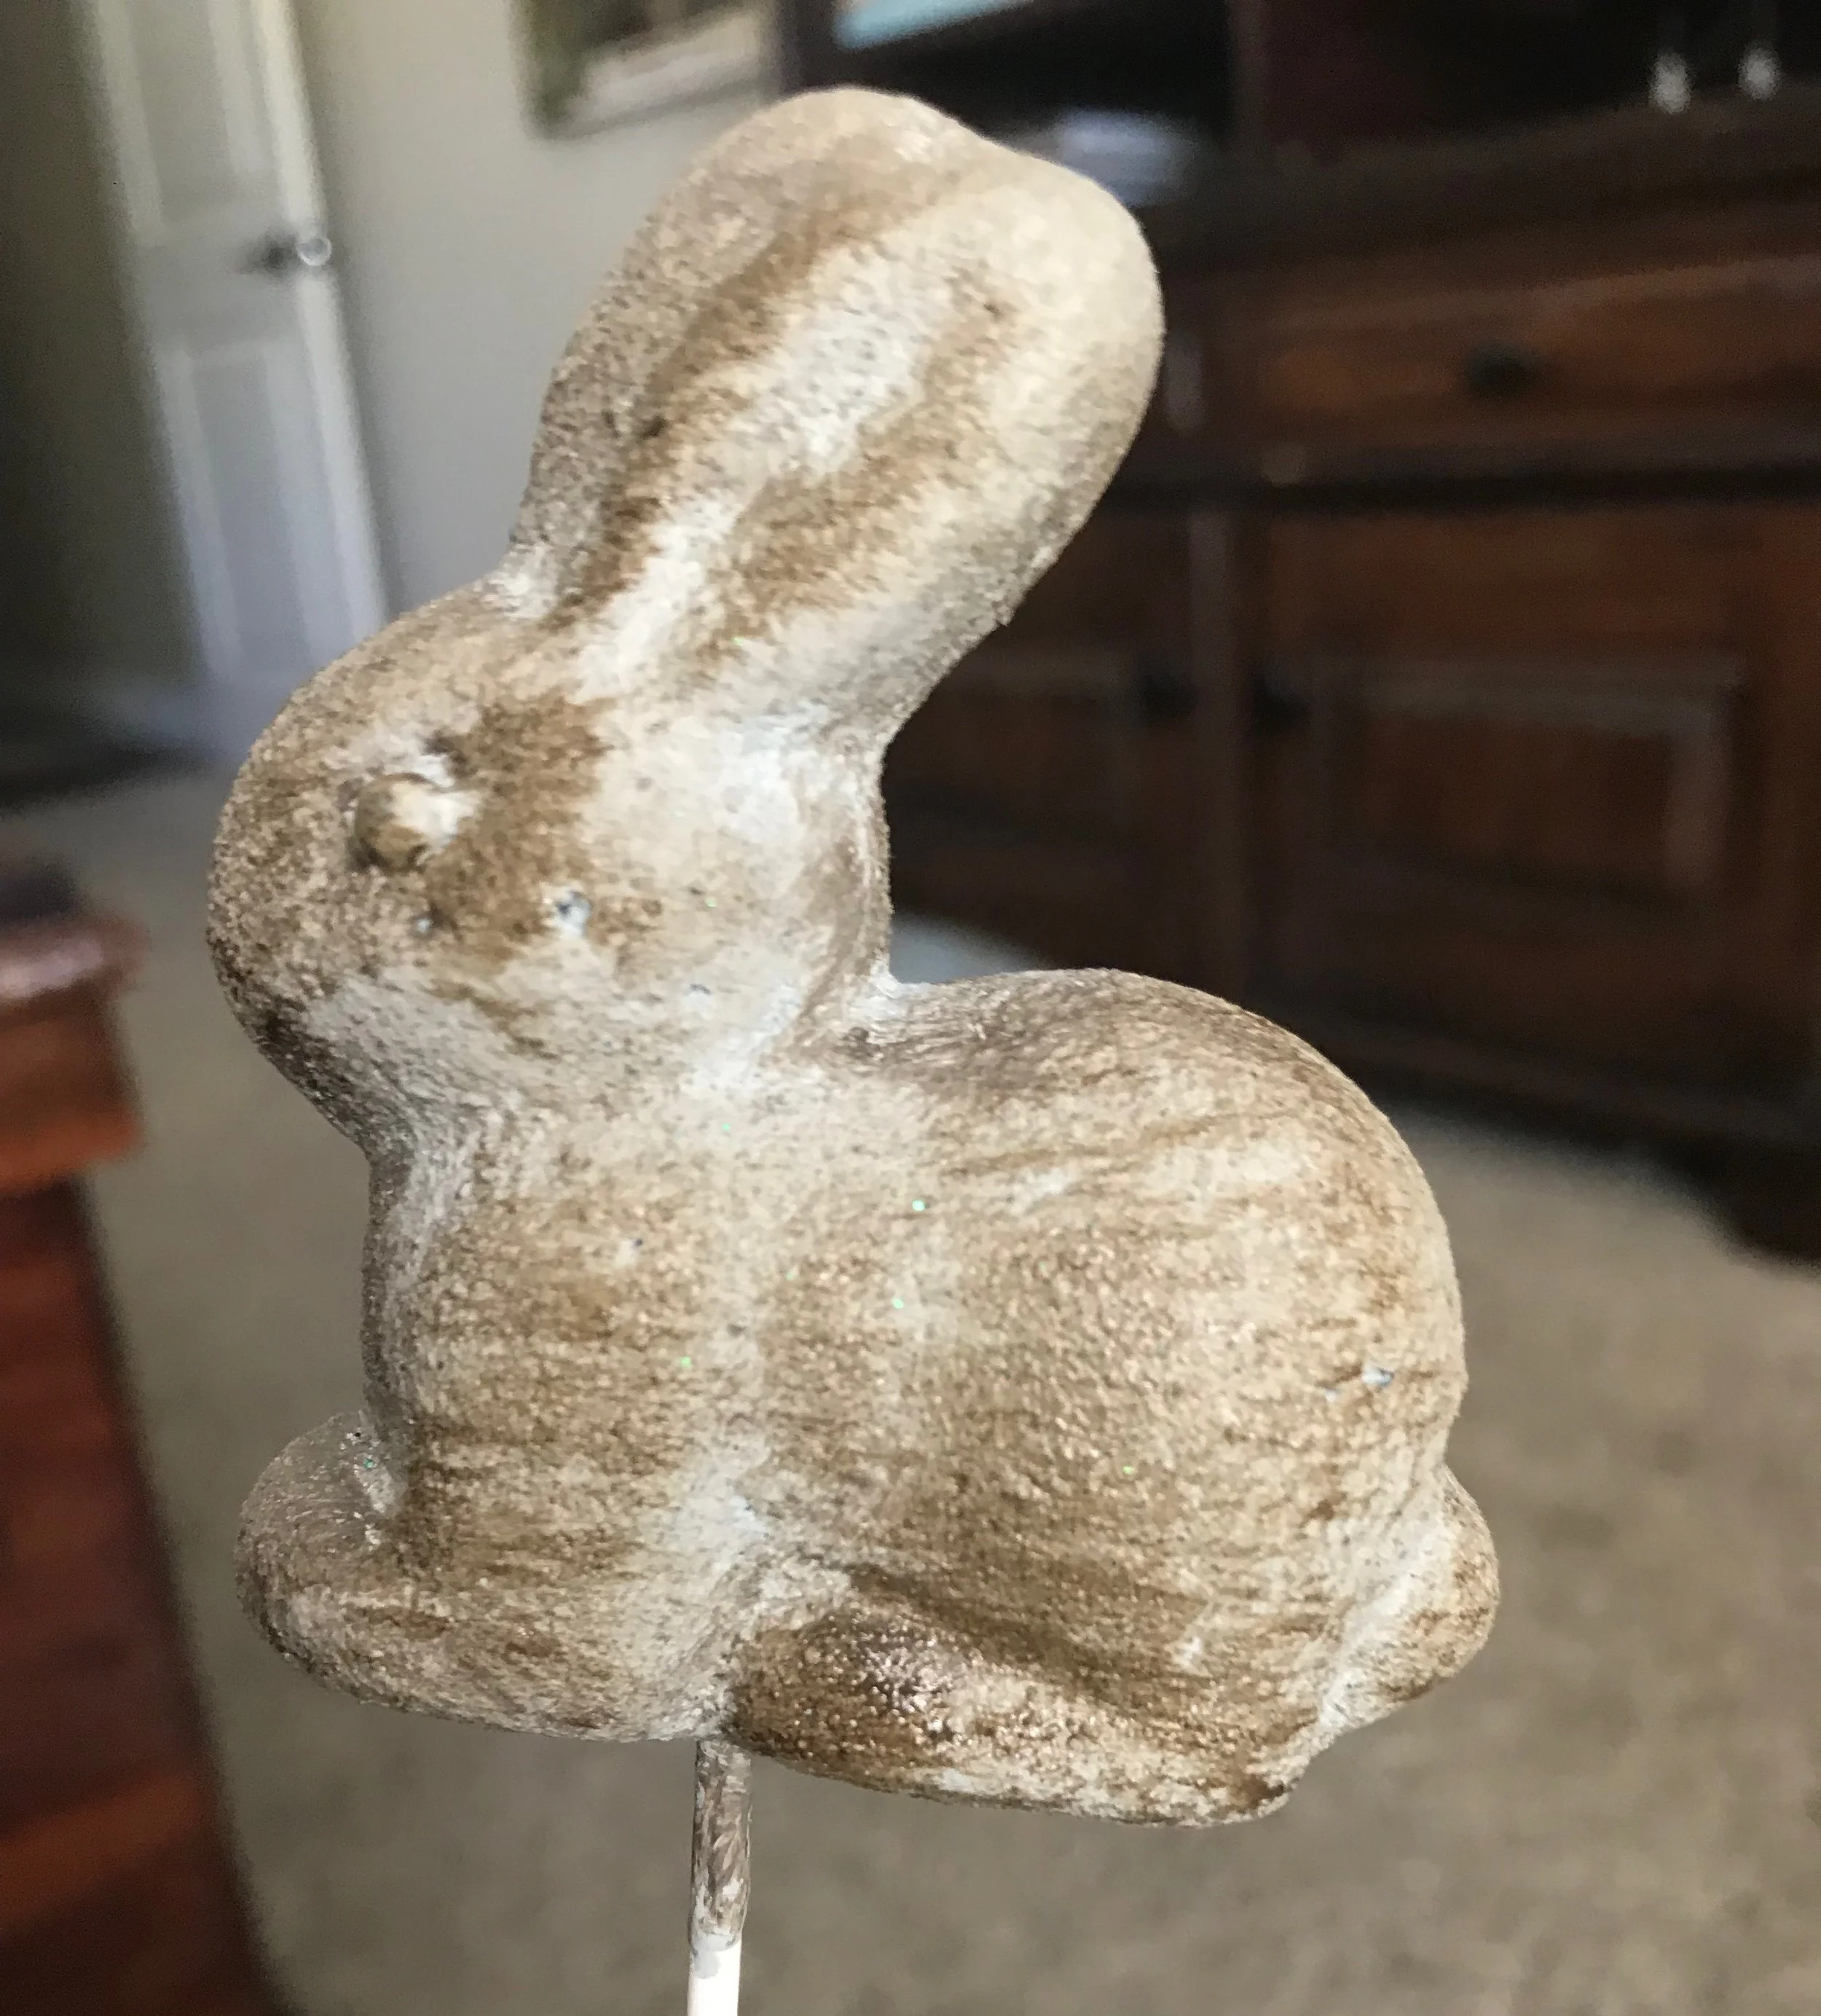
The first step is painting the bunnies. My first thought was to try to remove the glitter. It was near impossible and as it turns out, completely unnecessary. I just pulled the little tails off and got to painting. They just need one coat of gray paint.

After the paint is mostly dry, use your chippy, janky brush to start applying the antique glaze. Take your time with this step to achieve the look you really want. Get very little on your brush and dab it on a paper towel before you apply it to the bunny. Try to hit the high points and let the gray paint show through. You can always add more glaze, but it is way harder to remove it. I was going for a faux aged wood look, but they ended up looking more like cement bunnies. Either way, they are a huge improvement on the peep situation!
Next up, I got to work on the planter and it was so easy! I used Rub n’ Buff gold to paint the entire thing. You could use gold acrylic paint, spray paint or any color you’d like!

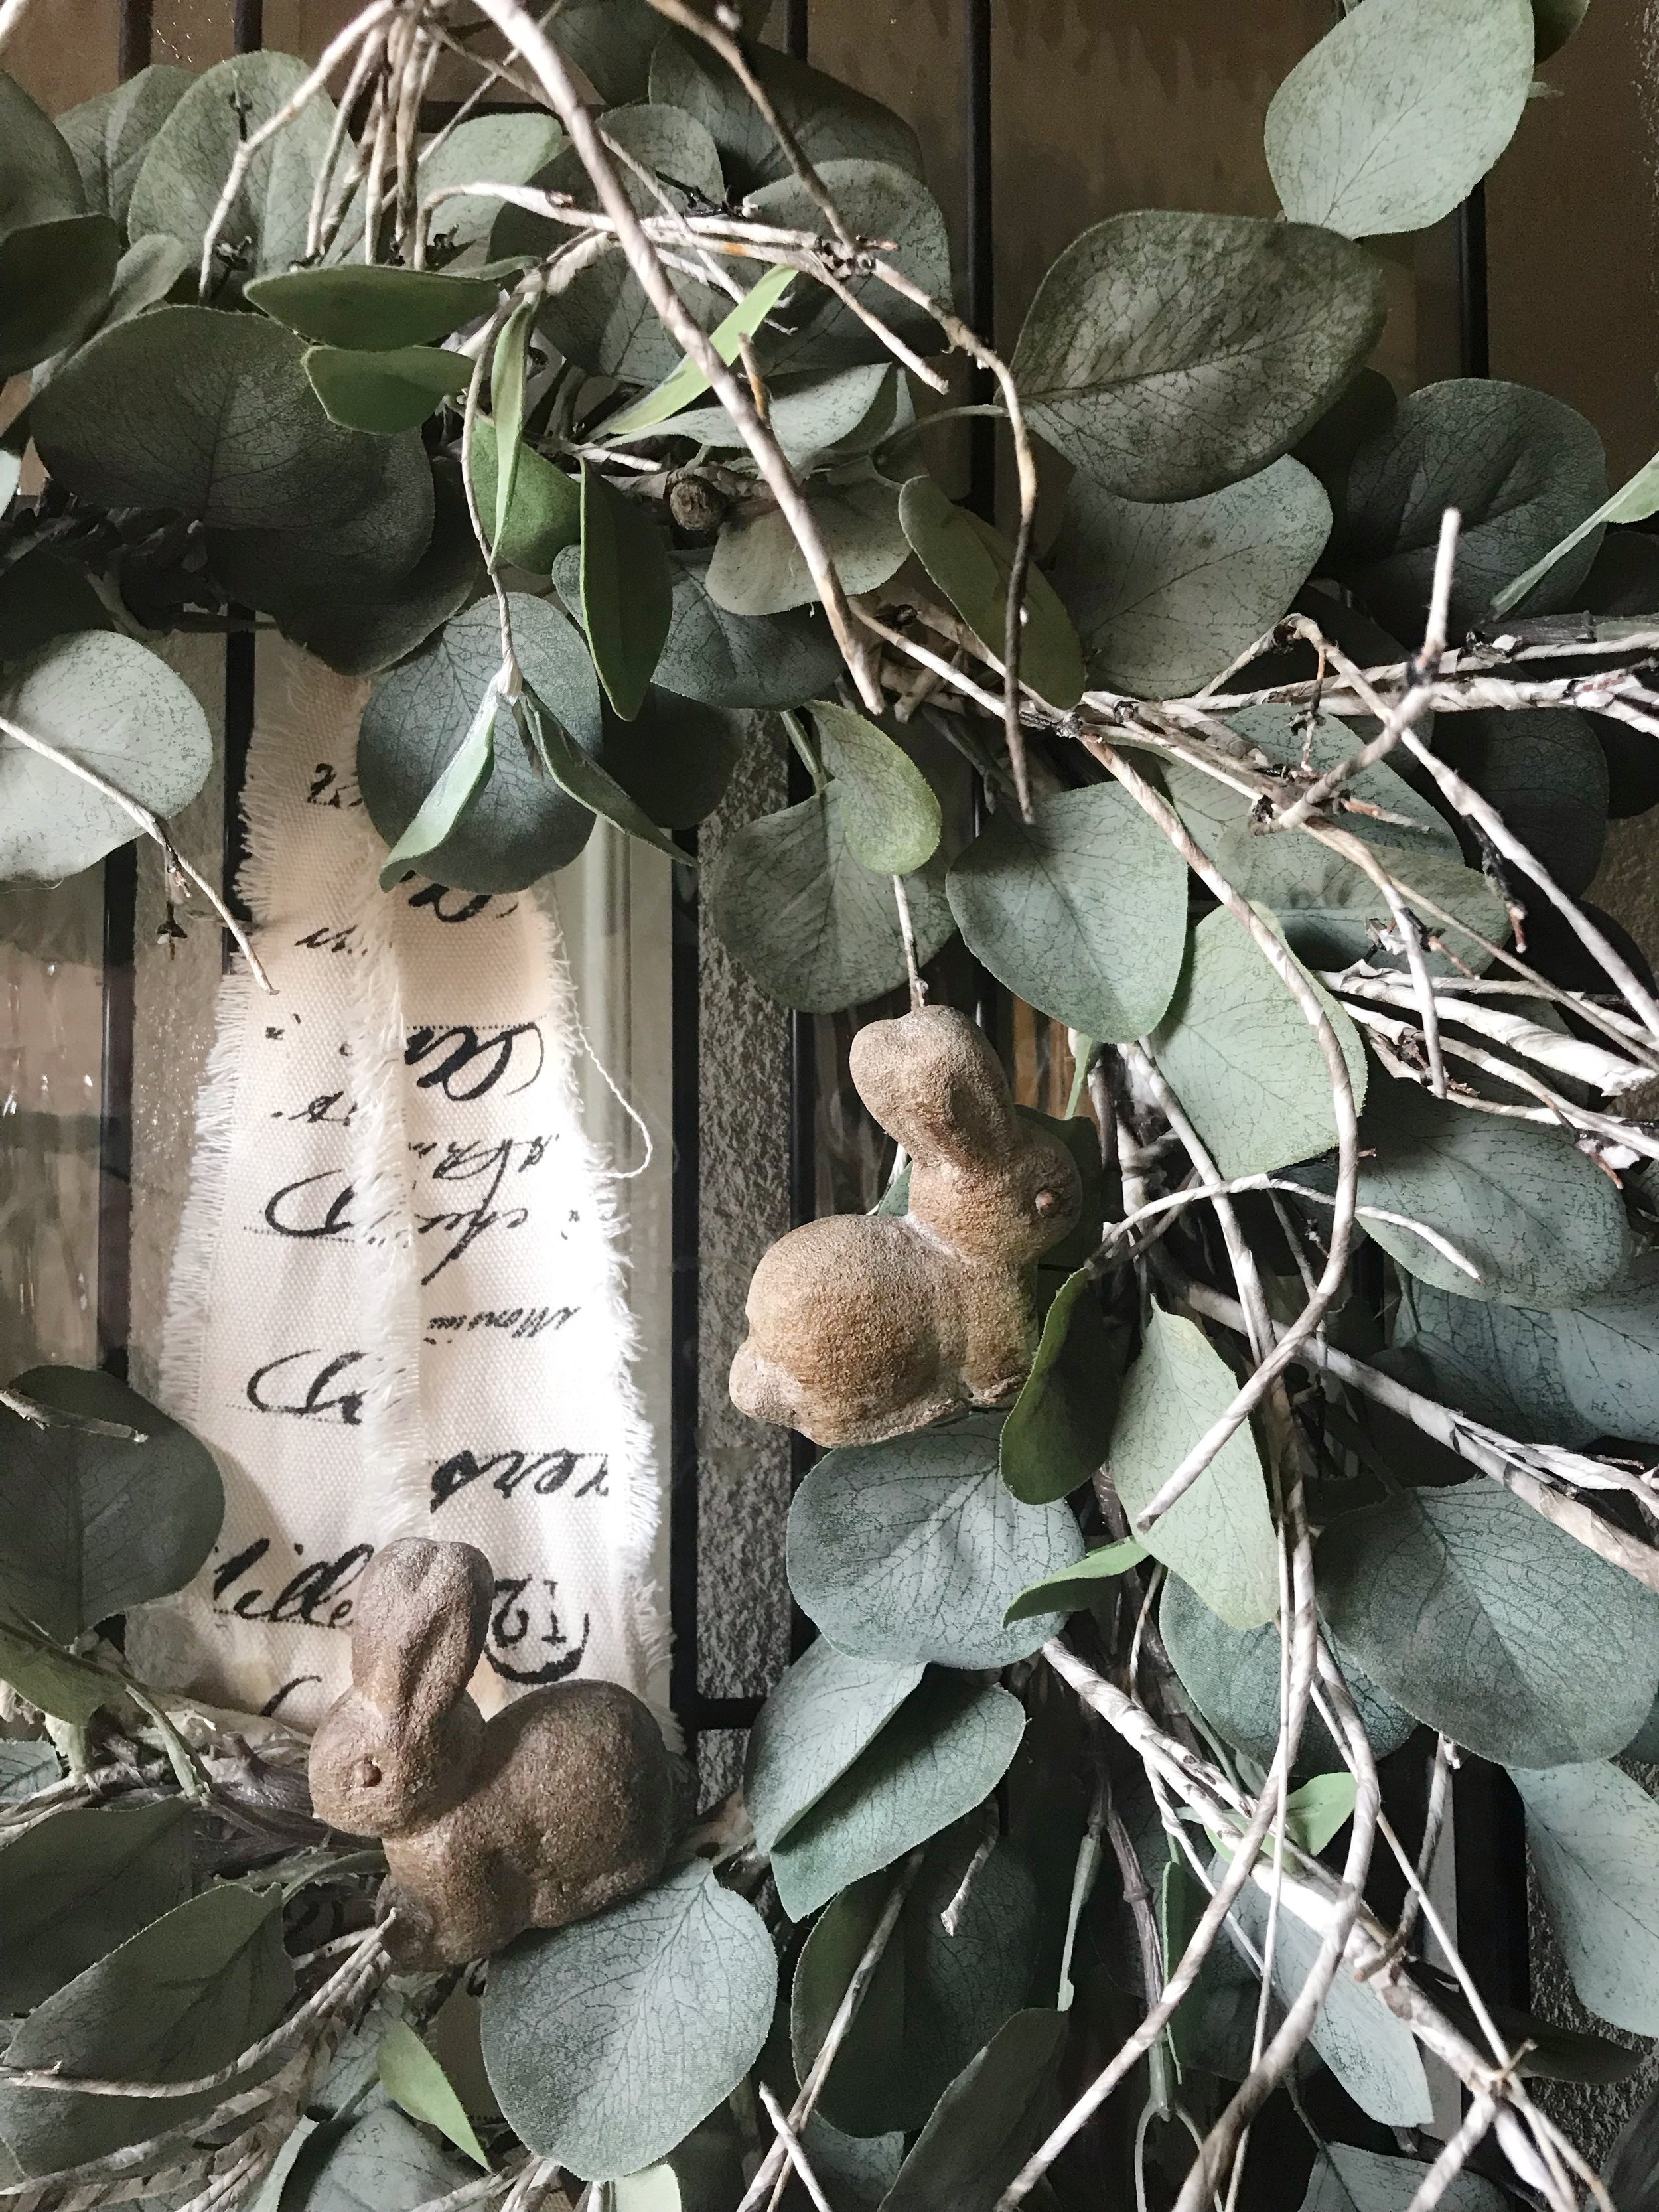
After your planter is dry, add the floral foam, moss and greenery. Place the super cute bunny picks wherever you like!! I am also going to use one on my front door wreath.
I hope you enjoyed this simple DIY for spring. Please be sure to visit my friends and check out their spring projects!!

Cate at West Magnolia Charm

Victoria at The Home Envy

Dani at The Taborhood

Kayleigh at Rusty Barn Blog