Textured Heart Banner
Happy Thursday friends! Can you believe today is the last day of January? To me, it is the shortest and longest month of the year. Has the polar vortex affected you where you are at? We are in Florida and it actually got to 25 this morning! I personally love the cold weather, but most people around me do not. Haha!
Today I have something sweet to warm your heart. I have teamed up with a few great home decor bloggers to share some simple, but beautiful Valentine's Day projects. They are all fairly simple, but will add such a sweet little touch of love to your home.
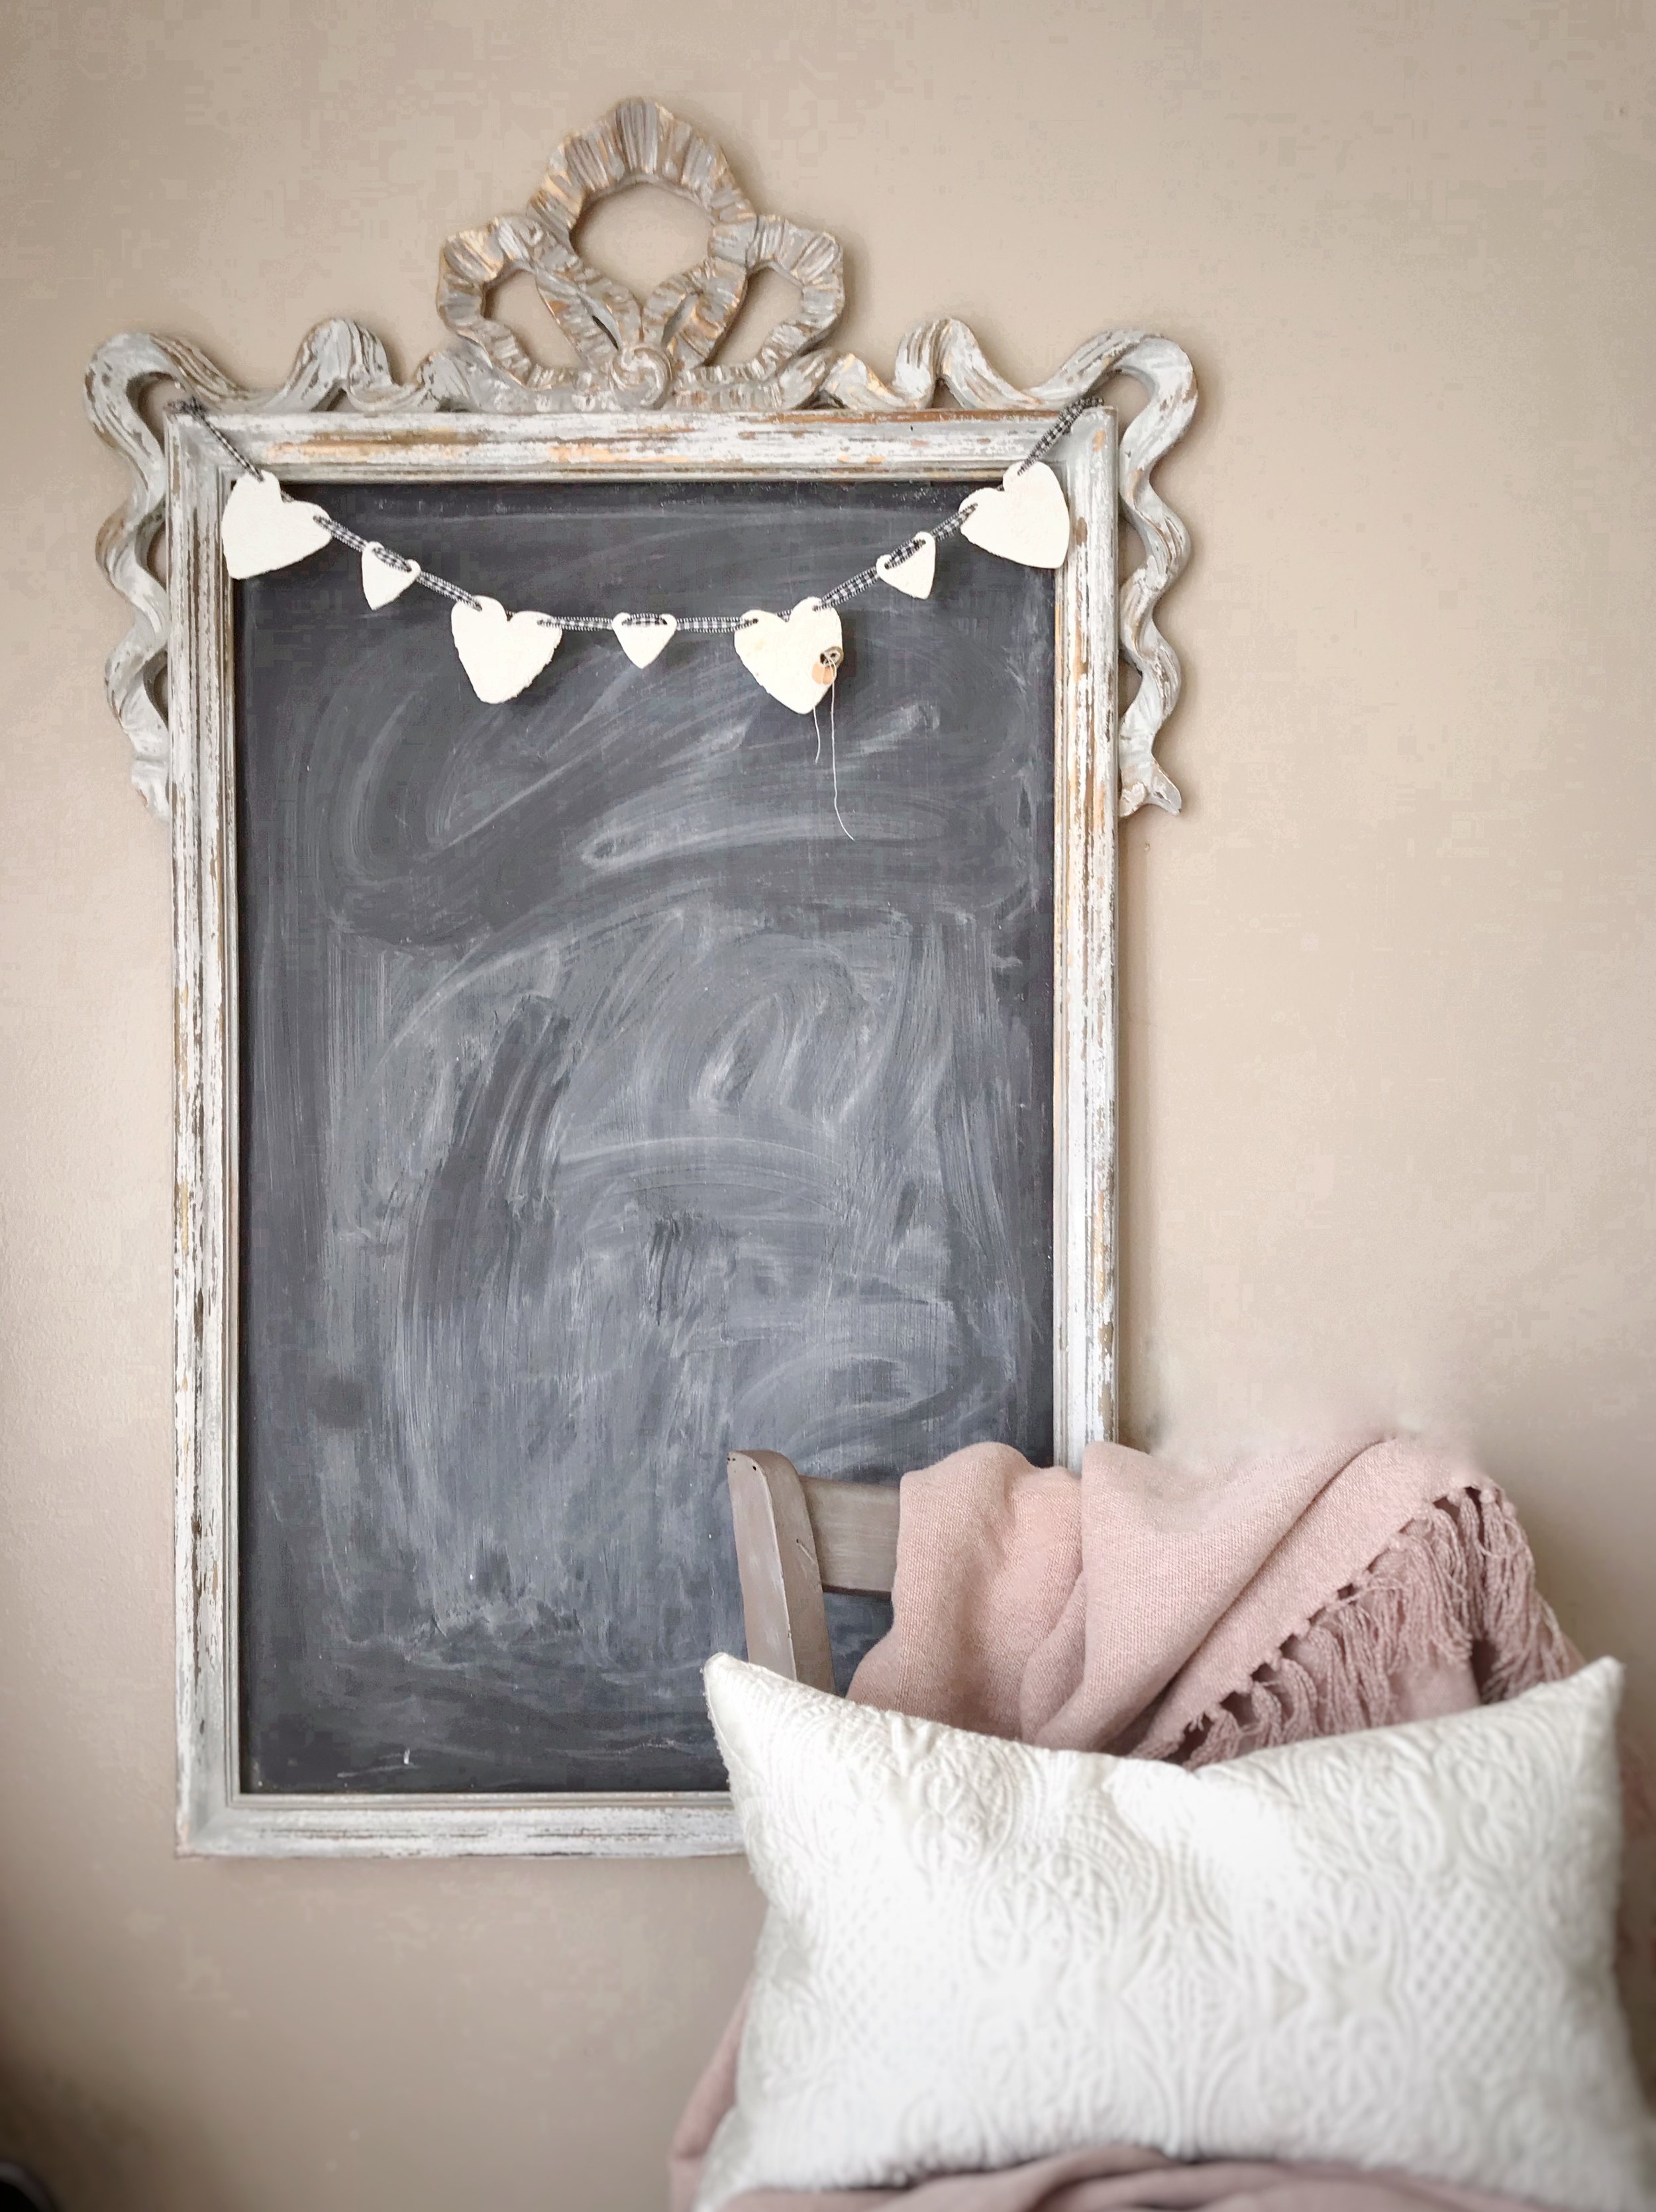
I knew I wanted something simple, neutral, and fresh for my DIY. I got the idea to create heart shaped salt dough ornaments to create a banner with. This is very easy to do and you can even have your kids help!
To get started, you will only need salt, flour, water, and heart cookie cutters. If you prefer your ornaments to be whiter than the natural color of salt dough, you can add a bit of white acrylic paint.
The recipe I used to create the dough:
1 cup flour
1/2 cup salt
1/2 cup warm water
2 oz white acrylic paint
I first dissolved the salt into the water and then mixed in the flour and paint. After it was thoroughly blended, I kneaded it and formed it into two large balls. I rolled them out like cookie dough and cut out the heart shapes. I used a toothpick to create two large holes in the tops of the hearts. This is where I will string the ribbon for the banner.
Now here is where I meet a fork in the road. I did two types of hearts. The directions for each will be below the pictures of each type.
French Scripted Hearts
For these fun hearts, I simply used a large french script stamp on the dough immediately after I cut them out. Be sure to dust your stamp with flour before you press it into the dough. It can be tough to dig all of that dough out of your stamps. (Ask me how I know.) I did some with a suede colored ink and I did some with no ink at all. I like how both turned out! I allowed these to dry out at room temperature. It took 3 to 4 days for them to be completely dry.
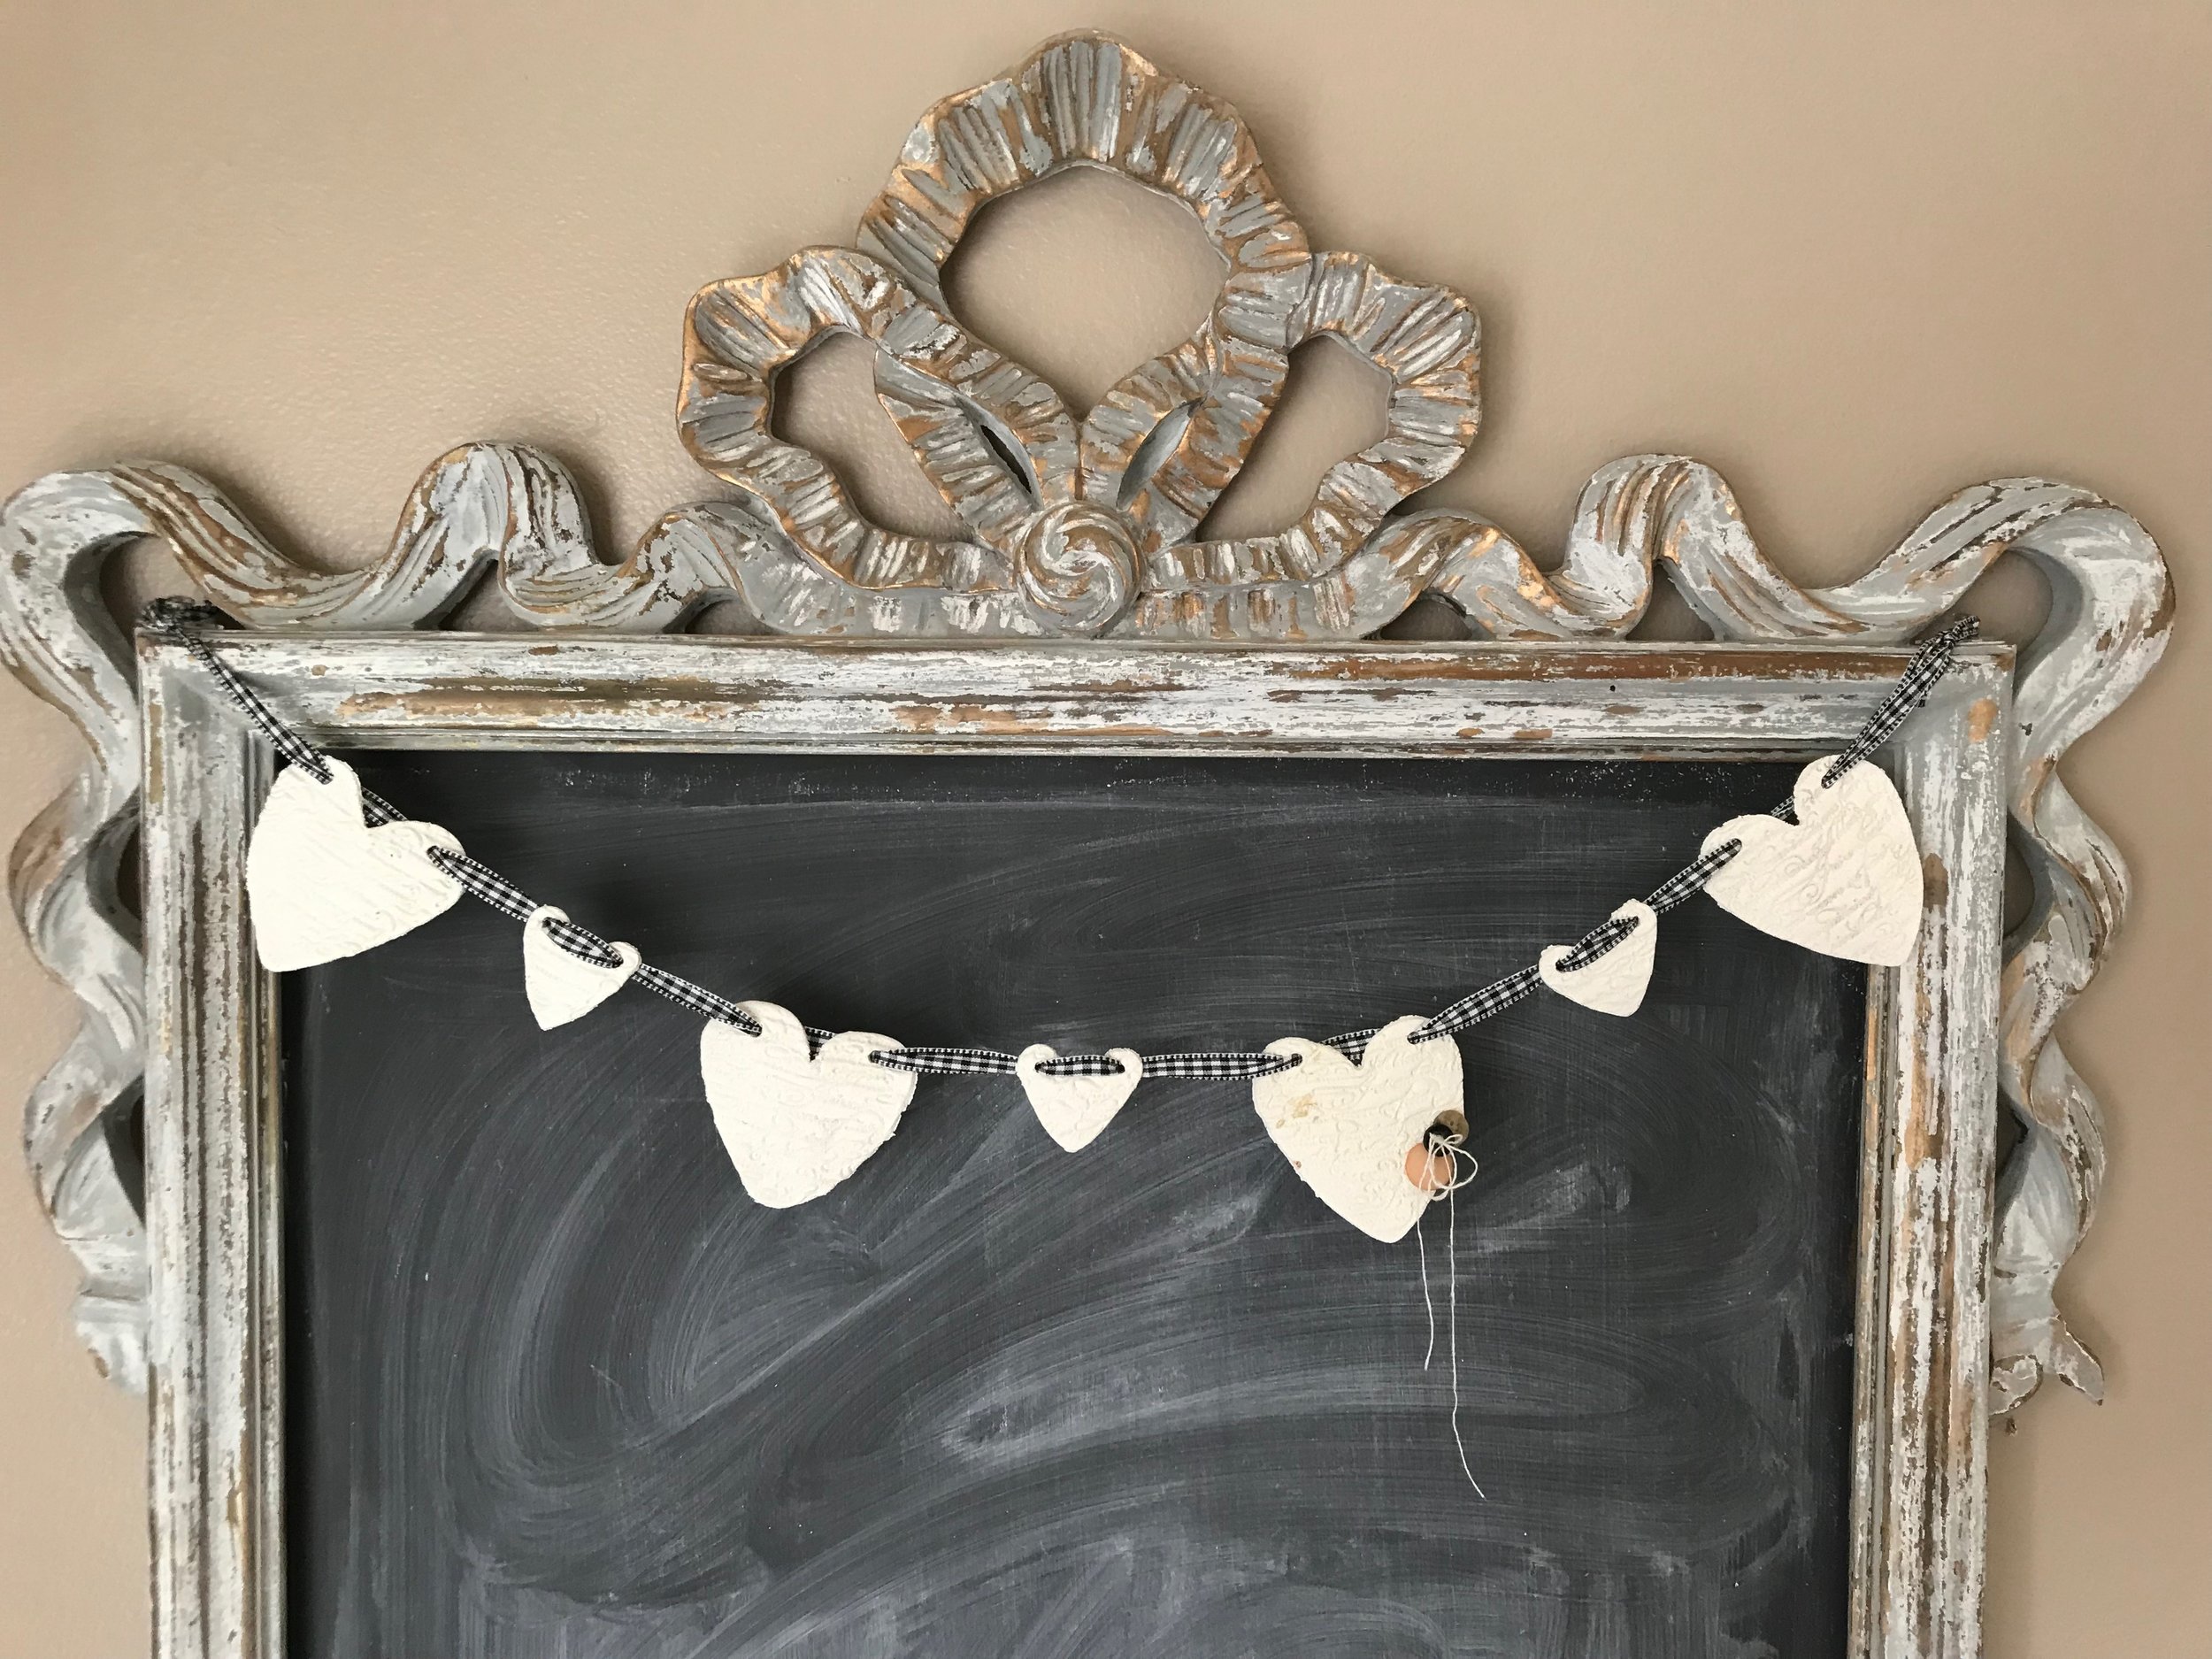
Once they dried out, I used some vintage buttons to add a little visual interest. I simply used super glue to attach them.
Rosemary Hearts
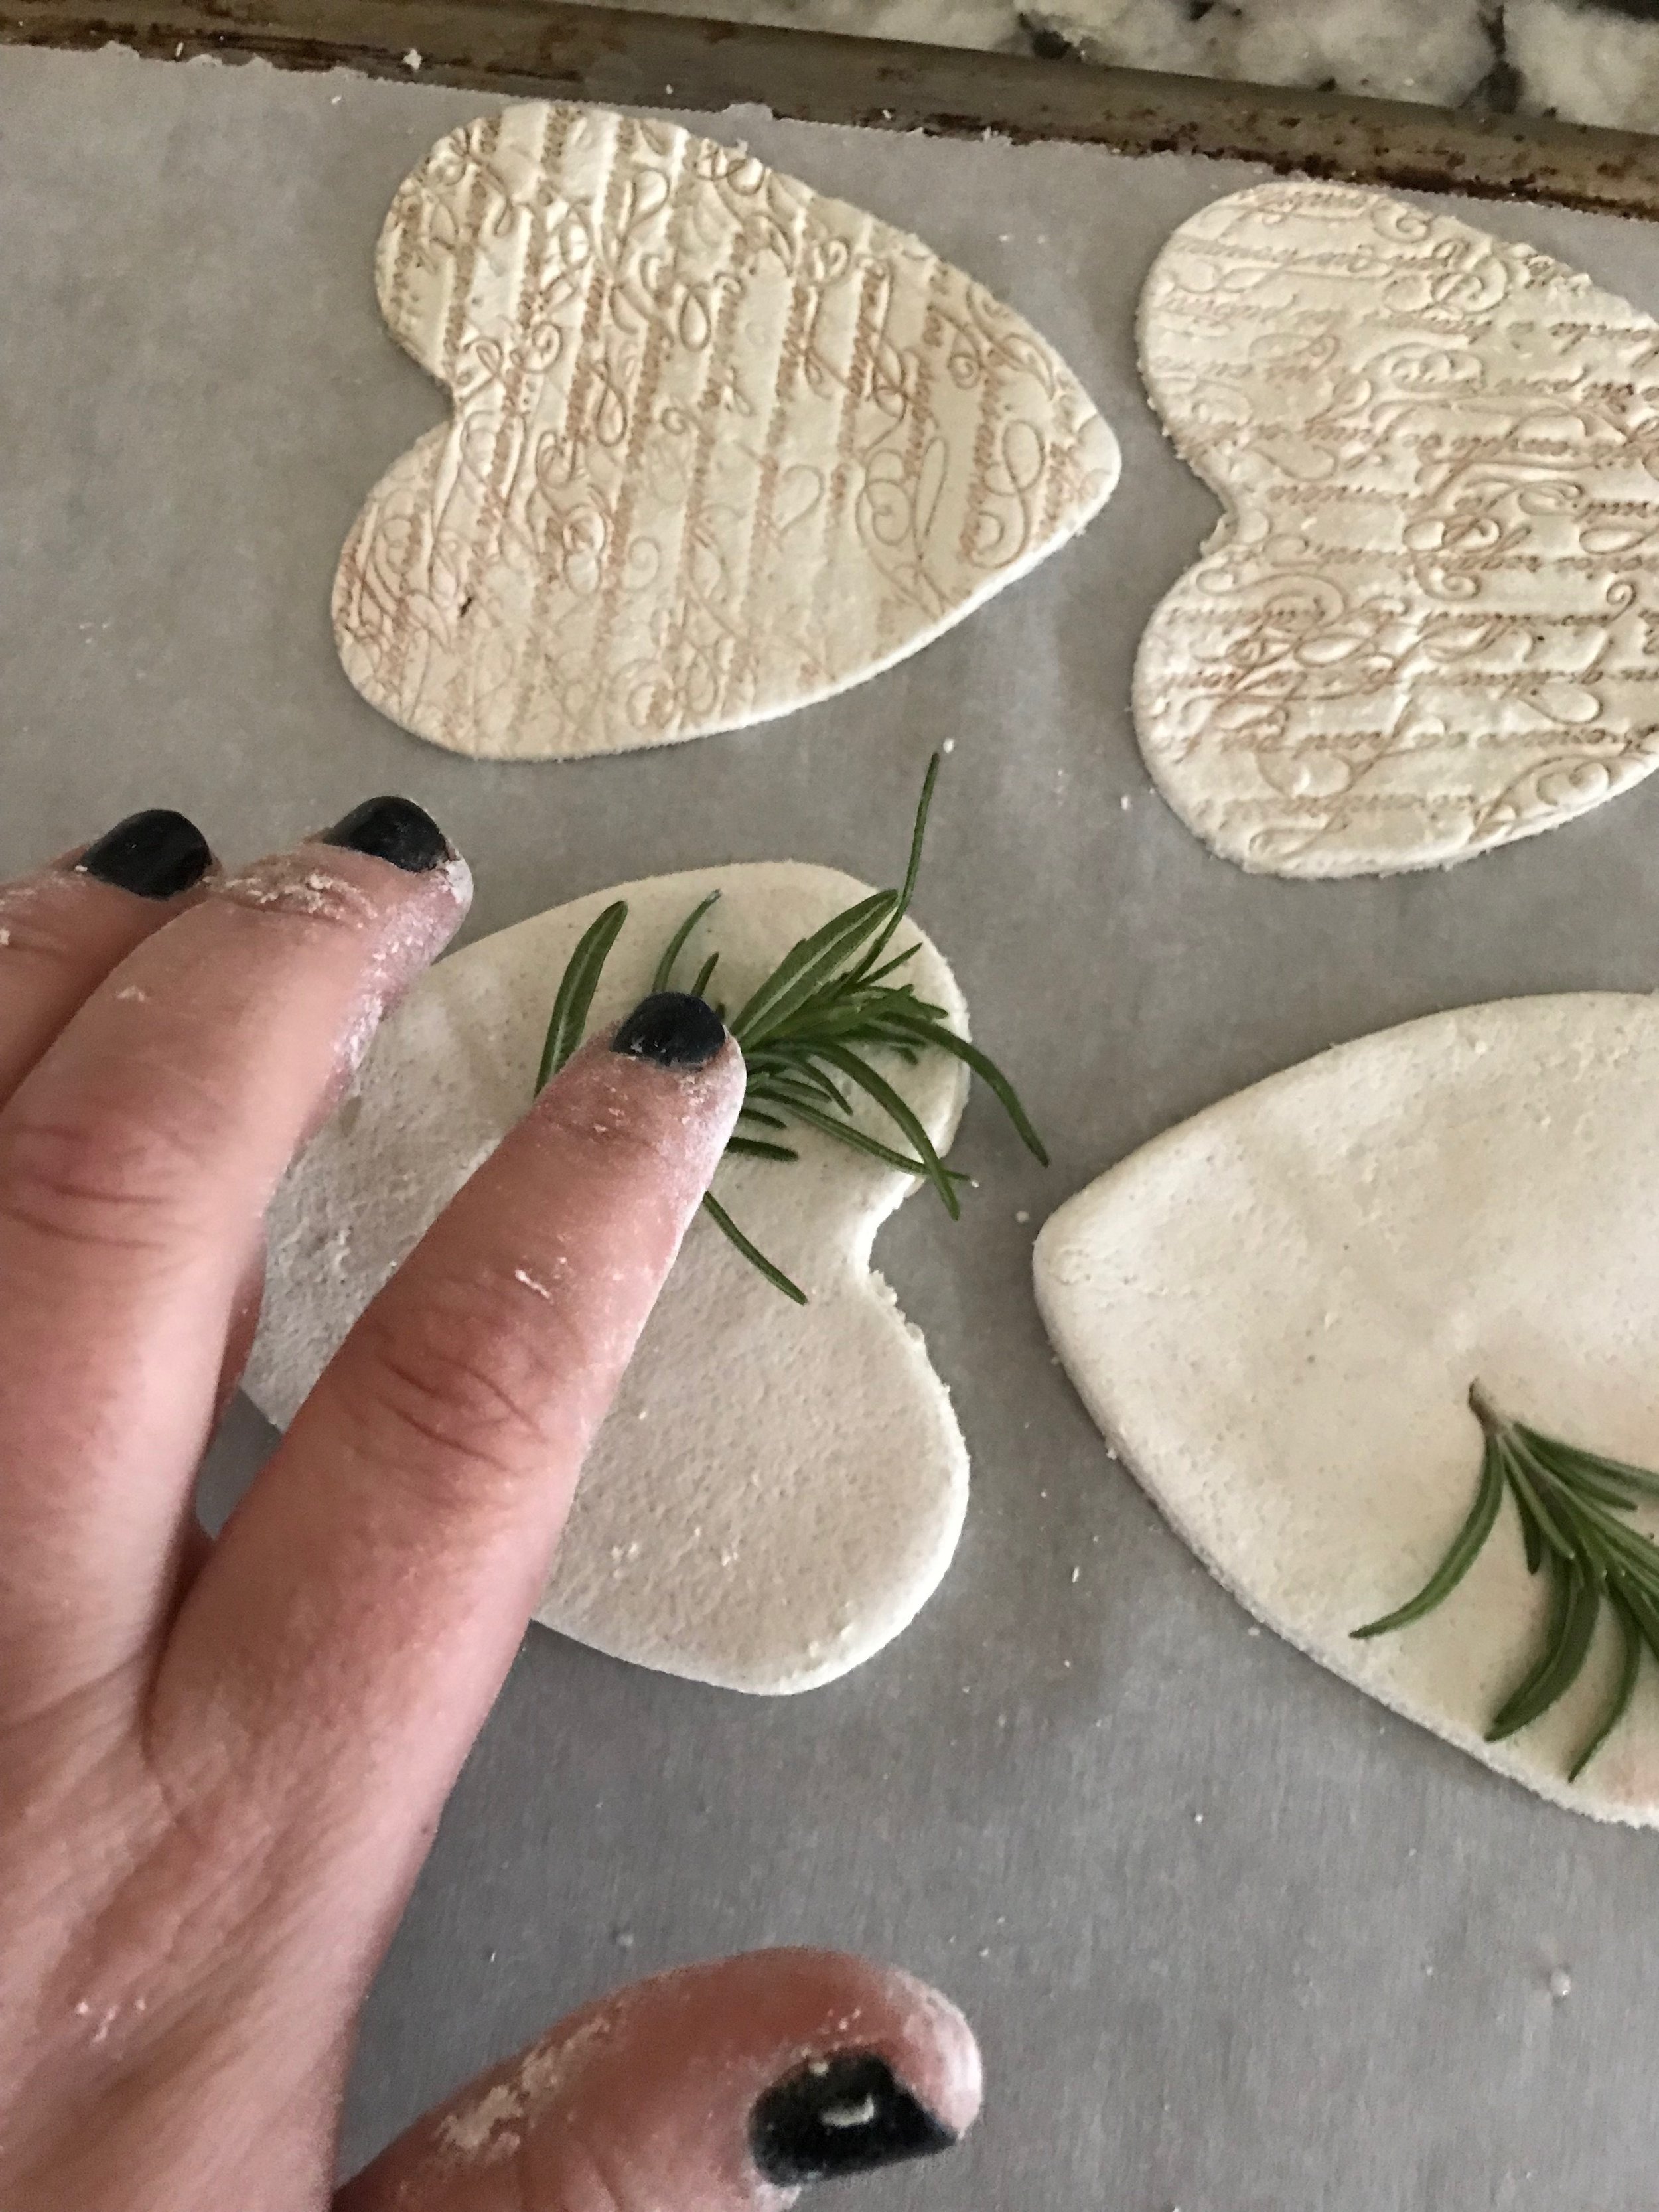
These were much more simple. After cutting out the hearts and adding the holes, I pressed a small sprig of rosemary into the heart. I did use a drop of water on the dough to heart it stick. I baked these for about 2 to 3 hours at 200 degrees in the oven. Be sure to check them every hour or so to make sure they do not over bake. Of course the thicker they are, the longer they will take.
After the hearts were all dry, I used a tapestry needle to thread a 3/8" wide ribbon through them. This helped the edge of the ribbon not to fray as I repeatedly threaded it in and out of the hearts.
Once they are were all strung together, I used command strips and hooks to attach them to the chalkboard in our eat in kitchen. These would be perfect anywhere in your home. They are pretty and the refreshing smell of rosemary is just the thing to lift your winter weary spirits.
Victoria is one of my great new friends from the amazing home decor community over on Instagram. She has such a beautiful, classic style that just draws you in. I am in love with this beautiful stack of personalized books she made for Valentine's Day.
Cate over at West Magnolia Charm has created a one of kind banner for the day of love. It reminds me of all the crocheting I used to do with my grandma and cousins. It also looks super cozy during this crazy winter weather.
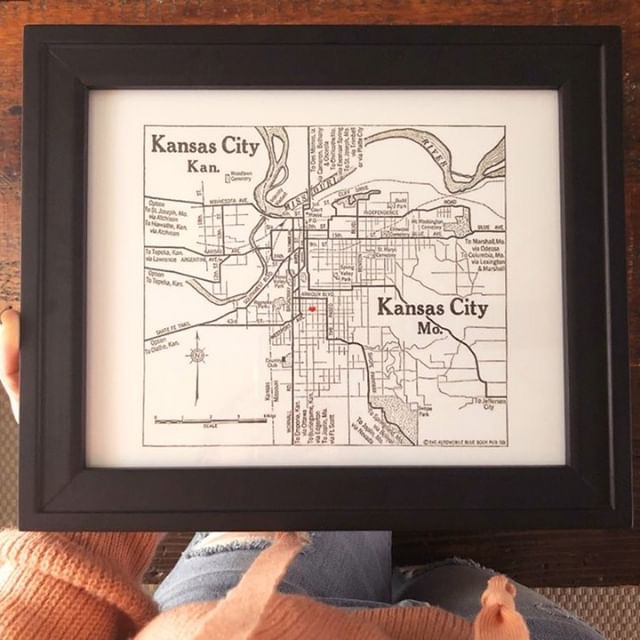
My travel-loving heart is obsessed with the Valentine Map Dani has created at The Taborhood!!!
Kayleigh has put together a lovely rustic wreath to share with us at The Rusty Barn Blog.


