Facelift Friday | Bulletin Board Upcycle
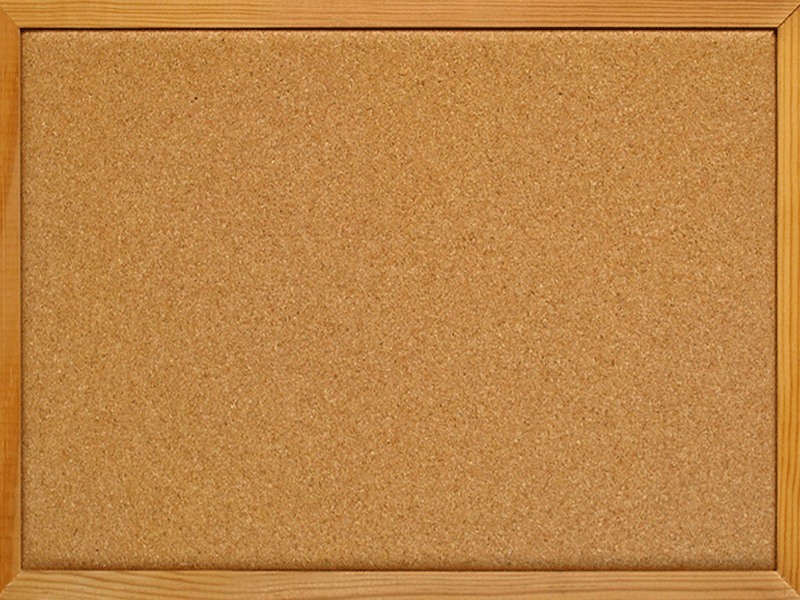
How many times have you seen something like this at a garage sale or thrift shop and passed it up?
I finally stumbled upon this blog post by Chelsea at two twenty one and fell in love with the idea.
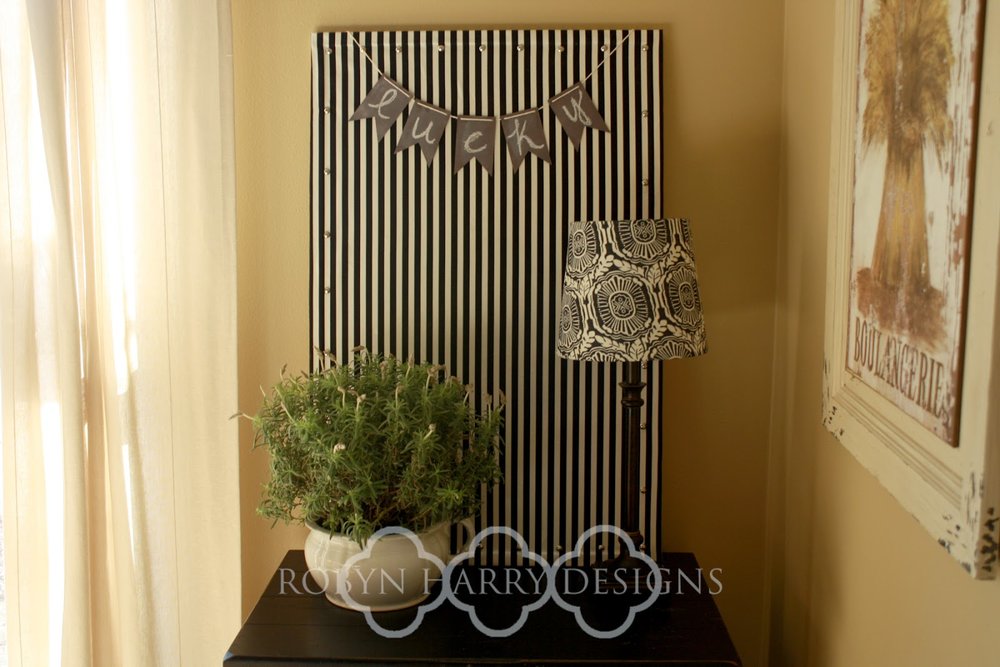
I had the perfect black and white stripe fabric that I picked up at IKEA this past fall. I used spray adhesive to attach the fabric to the bulletin board and then secured it with upholstery tacks I picked up at a big box craft store. The only thing I did different then Chelsea was to separate the tacks a bit more.

I simply used the wood frame as a guide for where to place the tacks.
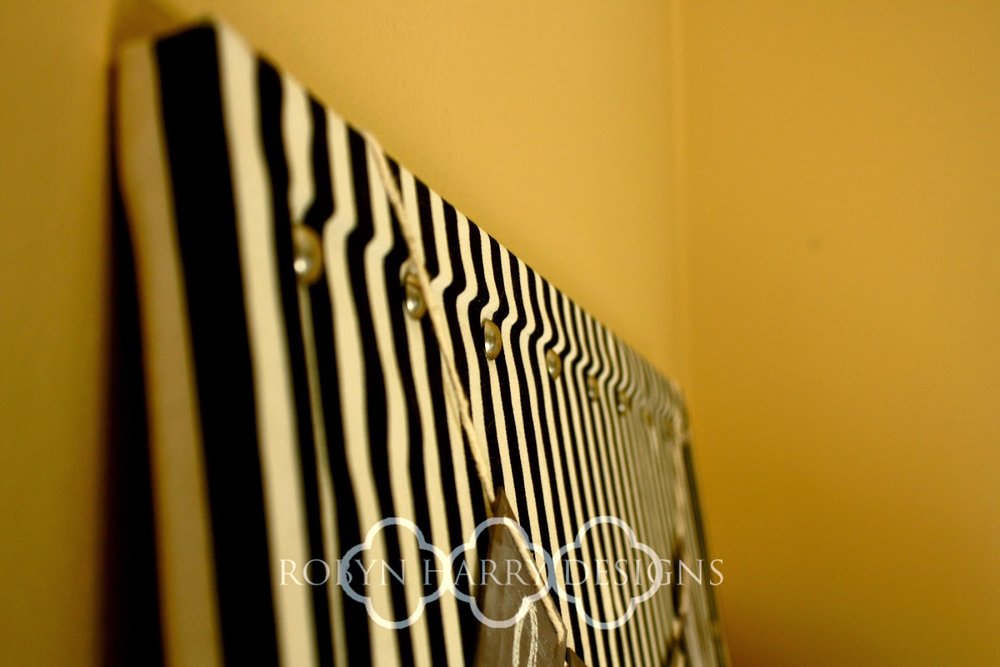
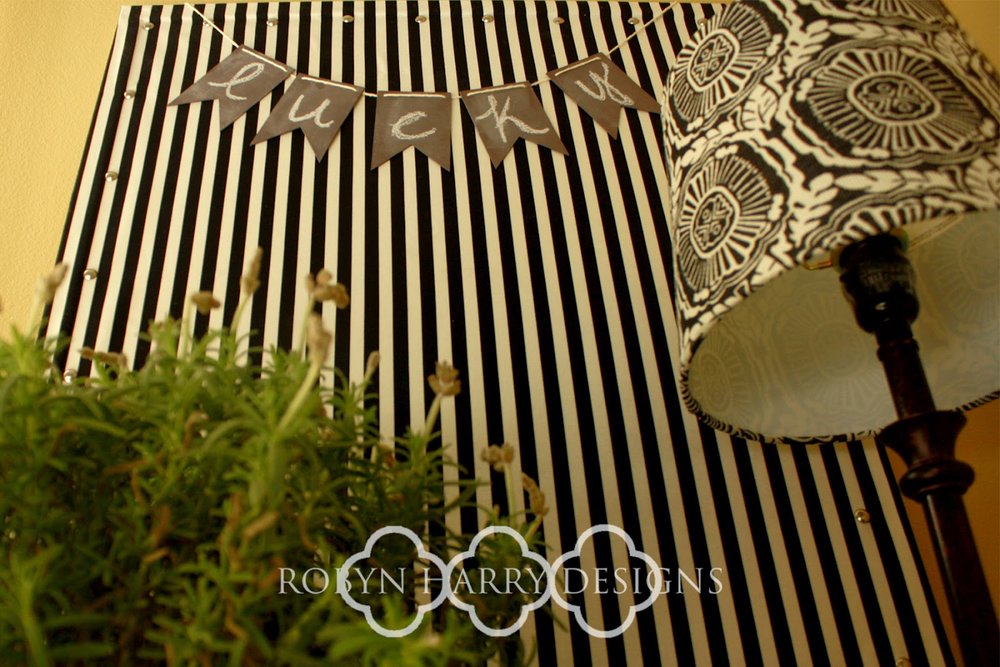
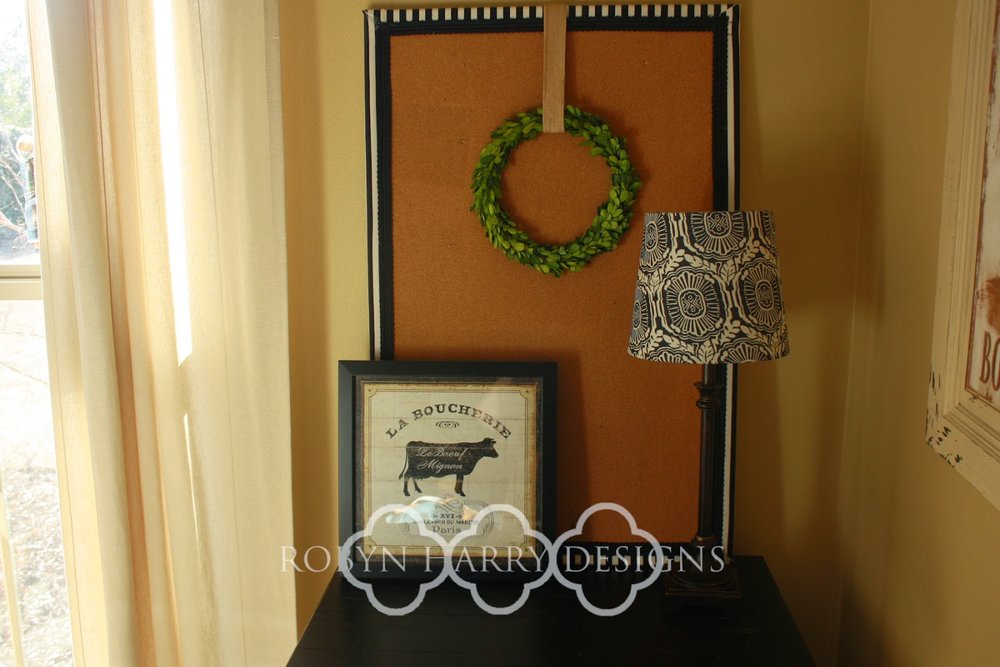
I love how chic it turned out. I think it looks fantastic vertical or horizontal.

And I took this a step further! The upholstery tacks are a bit longer than regular push pins, and I worried about them sticking out on the backside. So, I found a lovely black trim to cover the back.
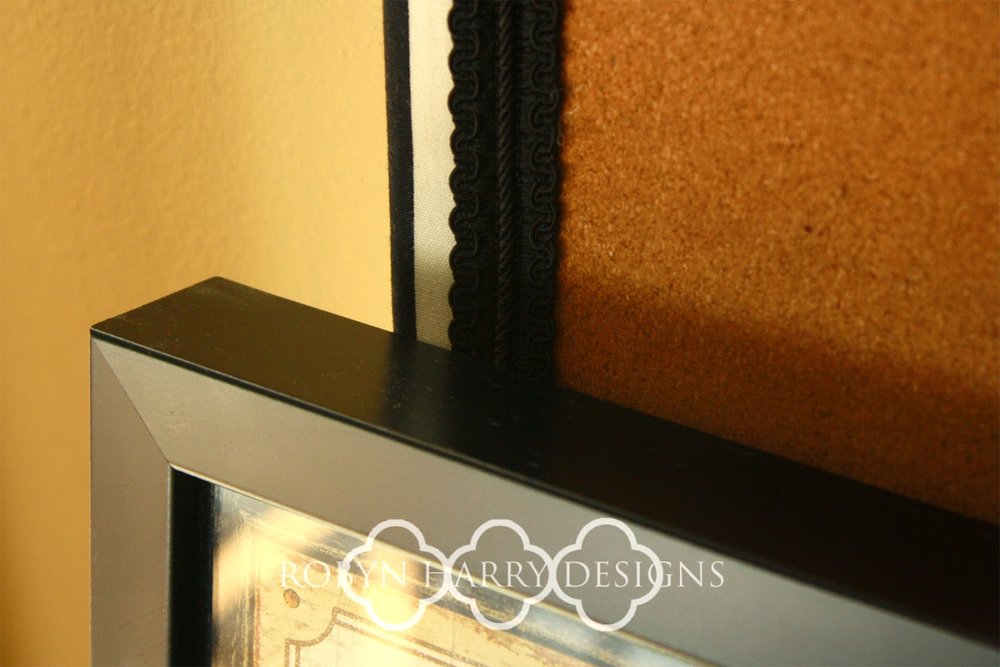
Voila! A reversible bulletin board!!


For the Love of Quatrefoil | Spring Wreath
I don't remember exactly when my love affair with quatrefoil began. I just know it is going strong. If you aren't exactly sure what quatrefoil is, I am sure you are in good company. You can find the entire rundown on Wikipedia, but in short it's an architectural design stemming from Gothic roots. I was in quatrefoil heaven on our trip to Venice. It was beautiful and it was abundant.
Unfortunately, quatrefoil is not abundantly available in the world of home decor. I am very okay with that. It means I have to be a little more creative, but it also means my home is that much more unique.
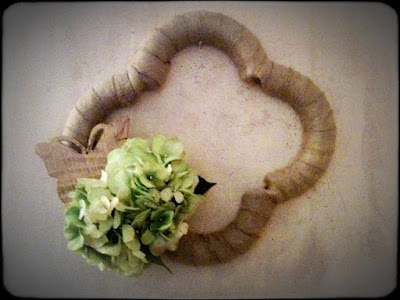
As I was planning out my spring decor, I searched out quatrefoil accessories. In my quest, I found this awesome tutorial on making a quatrefoil wreath!
http://tatertotsandjello.com/2010/06/quatrefoil-wreath-tutorial.html
I finally got a little free time to play today and I put together this wreath. I'm pretty happy with the way it turned out. The colors invoke thoughts of spring and the shape also hints at St. Patty's Day just around the corner.
 |
| Quatrefoil at the Doge's Palace in Venice |
As I was planning out my spring decor, I searched out quatrefoil accessories. In my quest, I found this awesome tutorial on making a quatrefoil wreath!
http://tatertotsandjello.com/2010/06/quatrefoil-wreath-tutorial.html
I finally got a little free time to play today and I put together this wreath. I'm pretty happy with the way it turned out. The colors invoke thoughts of spring and the shape also hints at St. Patty's Day just around the corner.

One Little Word On Wednesday
I finally sat down and did my layout for January. My word for 2012 is "discipline." I elaborated quite a bit on the journaling cards in my layout as to why I chose this word, what I am inviting into my life and what this word means to me. The extra bits and pieces are little visual reminders of my word and it's parts.
The top center card has dots on it that I punched out and inked. Two of them are stamped with the wording "it's the little things." I feel that in striving for discipline, it truly is the little things that can make or break your goals. They seem small at the start, but they can either grow into obstacles or passageways.
The top right card has a chipboard 1 on it that I inked up as well. It says, "first things first." That is a reminder to me to just start. We all need a reminder sometimes to look just at that first step rather than the mountain looming ahead.
The center card is pretty obvious. Schedule is something I am severely lacking and something I am really striving for.
The bottom left card is a bird that I stamped. I chose a bird for several reasons. First, I just love birds. They are beautiful. Second, a bird represents several things I am inviting into my life by choosing to have more discipline. Those things are routine, calm, POISE, peace and JOY.
I'm happy with the way this page turned out. I used a lot of robin's egg blue because that is my current favorite. It also makes me feel calm and relaxed. I am excitedly looking forward to the rest of this journey!
If you'd like more info on One Little Word, click the butterfly icon on my sidebar.
mes choses préférées | stickygrams + coupon
Have you seen stickygrams yet? They take photos right from your Instagram account and turn them into the cutest magnets. I ordered a sweet little stack of stickygrams that highlighted some of our favorites from Venice. Here's a peek:
Ordering is super simple. Shipping is free. And! I have a coupon for you. If you order before Friday, February 18, use the code robynlee97456 and you will immediately get $2 off of your order.
Simple Valentine Decor
This week the kids and I took a little field trip downtown to the local craft store, Idee. While there I found these super cute miniature wooden hearts with vintage inspired stickers on them.
I fell in love with them and knew I needed to do something with them. These particular hearts came in a pack of 6 for €1,99. I grabbed them and continued perusing the store. I then came upon the same heart with a little clothespin on the back and had a brilliant idea. I would make a garland with these to hang in my kids' bathroom! However, the cost for one heart with the clothespin attached was €2,29! It was then I remembered this box of mini clothespins I had stashed in my craft closet. I picked up another package of six hearts and headed home.
Once home, I pulled out the clothespins, my hot glue gun and got right to work. It took less than ten minutes to glue these clothespins onto 12 hearts. At first, they looked like this:
Now to hang them up, I had this great twine my mother in law had given me. When I hung them up, the hearts were so top heavy, they flipped forward. So, I took them down, pried off the clothespins and reglued them on the opposite way. I hung them up again and they still tilt forward a bit, but I called it good. I don't embrace perfection too much when it comes to crafts and decorating. I absolutely believe that adds loads of character to my projects. Here is a shot of the finished product.

When my girls first saw it, they were very excited. And bonus, my hubby doesn't even mind it!
Heart Twig Wreath With Rosettes

It's the season of love. Ah, love. I know it's so soon after Christmas, but I really enjoy decorating for the seasons.

I think this wreath is my favorite. I picked up this heart shaped twig wreath on clearance at a local department store. I then added a simple burlap knot in the center and just a few rosettes made out of burlap ribbon and some pink and red felt.

I used two types of rosettes on this wreath.
A tutorial on burlap ribbon rosettes can be found here.
Instructions on the felt rosettes can be found here.
I love the imperfection of this. I love the mix of textures, shapes and sizes of the rosettes.
Grab what you have laying around your house and make something imperfect and beautiful of your own!
Heart Shaped Sweater Wreath
For a cute, simple Valentine project, try making a heart shaped sweater wreath. All you need is a styrofoam wreath form in the shape of a heart and boucle' yarn in the color of your choice.
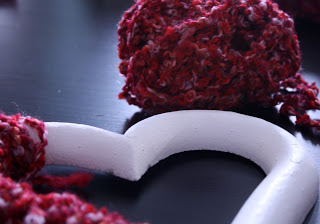
The process is very straight forward. This is a great project to involve your kiddies in.
1. Start by tying a knot at the bottom of the heart.
2. Begin wrapping your yarn around the shape of the wreath. For little ones, it may be easier to give them smaller sections of yarn rather than having them hold the entire ball.
3. As you wrap, wind the yarn around the stray pieces from the knot so that there are no rogue pieces hanging out.
4. To finish, simply tuck the end under the previously wrapped yarn and tie a knot.
5. Adorn with a bow, a monogram, a trinket.
6. Hang in the place of your choosing with double sided picture hanging strip. Voila!
Tip | Some heart forms have very pointy bottoms. Needless to say, trying to wrap yarn around them is frustrating. To remedy this for myself and my daughter, I cut the points of the heart so they were more blunt and easier to wrap.