Facelift Friday | Sheet Music Cabinet
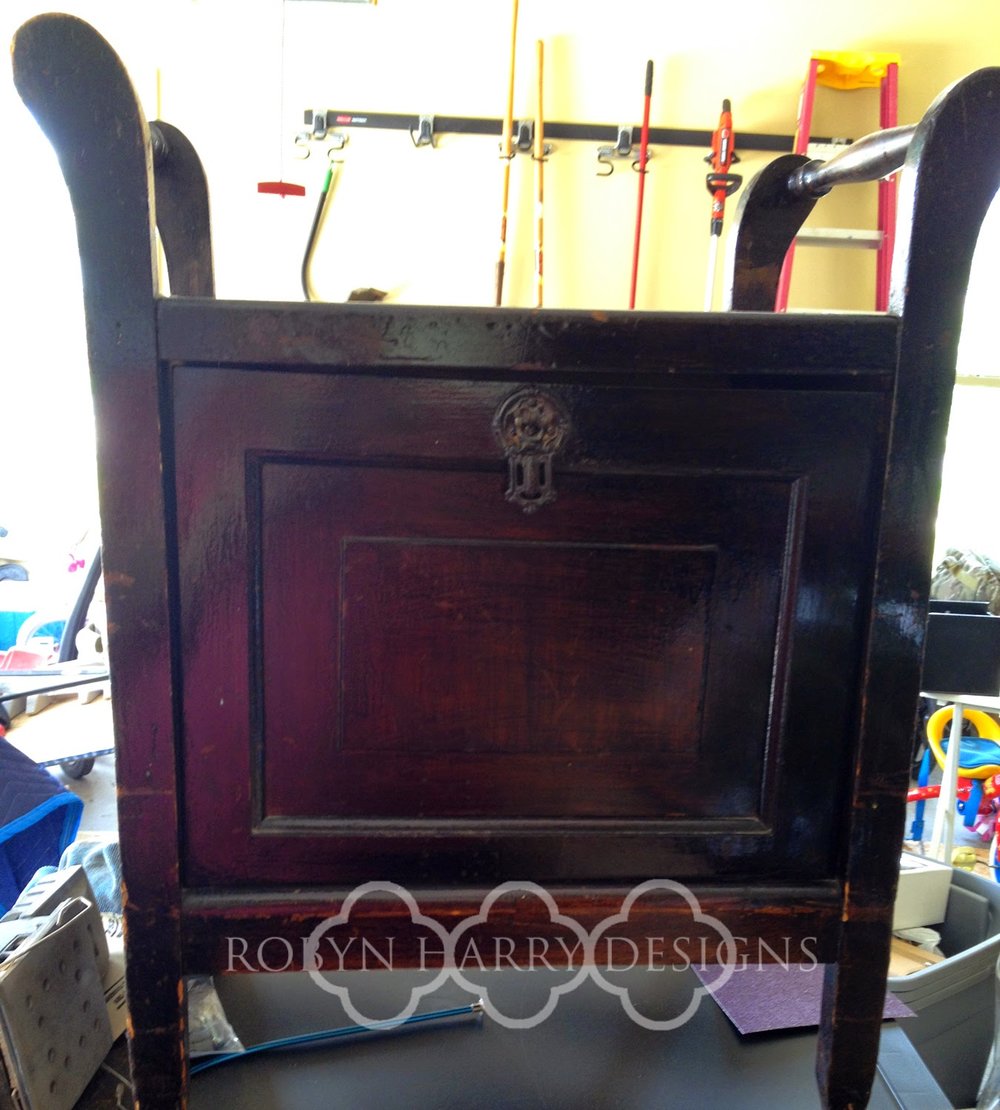
Last summer I found this beautiful piece at a local antique shop.
Regretfully, I didn't get a picture of the tapestry covered cushion. When I removed the fabric, there was a LOT of dust. I knew this piece was very old.
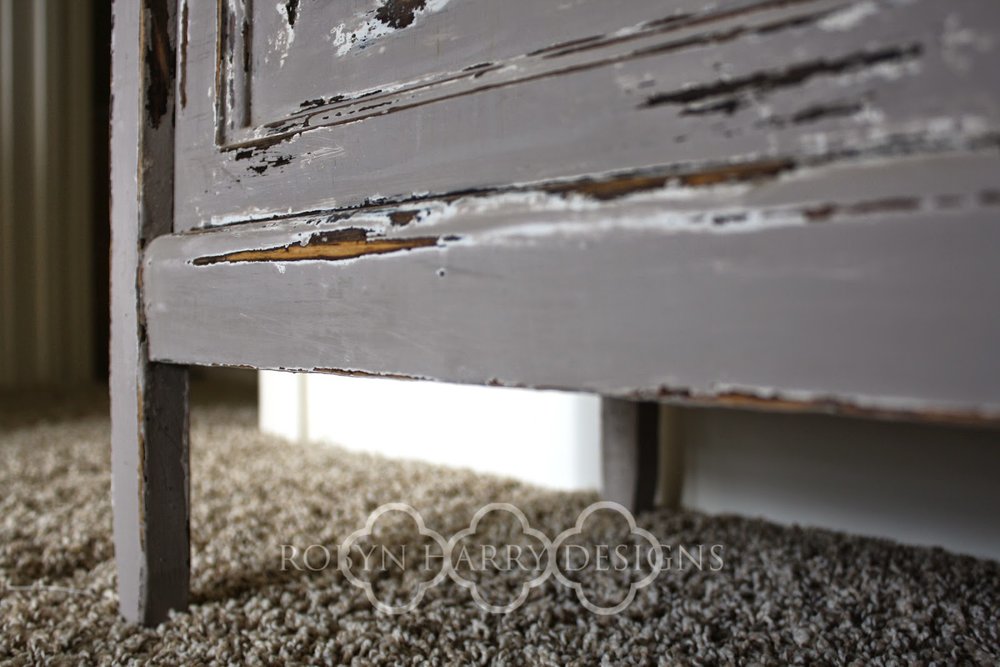
You may notice one of the legs is a bit shorter than the other. I actually like that because it shows the authenticity of the piece as well as the fact it was likely handmade.
This piece immediately struck me as English, though I don't know why. {I'm guessing it was the tapestry covered cushion.}
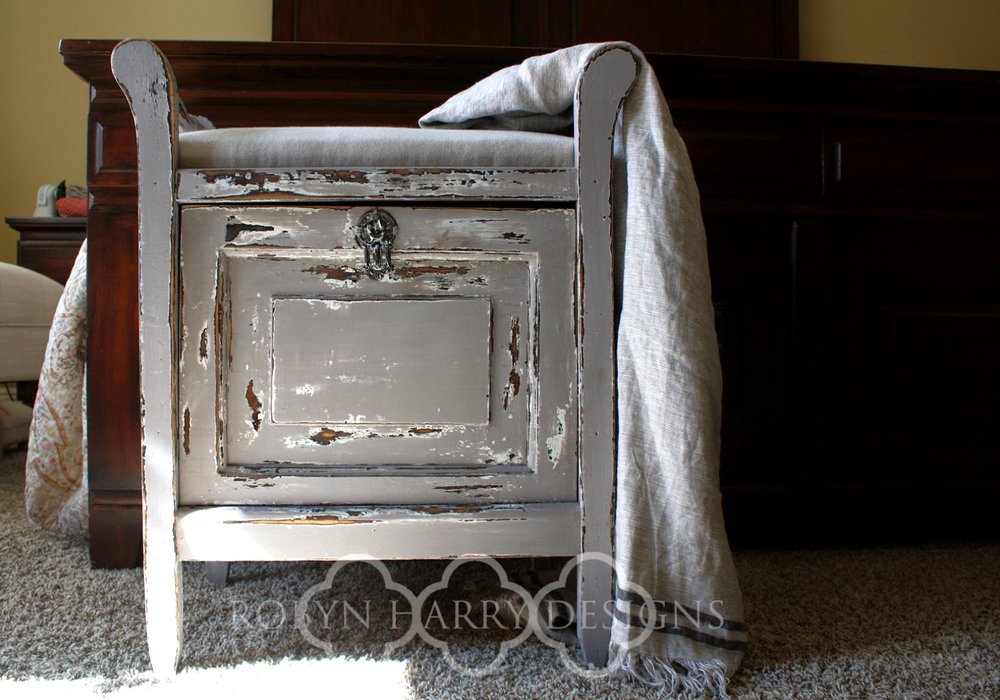
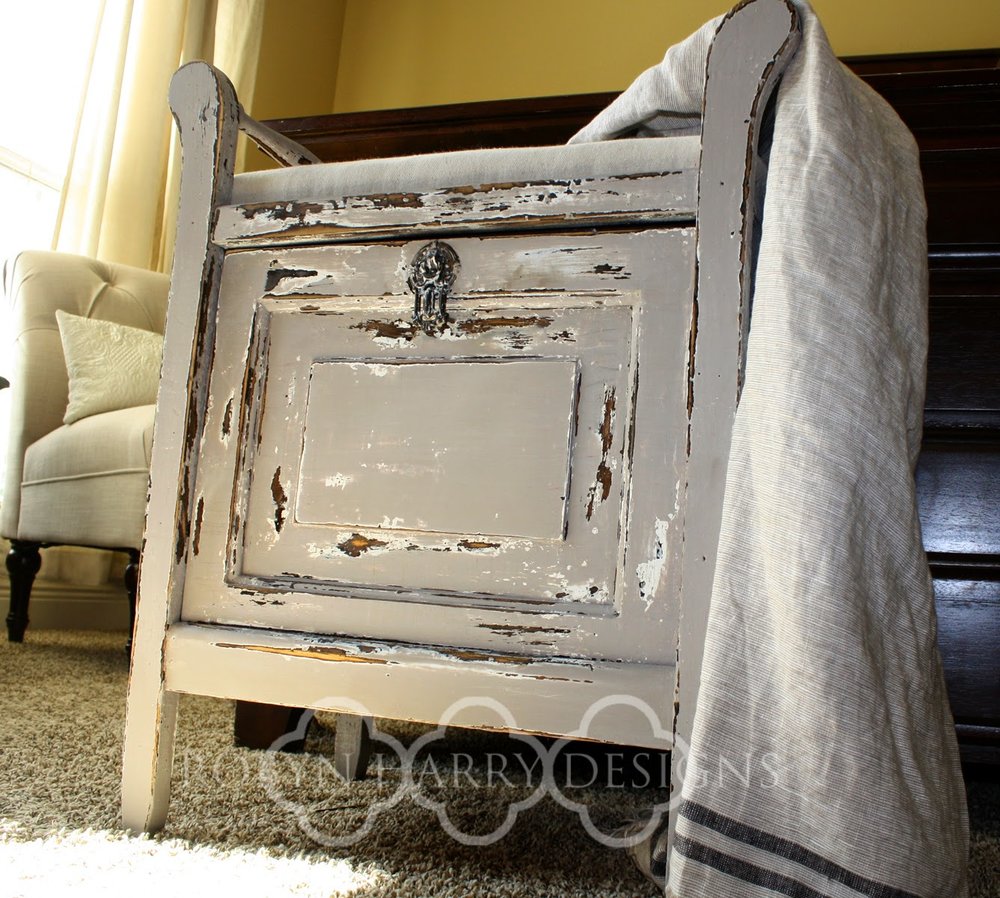
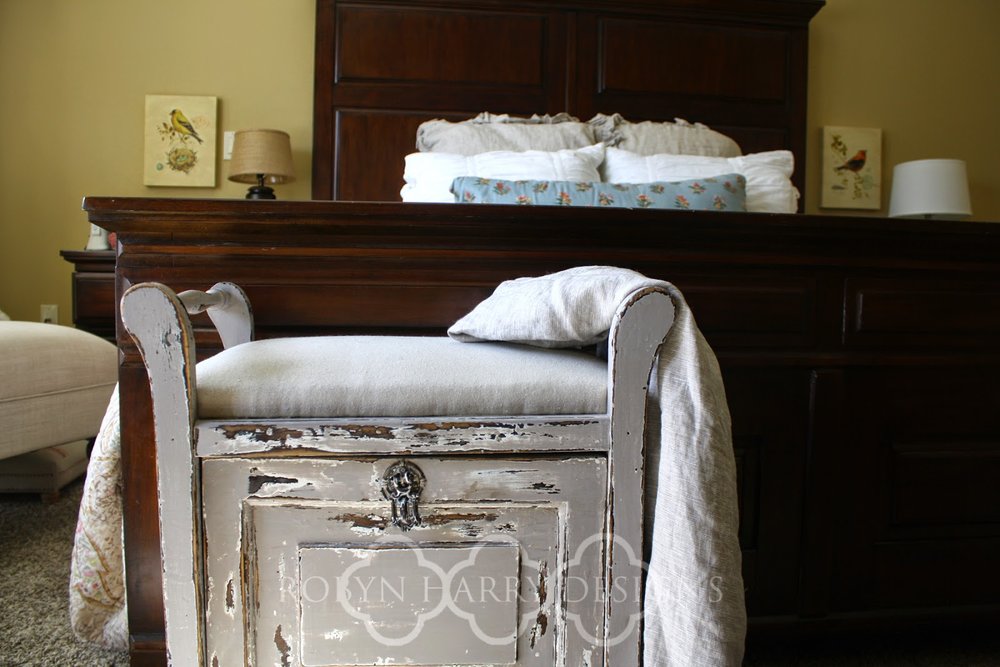
The bottom portion of this bench is a door that opens to reveal several compartments. After a bit of research, I discovered this is a sheet music cabinet. These types of pieces were used in the early 1900s to store sheet music. This was during a time when nearly everyone had a piano or organ in their home.
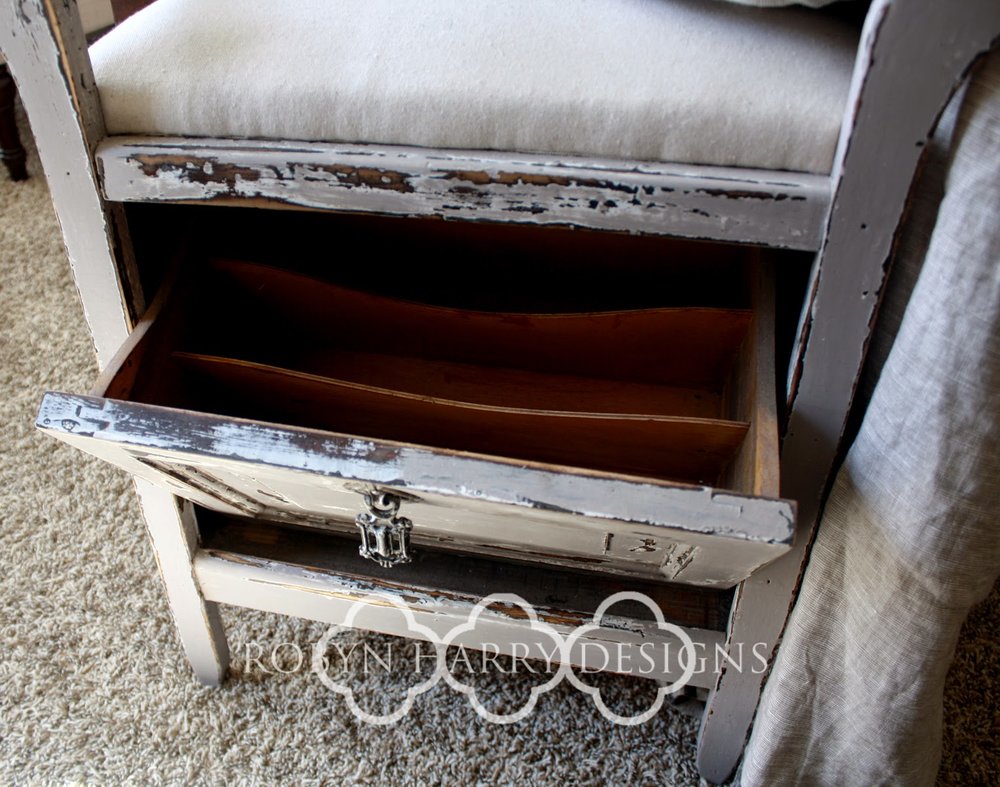
After the introduction of file cabinets in the 1950s, these pieces of art became much less common.
According to serious musicians, a sheet music cabinet is actually a very disorganized way to store music in contrast to a file cabinet. I can understand that completely!
To makeover this lovely piece, I covered it in two coats of Miss Mustard Seed Milk Paint in Ironstone. Because of the thick varnish on top of this piece, I definitely needed the bonding agent.
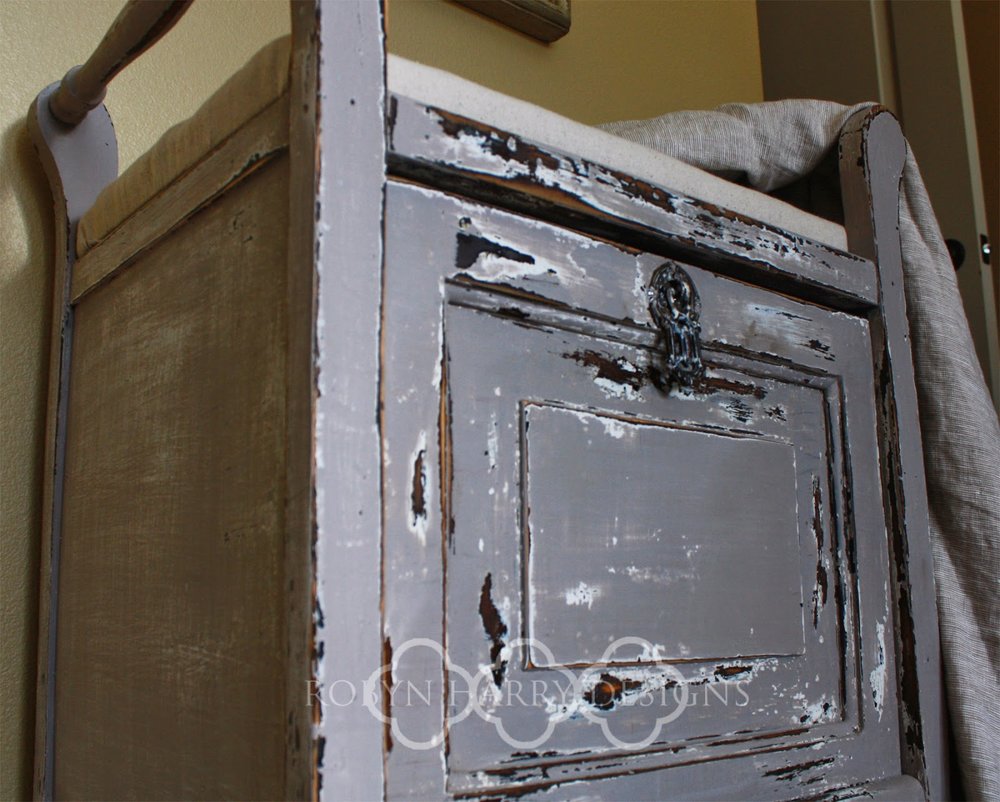
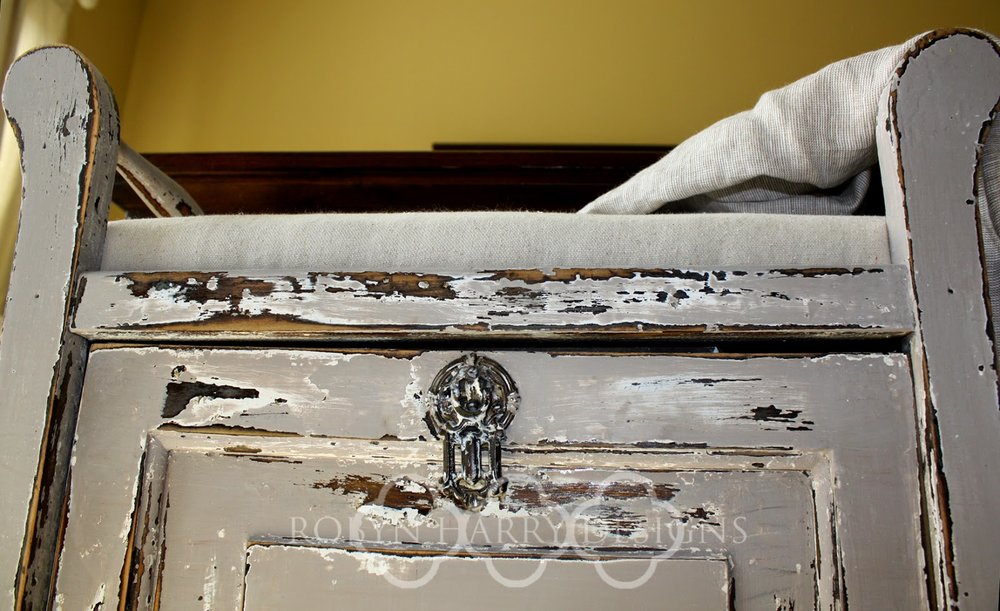
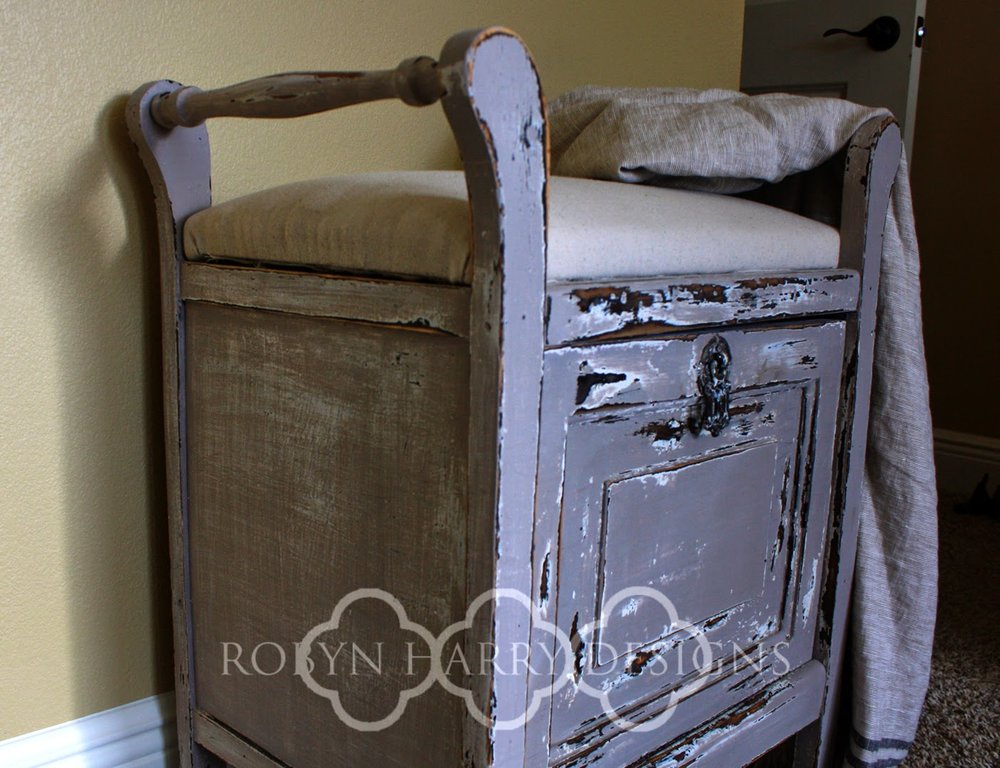
On top of the Ironstone, I added a coat of Schloss; a lovely gray with almost a purple hue. Schloss is one of the six colors in Miss Mustard Seed's new European collection.
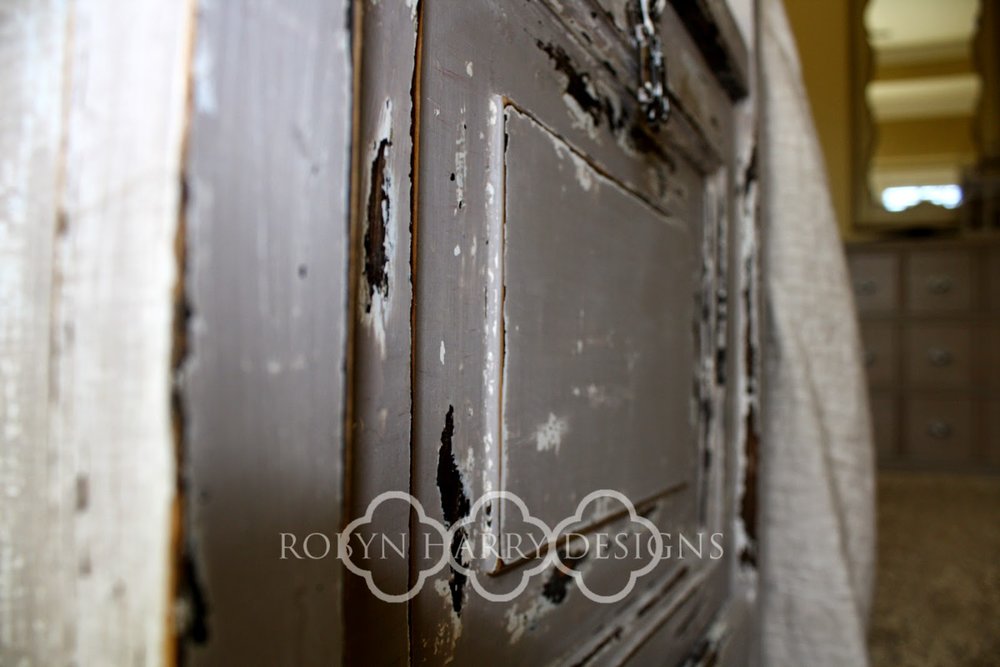
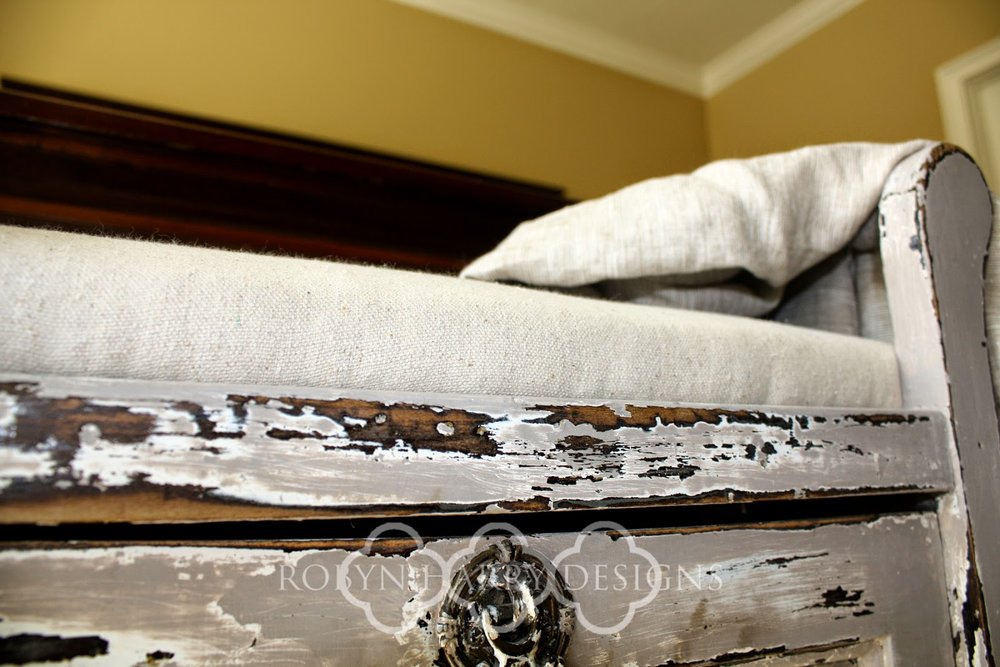
After everything dried, I sanded the piece quite heavily. My hopes were to reveal some of the original stain, as well as the Ironstone paint underneath.
As for the cushion, I added new foam and reupholstered it in a drop cloth. Yes, a drop cloth! I love the faux linen look and texture of these for a fraction of the cost of real linen. It's such a perfect neutral that is goes with most anything. {Make sure to wash and dry before use to soften it up!}
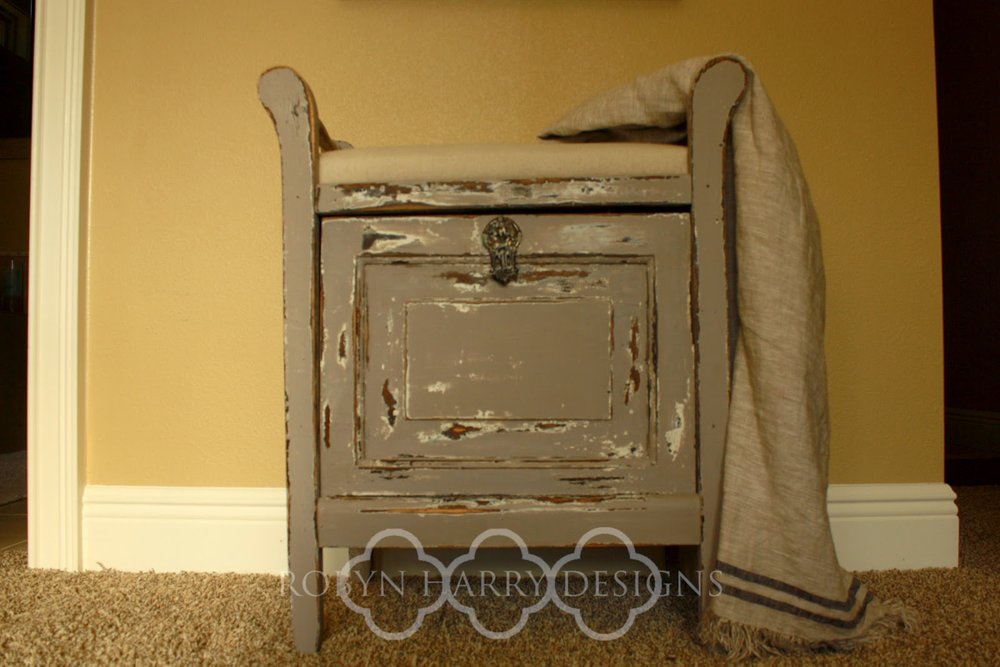
I love the way this piece turned out. It's beautiful, subtle and striking all at the same time. I initially planned on selling it, but my hubby and I both fell in love with it. It fits flawlessly with the rest of our decor, so it has now become a permanent piece in our home. {For now.}
Facelift Friday | Bulletin Board Upcycle
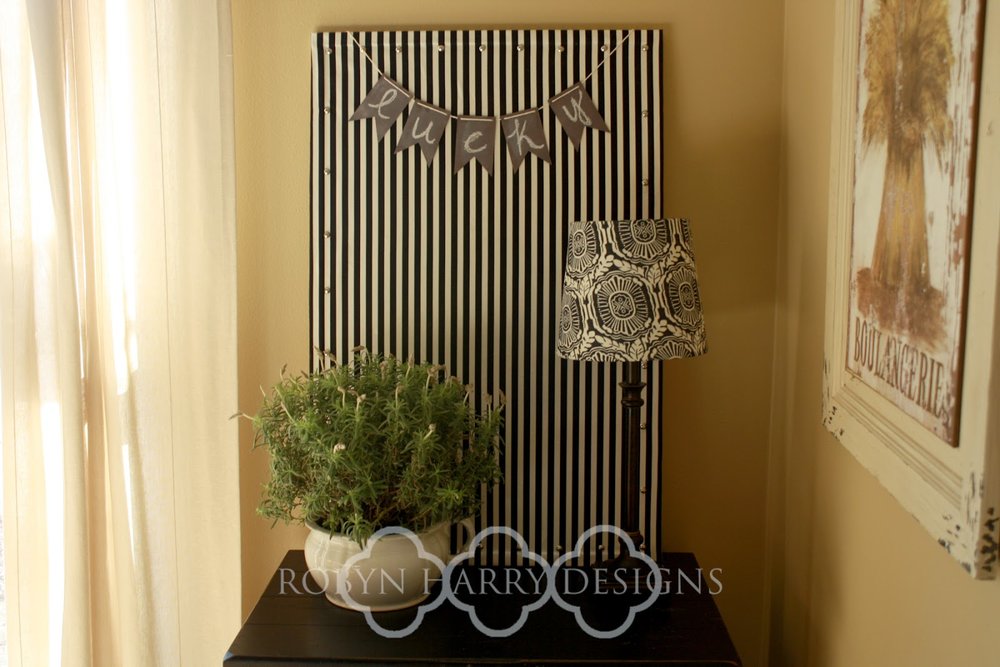
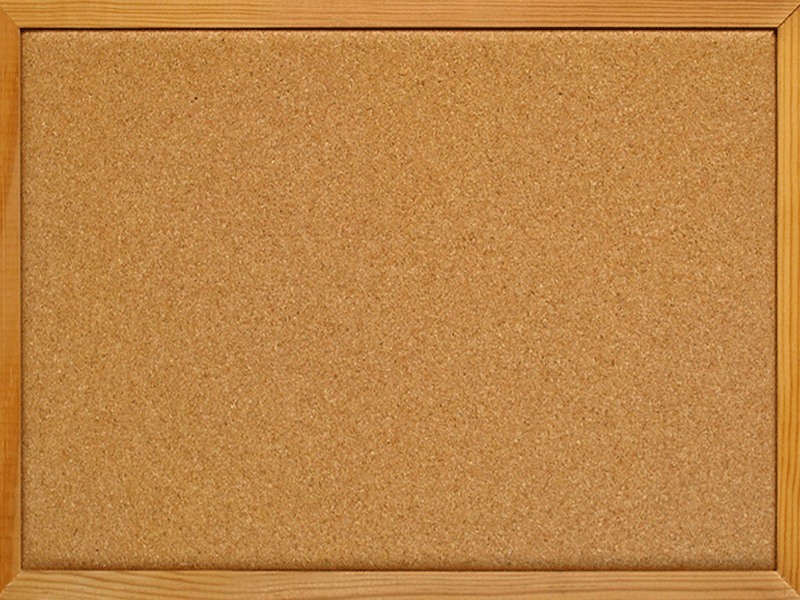
How many times have you seen something like this at a garage sale or thrift shop and passed it up?
I finally stumbled upon this blog post by Chelsea at two twenty one and fell in love with the idea.
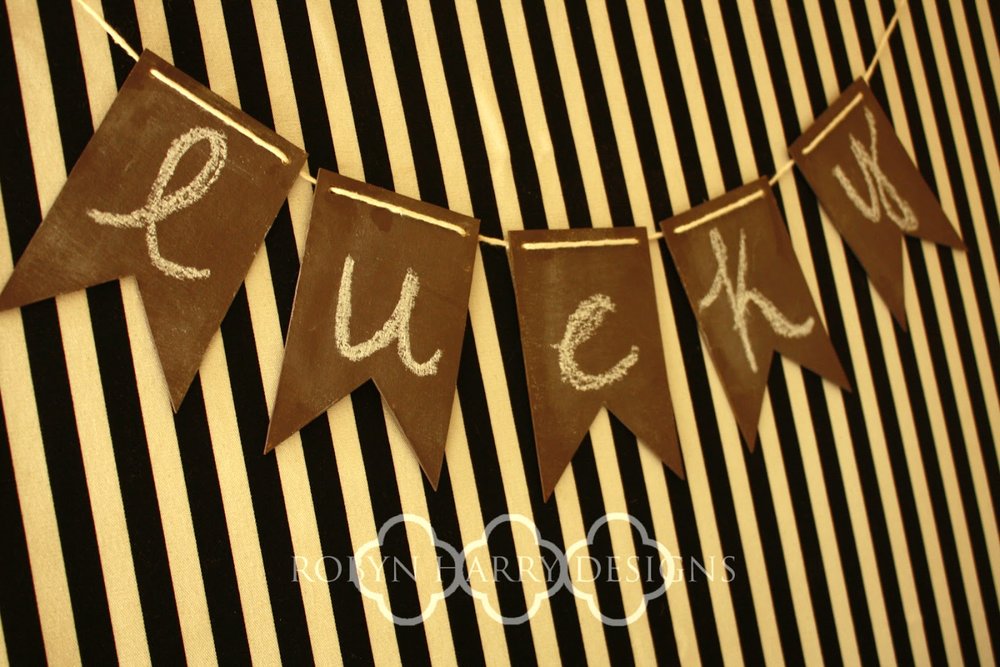
I had the perfect black and white stripe fabric that I picked up at IKEA this past fall. I used spray adhesive to attach the fabric to the bulletin board and then secured it with upholstery tacks I picked up at a big box craft store. The only thing I did different then Chelsea was to separate the tacks a bit more.

I simply used the wood frame as a guide for where to place the tacks.
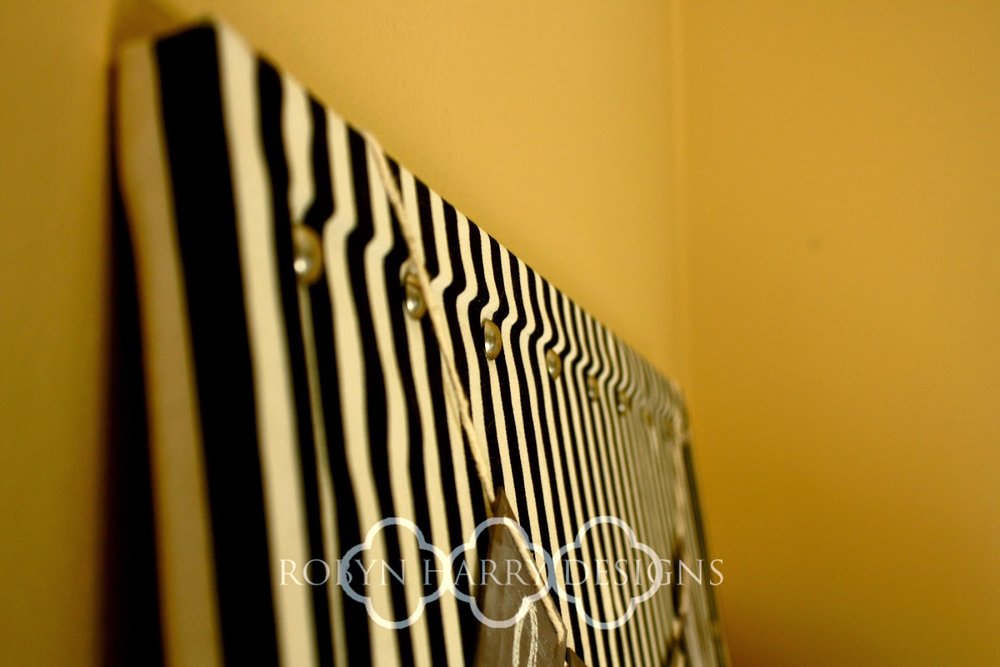
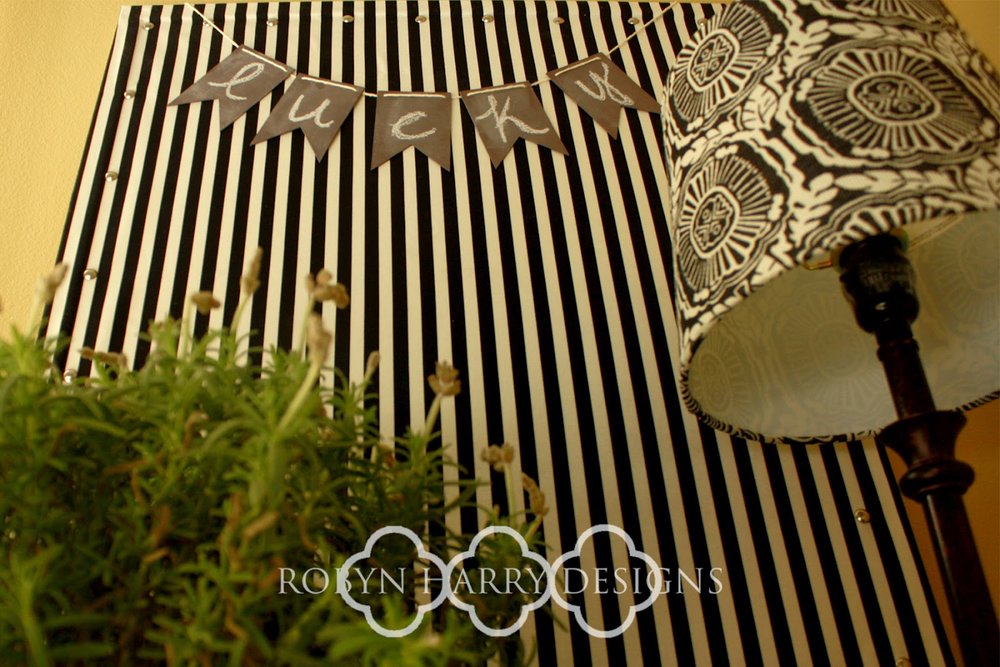
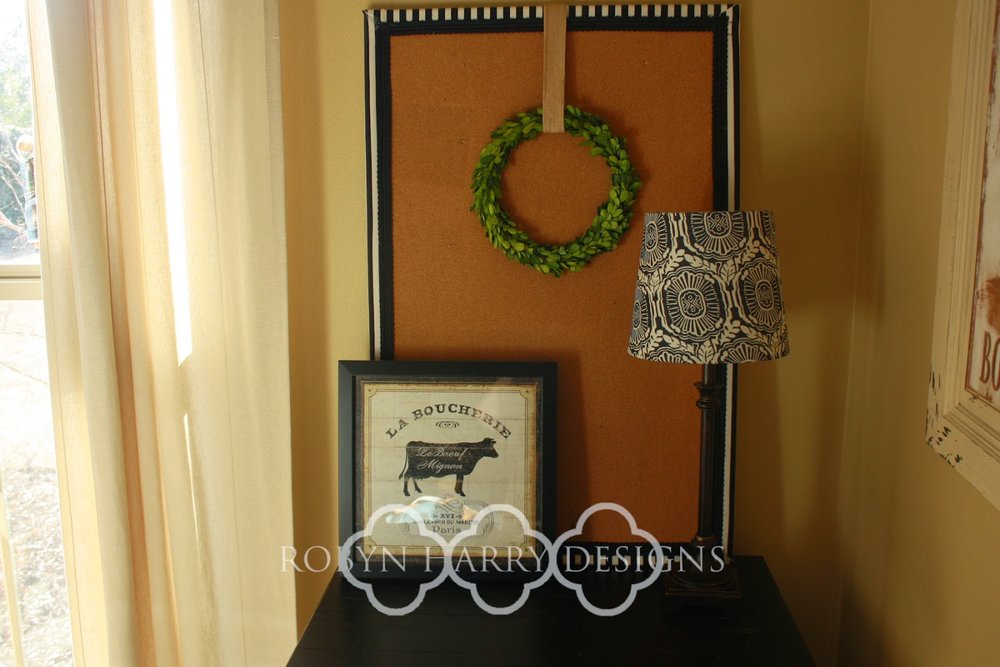
I love how chic it turned out. I think it looks fantastic vertical or horizontal.

And I took this a step further! The upholstery tacks are a bit longer than regular push pins, and I worried about them sticking out on the backside. So, I found a lovely black trim to cover the back.
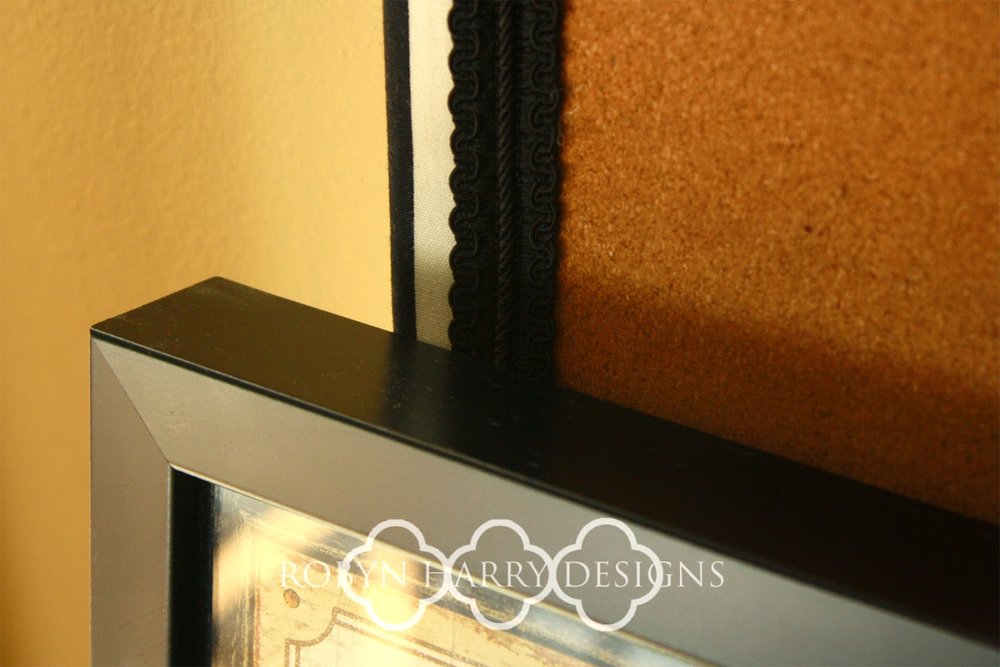
Voila! A reversible bulletin board!!


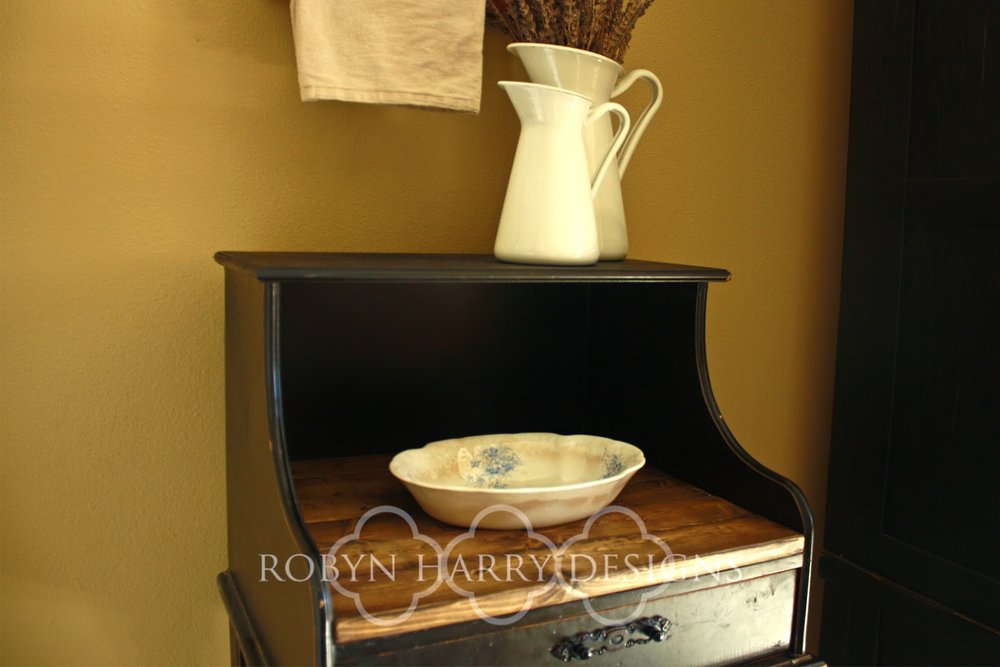
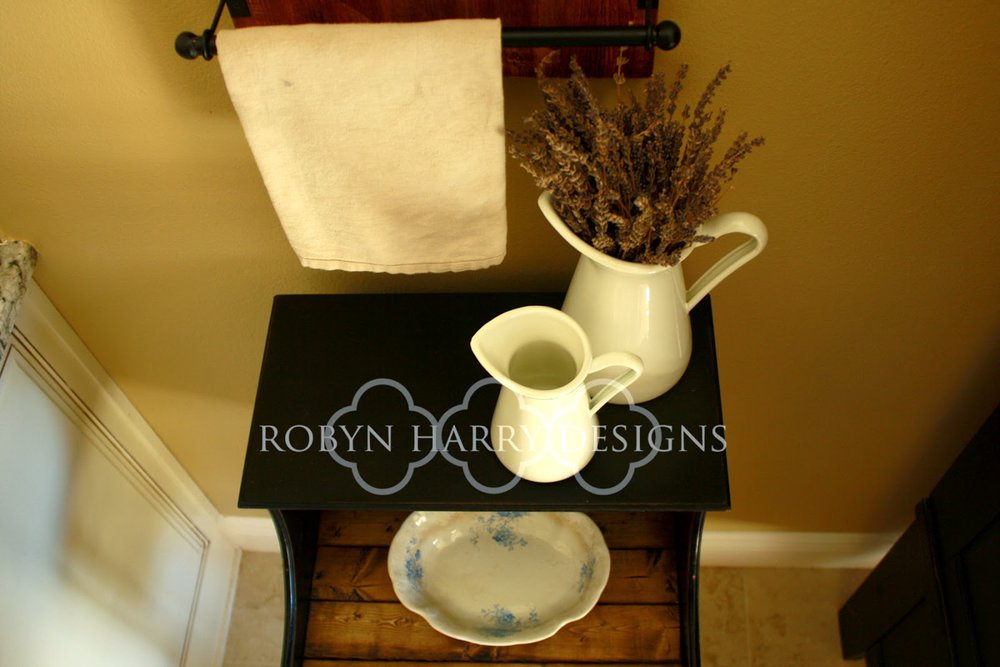
Facelift Friday | Telephone Table
Today's facelift is one that took me completely by surprise. We've had this telephone table for years. We picked it up at least eight years ago on clearance at Hobby Lobby. It's always been a great foyer, hallway or bathroom piece. It's tall, neutral and not too deep. In my opinion, accent furniture doesn't get any more versatile than this.
I wasn't looking to replace this piece as it fit perfectly in our foyer between the coat closet and the half bath. But then one day, I stumbled upon a beautiful piece that would be an even better fit. So, I set out to spruce up our telephone table and had planned to sell it.
But then I fell in love with it.
This totally happened by accident and it was amazing. My awesome hubby cut a piece of wood into six equal pieces for me to use on a chair frame. They ended up being a smidge too small for the seat. One day when I was trying to find any possible working space organizing the garage, I placed these boards on the telephone table and realized they were a perfect fit!
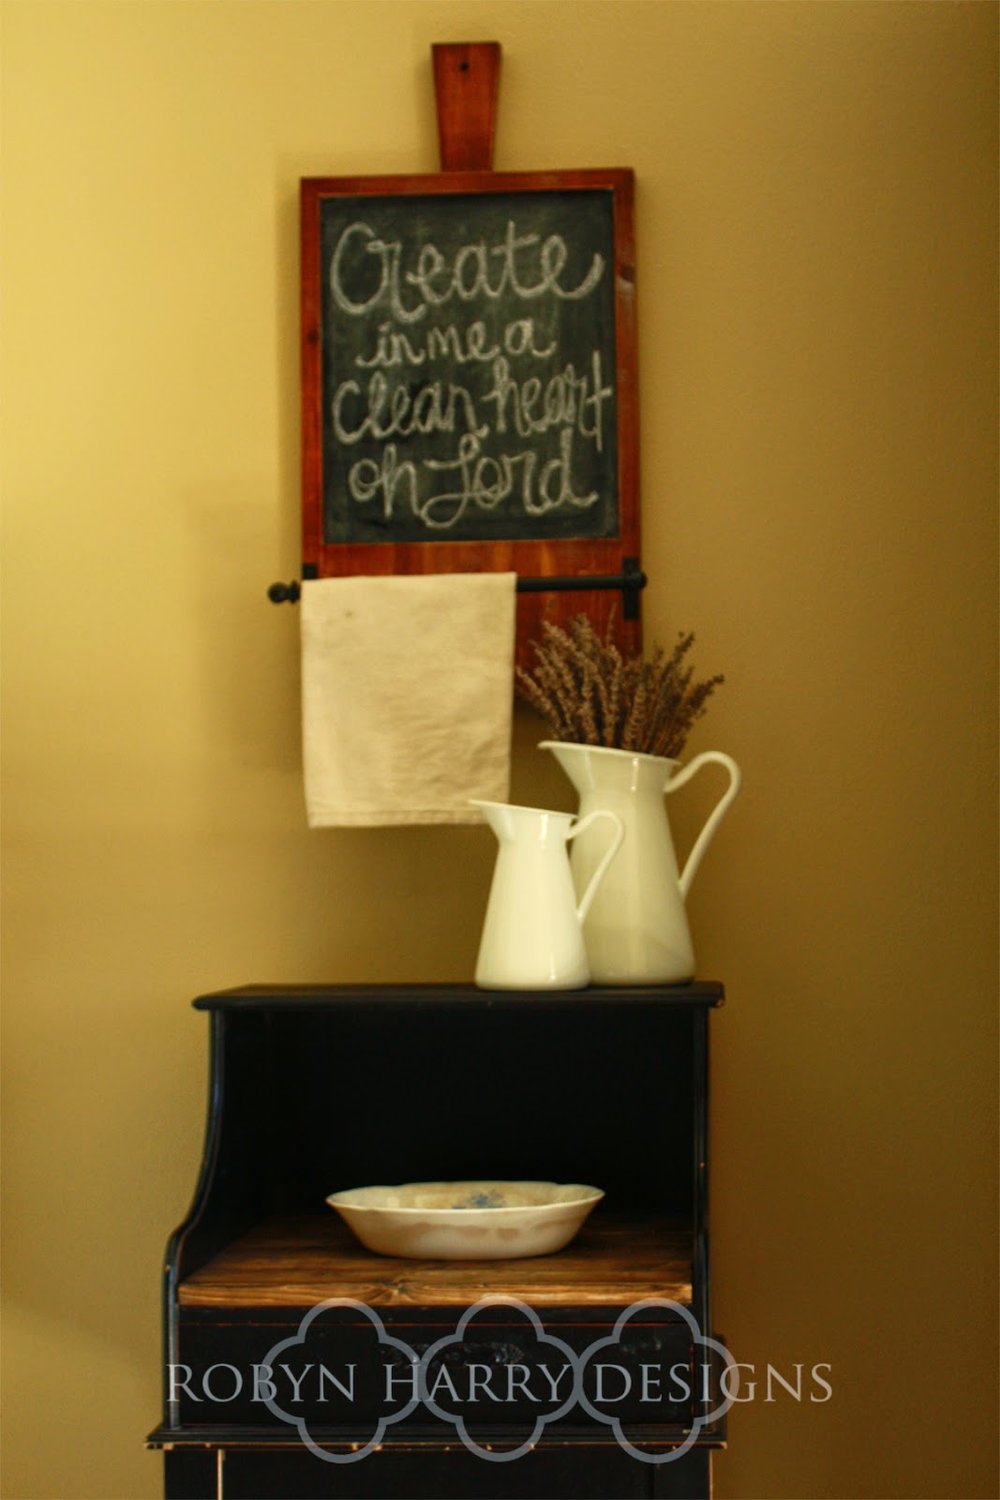
I stained the boards and finished with Miss Mustard Seed's Antique Wax. After that, it was the simple task of gluing them to the table top with wood glue. And it looked so pretty, I couldn't imagine selling it.
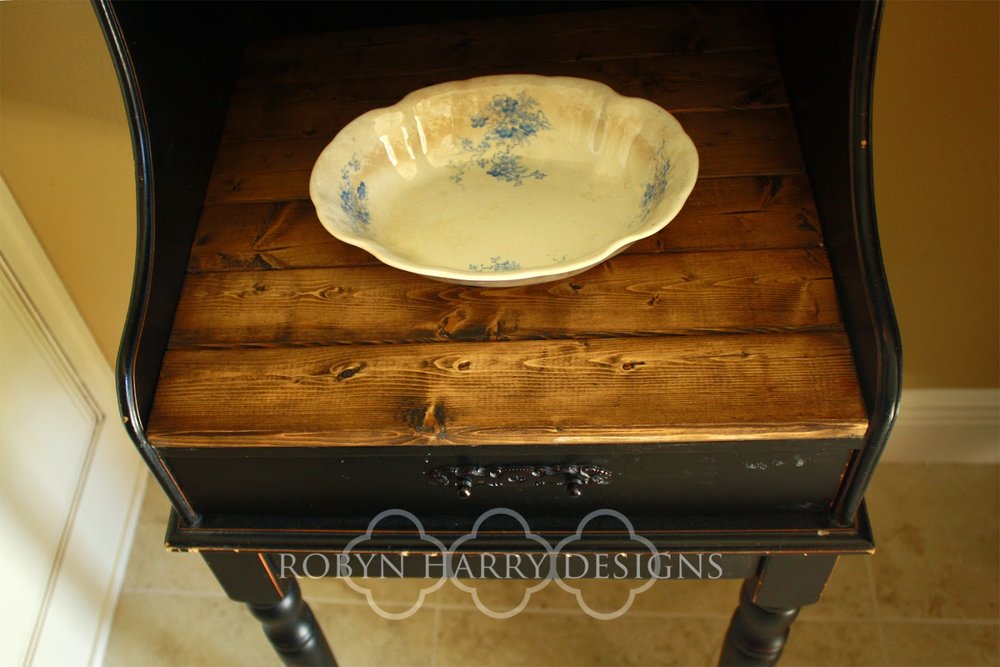
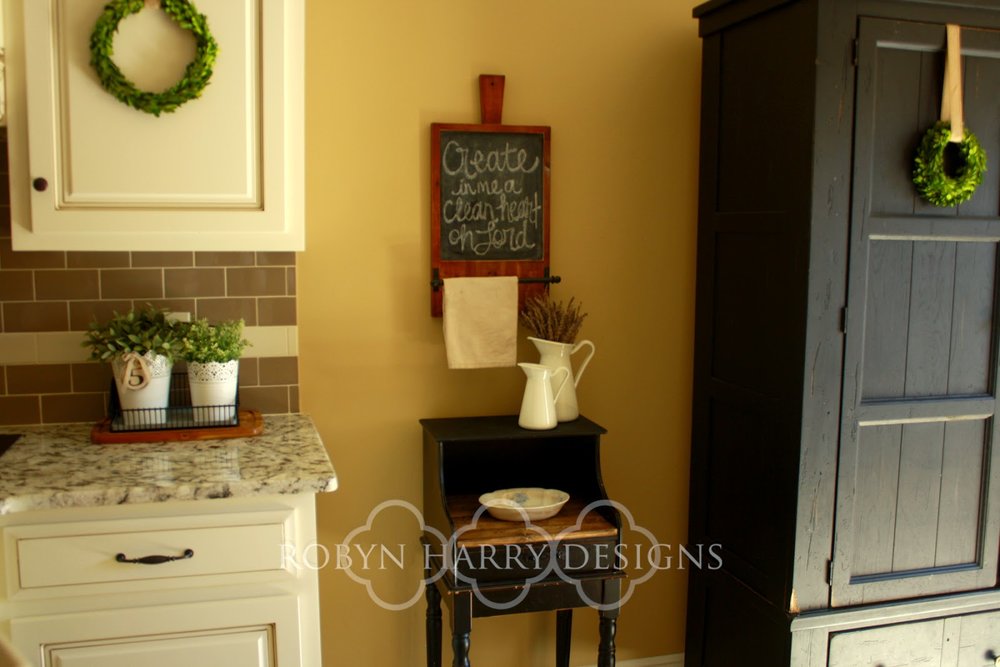
So, just last night as I was laying in bed thinking about where I'd photograph this piece, I had the brilliant idea of placing it between the counter and the armoire in our kitchen. This is the space where we keep our hot cocoa/lemonade station. I love this piece here. I love the element of the wood in our kitchen. I love the height it brings. And I love the functionality of it.
A super simple, stunning fix to an outdated piece of furniture, no? What are you going to fix up today?
Facelift Friday | Getting back in the swing of things!
Friends, it has been far too long. I have really missed this little blog of mine. But I have thoughtfully made some changes in my life and as a result, will have more time to blog. I'm happy to be back!
Well, I meant to post this Friday, but as we all know, life gets hectic and I am slowly getting back into photographing, editing and writing up home decor projects and ideas. This week's facelift is a super fun and easy project that anyone can do.
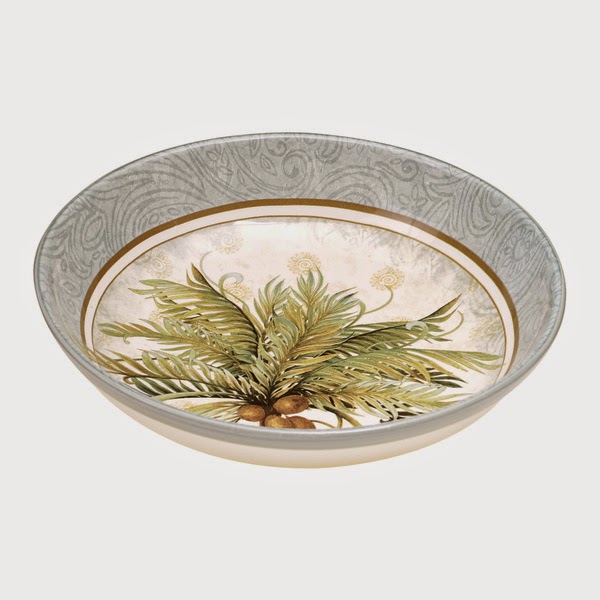
Per usual, I completely neglected to take a before photo. I started with a very large decorative bowl that I picked up at a local thrift shop. Something similar to this, but dark red with palm trees:

This bowl is very large and would make such a great accent piece in a kitchen, dining room, or bookshelves.
Well, I meant to post this Friday, but as we all know, life gets hectic and I am slowly getting back into photographing, editing and writing up home decor projects and ideas. This week's facelift is a super fun and easy project that anyone can do.
Per usual, I completely neglected to take a before photo. I started with a very large decorative bowl that I picked up at a local thrift shop. Something similar to this, but dark red with palm trees:
I knew I wanted something on it that would be textured and raised up off of the surface. I remembered I had a jar of gesso and the wheels in my head started spinning.
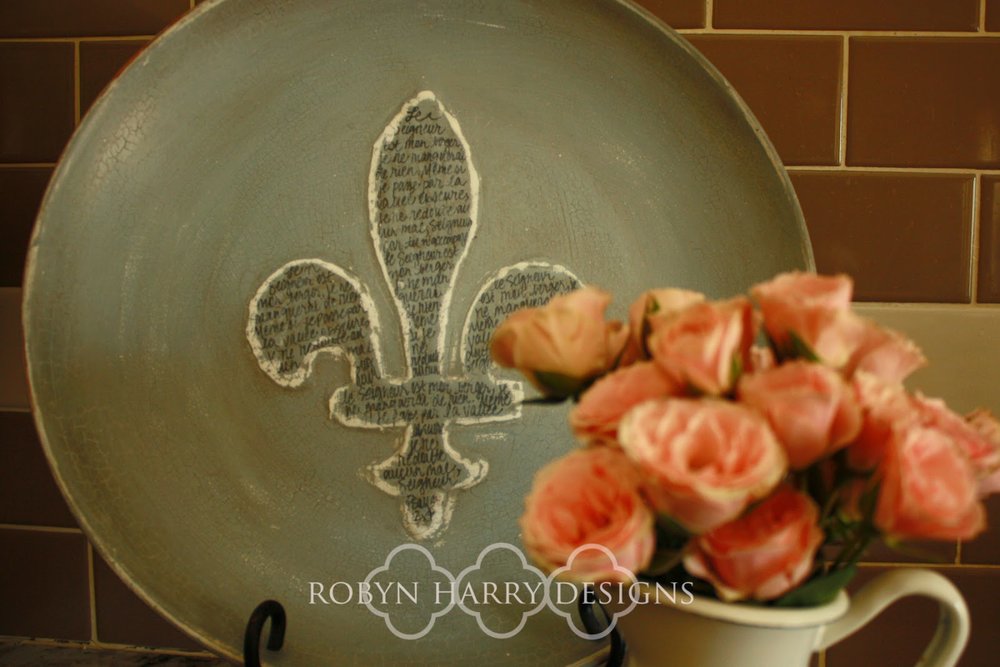
First I printed out a free image of a fleur de lis I liked. Next, I traced it onto a thicker cardstock and cup that image out with an exacto knife to create a stencil.
After taping the stencil to the bowl, I added a layer of gesso and let it dry. Next, I pulled the stencil off and just used the first layer as a guide. I applied quite a few more coats of gesso on top. I'm going to be honest and let you know this bowl was on my island for several weeks. Some people (hubby) got really tired of looking at it.
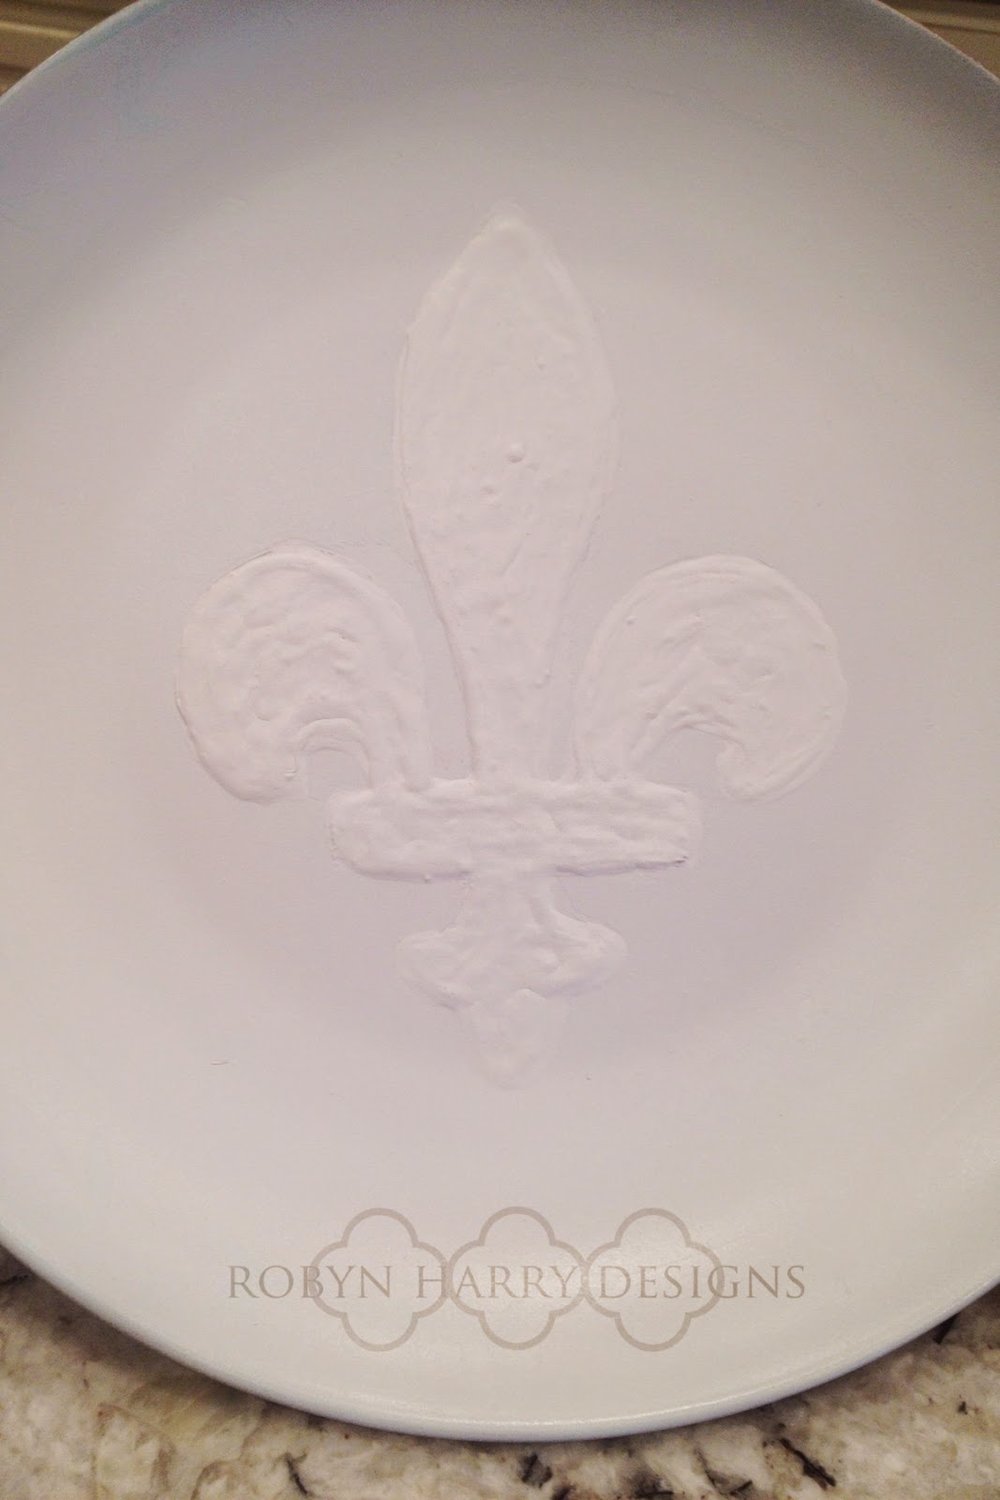
Once I was satisfied with the amount of texture and depth of the fleur de lis, I spray painted the entire thing with two coats of flat white. I wanted to use milk paint on this, but I knew it would have a hard time adhering to such a smooth, perfect surface. The spray paint was to give it some depth as well as something for the milk paint to adhere to.
Here is what it looked like after the spray paint:
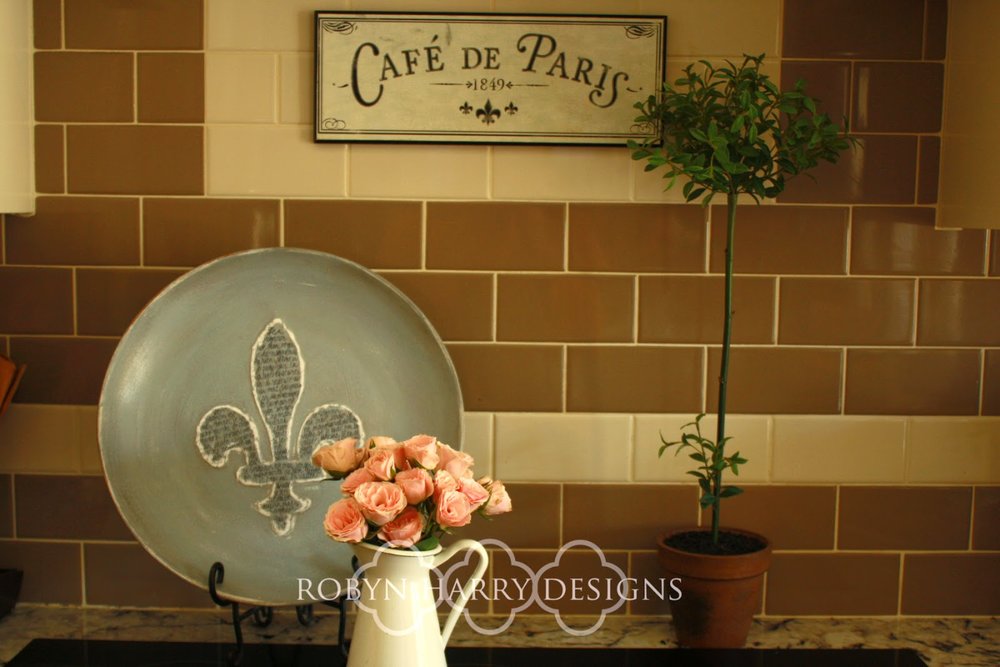
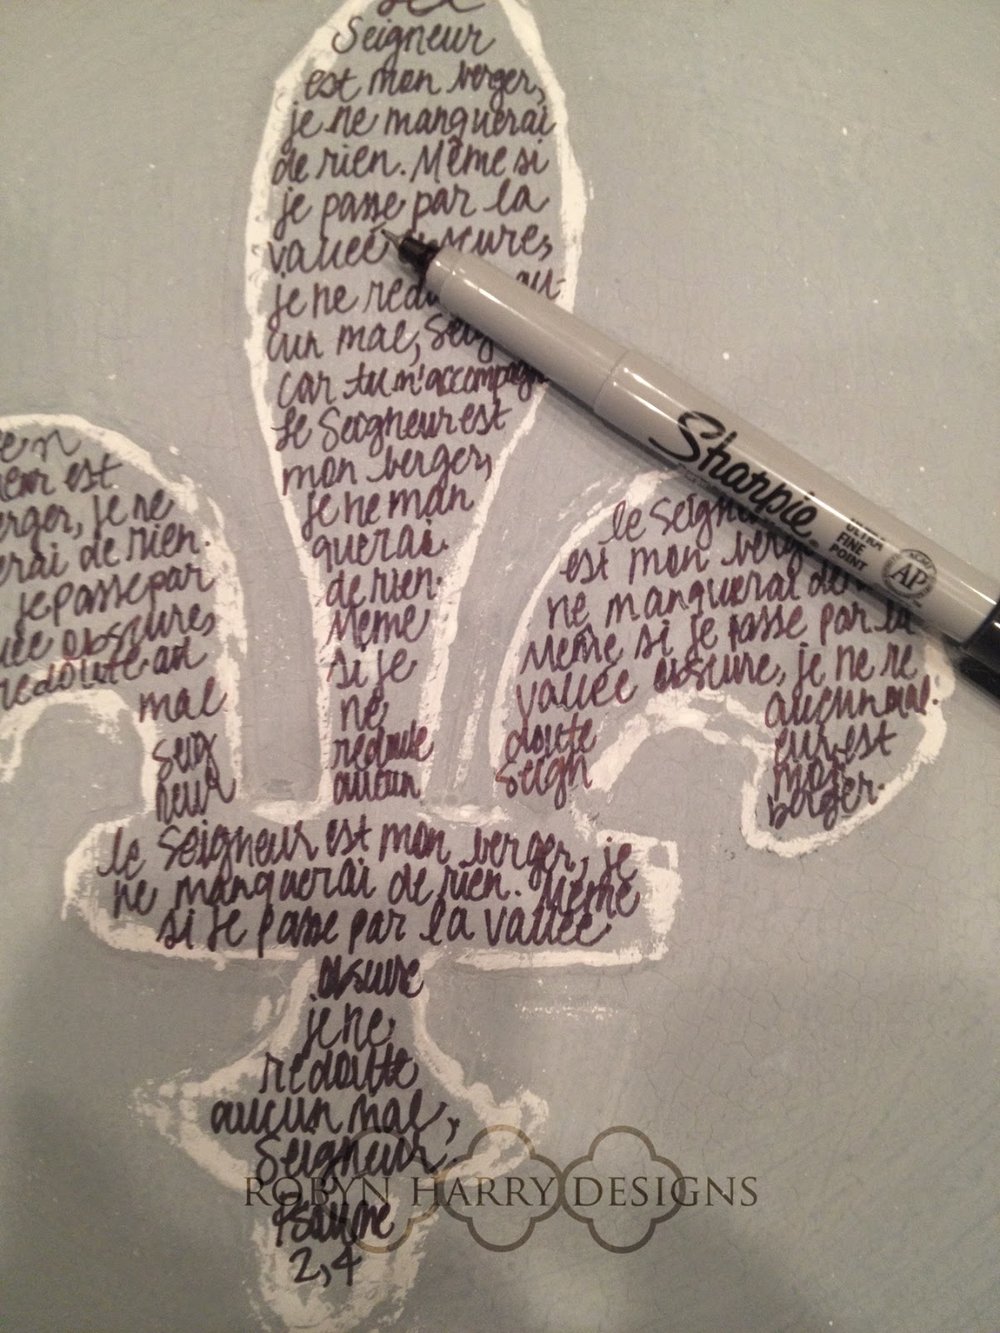
Next, I added one coat of Miss Mustard Seed's milkpaint in Shutter Gray. Once it dried, I sanded a bit around the borders of the fleur de lis to reveal the flat white. My plan was to use a large French script stamp I have and stamp only on the raised fleur. I'm telling you, I tried every technique possible and I just couldn't get it right! I finally resolved to handwriting Psalm 23: 2 in French.
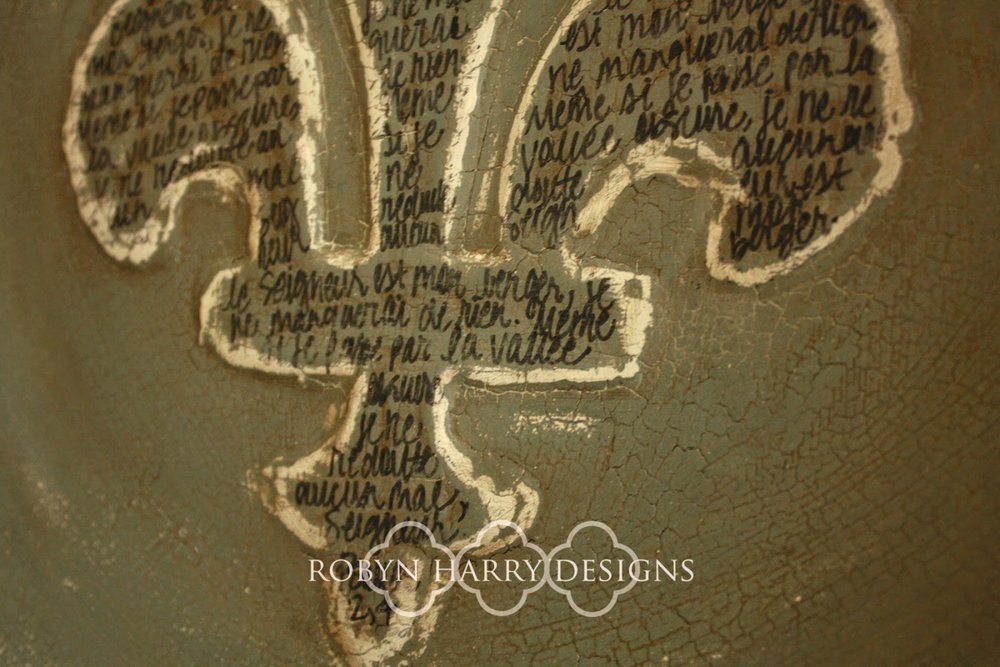
It's SO not perfect, but it will do. Finally, I used a very fine grit sand paper to smooth down the entire thing and rough up the handwriting a bit. I added a coat of MMSMP antique wax, followed by a coat of white wax. I love how it brought out the lovely crackle texture left by the milkpaint.
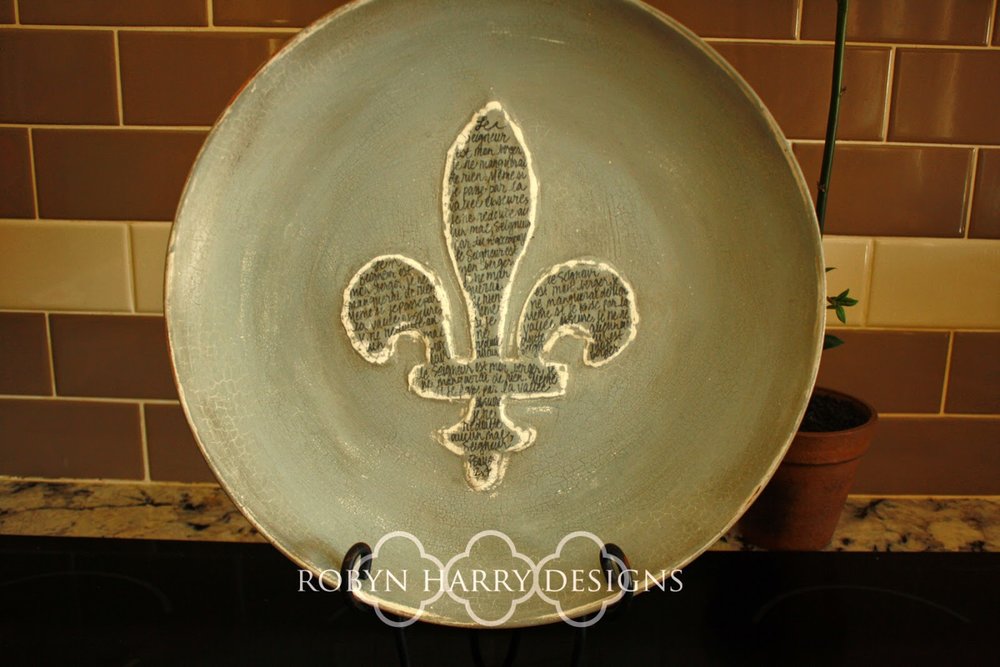
This bowl is very large and would make such a great accent piece in a kitchen, dining room, or bookshelves.
The colors are all quite neutral, so I think it would be a great fit for any color scheme.
All of the Miss Mustard Seed Milk Paint line is nontoxic, though I still wouldn't recommend using this piece for food. I think I'm going to put it up in my booth at Old Time Antiques. If you are local, you should absolutely check it out!
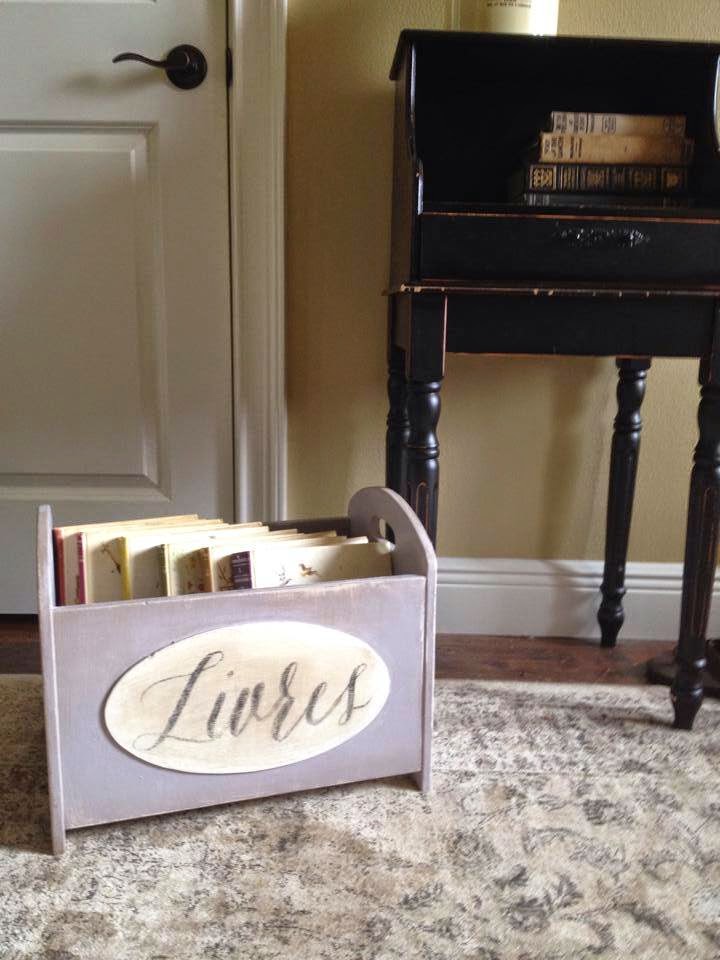
Facelift Friday | Let's try this again.

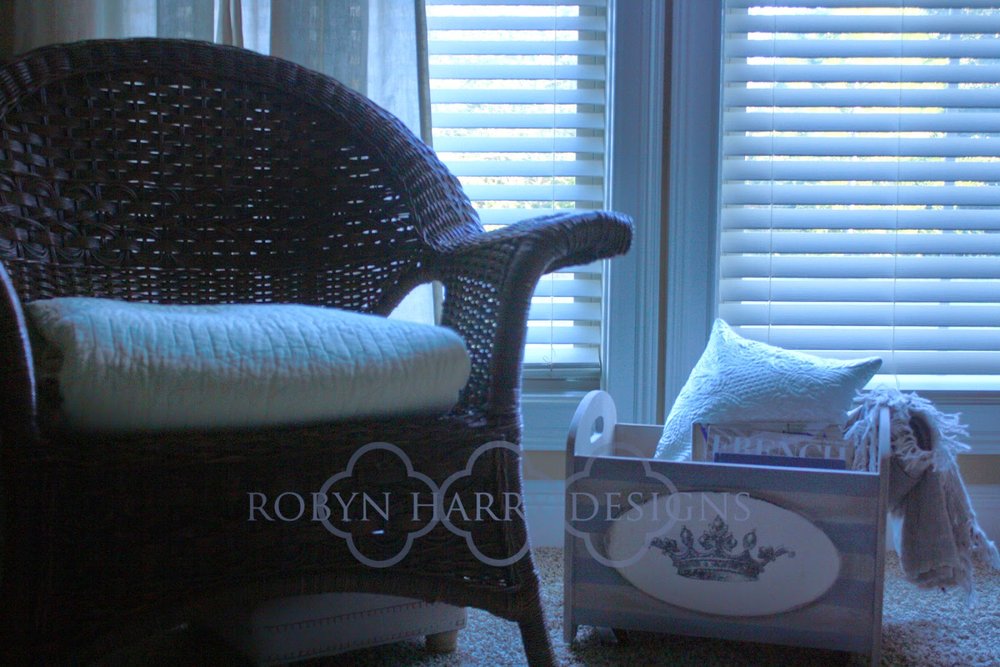
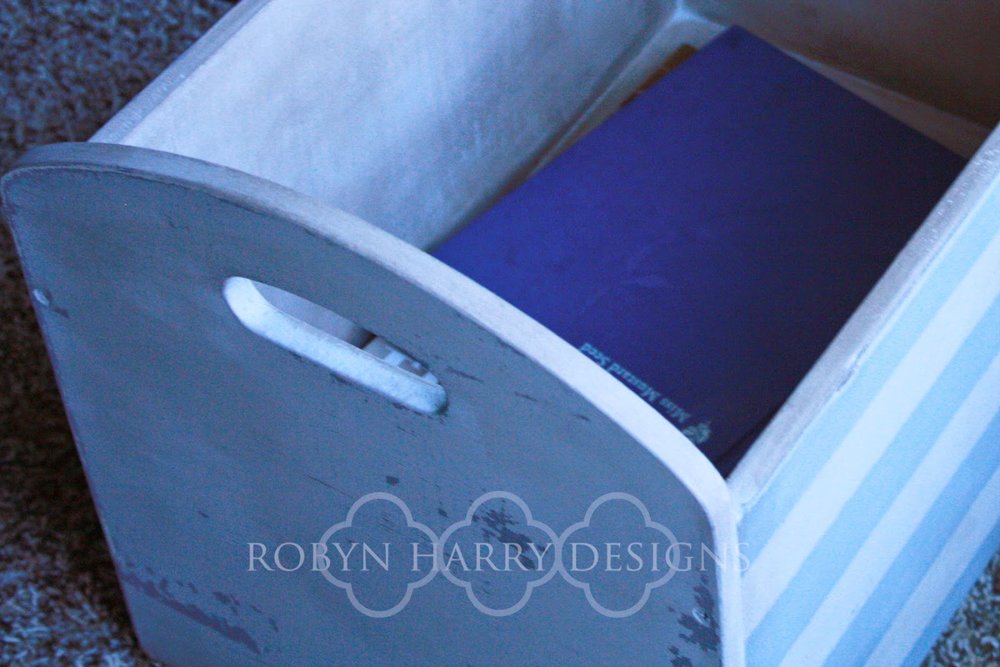
I found this awesome toy box crate at a thrift shop in the spring. It was a bright red, but I saw the amazing potential. It had casters at one time, so it was already perfectly outfitted to add them again. I first painted it in ASCP Paloma and added the French word for books, "livres." Well, it turns out that not everyone is a Francophile like me. (How?) I had it in my shoppe for $18 for months and no one touched it. Not every style suits every person, right? So, I brought it home with me to give it yet another facelift.
I painted the entire thing in MMSMP Grain Sack. It is a creamy tan color that I just love; perfect and neutral.
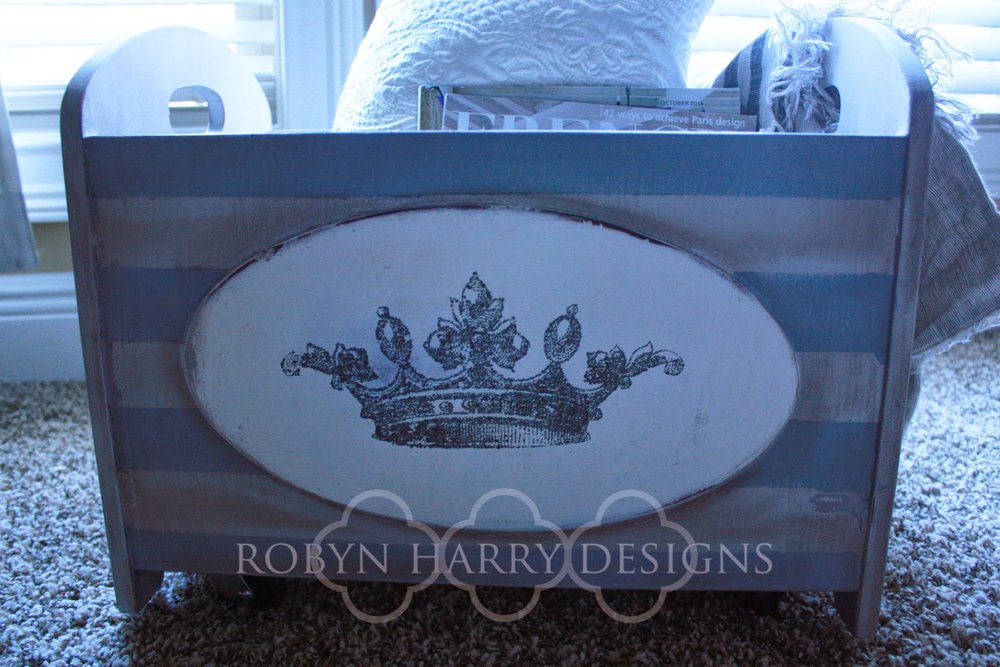
I added stripes in Shutter Gray to the front and back panels. I am loving stripes. I think they are classic.
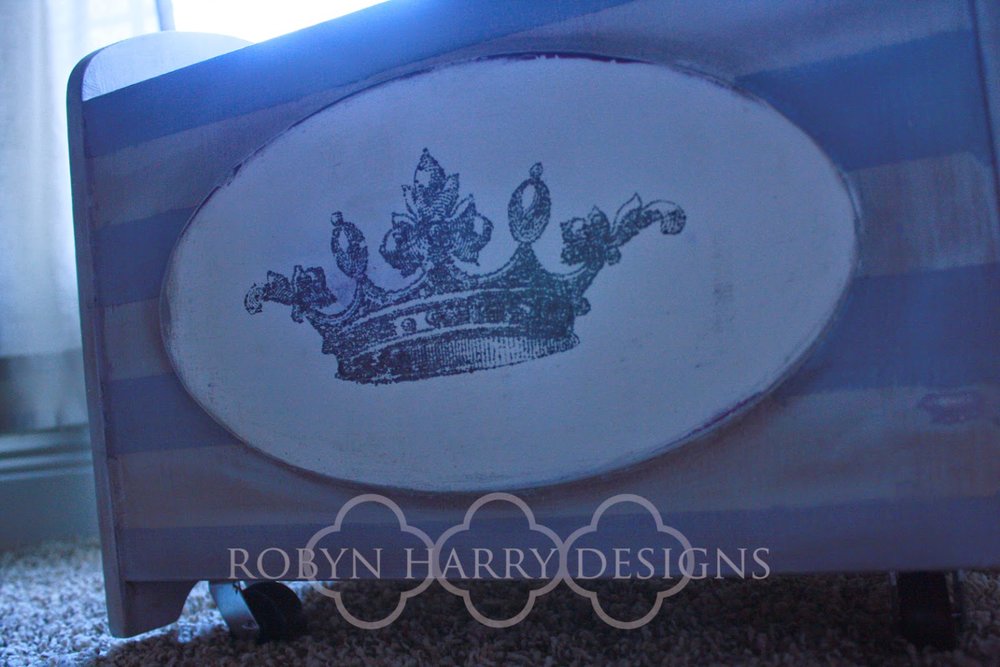
Oh! And remember I mentioned the casters? I finally got around to adding them. I love adding just a bit off industrial decor to elegant French Country.
I covered the entire piece with MMSMP Antiquing Wax, except for the oval piece in front. (I'm still undecided about that part.)
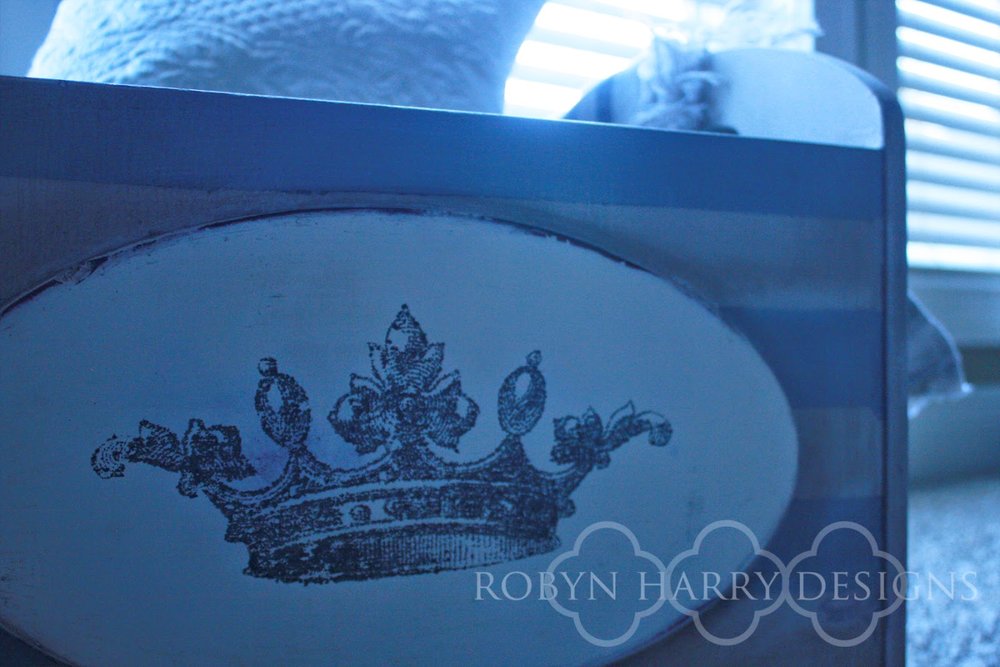
For the graphics on this time around, I used a lovely vintage crown instead of a French word that no one seemed to get. ;)
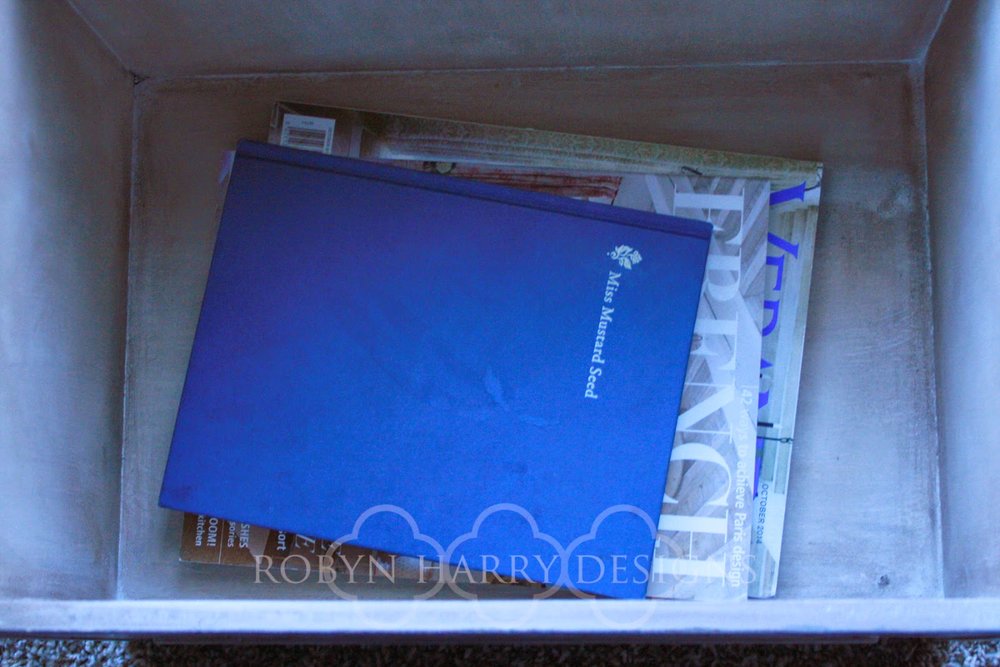
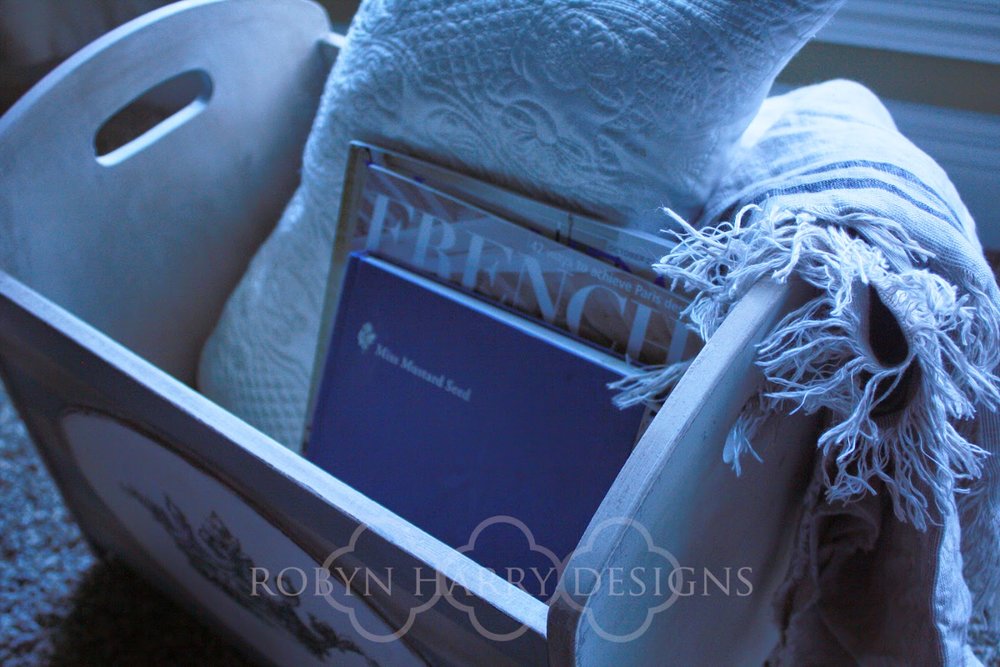
I think this time the piece is much more versatile. It would be excellent in a living room holding all of your throws for the winter. It would also be lovely in a den holding books and so sweet in a kid's room. Where would you use this piece?
Facelift Friday | Chippy Desk
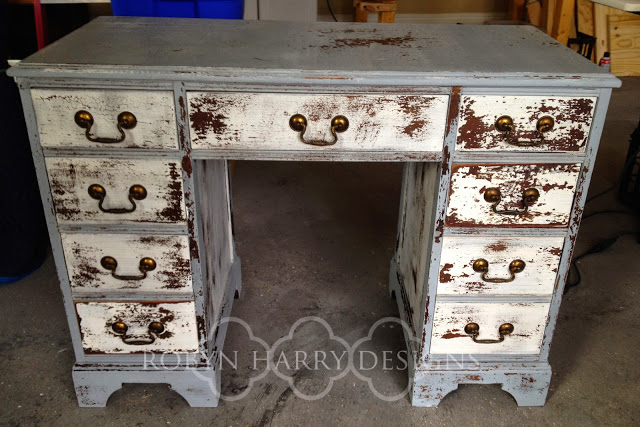
I am late again with my Friday facelift! I am going to have to be better about that. This week I got to work with the most lovely desk. I knew when I saw it that it was suited for two colors. Of course, one of those was going to be Ironstone, but I thought a bit about the second color.
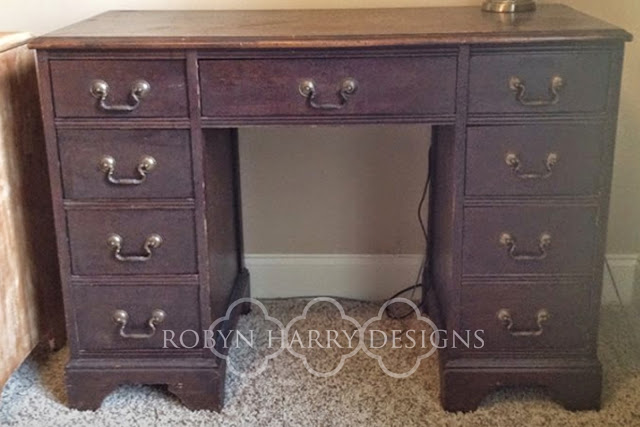
After checking out Miss Mustard Seed's Milk Paint lookbook, I decided on Shutter Gray. It is the perfect mix of gray and blue. To me, it is the quintessential French country color.
This was the first piece I did that had a larger amount of peeling and chipping all on it's own. A few of the drawers did not chip at all, so I used a heat tool to encourage more chipping. I think it turned out rather well.
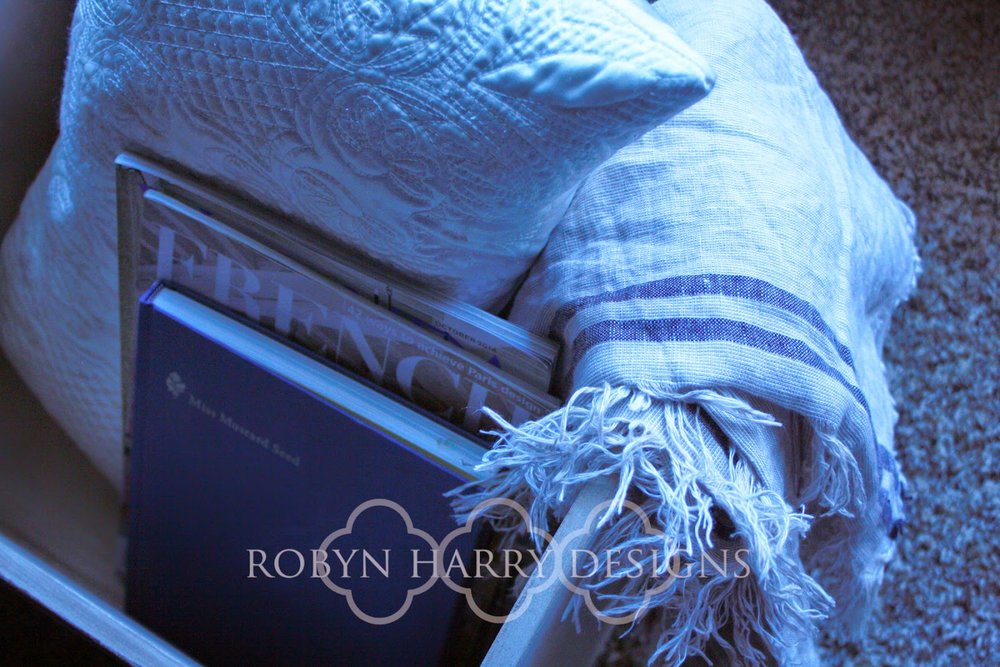
Unfortunately, I was in such a hurry to finish this piece that I didn't get near the amount of photos I wanted to. I am thankful for the photos I did manage to get though.
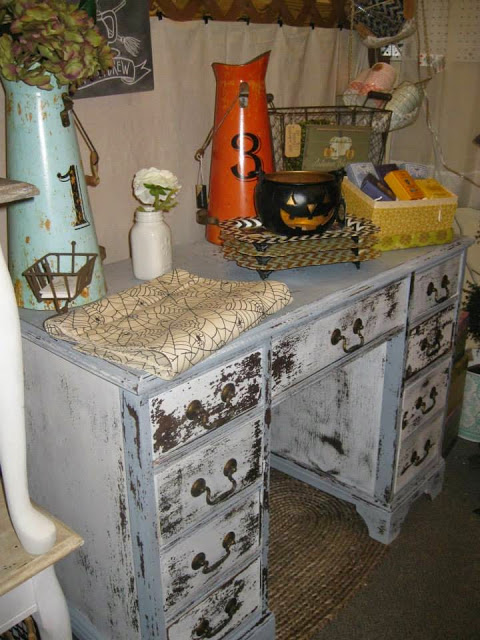
This last photo was taken in my booth at Old Time Antiques. If you are in the Florida panhandle, I highly recommend checking it out.
Makeover Monday | Union Jack Coffee Table
Yes, I love alliteration. Maybe too much? It sounds clever in my mind and I can't think of anything else more witty for my post titles. I'll be working on that.
So, I have missed the past two Fridays. It's been busy around here, folks. But I've missed doing my regular Friday posts. It's the one constant for me on my blog. Which brings me to a question. What would you like to see more of on the blog? I'm working on developing recurring content throughout the week. If you have any ideas or desires, please share them with me!!!
On we go. I picked up this super cute little accent/coffee table at a local mission thrift store. I thought it was cute and I loved the legs. For the love, I swear I took a before shot, but alas, I cannot find it.
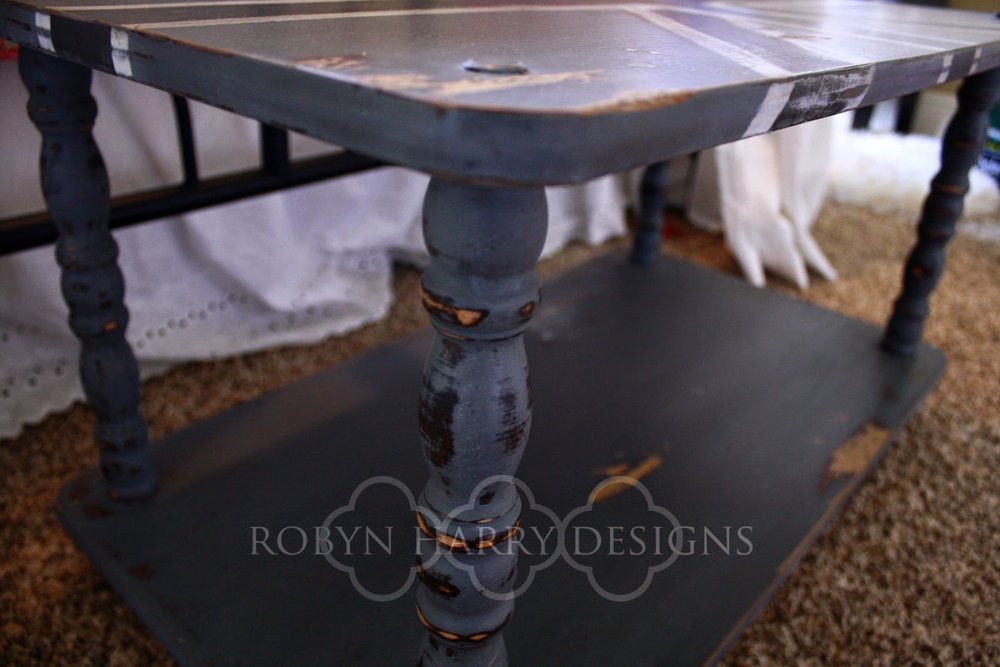
My original intention was to slap some lovely ironstone milk paint on it and call it a day. But then I started painting with a mix of french enamel and typewriter. I came up with a rich grey that had some nice blue undertones.
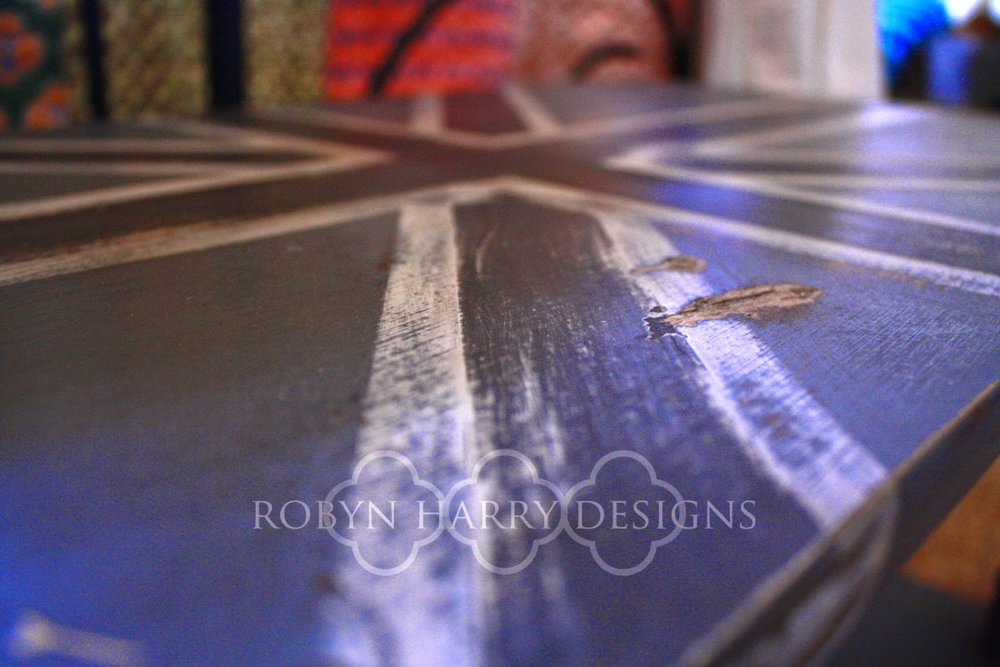
As I was painting the top, I suddenly realized it was the perfect size and shape to try out a Union Jack accent.

I was so excited to try out this design. For the stripes, I used ironstone and typewriter. I definitely needed two coats of each.

This cute little table was not in the best condition when I picked it up. So, I decided to embrace the super distressed look.
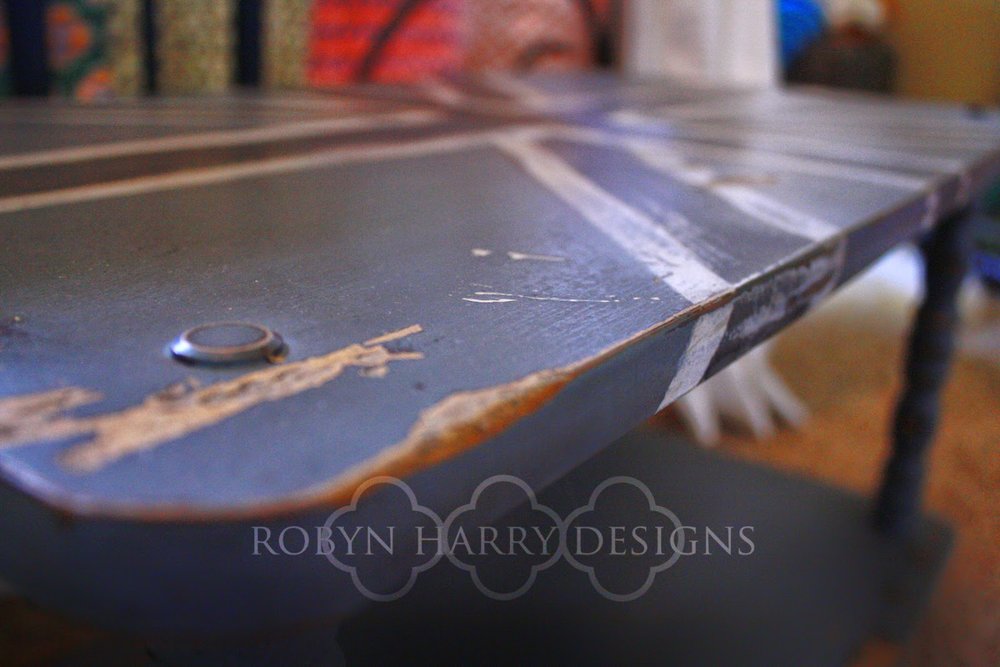
I sanded quite a bit and I even used a razor to add some big chips and marks. It was pretty fun doing this technique and I am sure I will be using it more often.
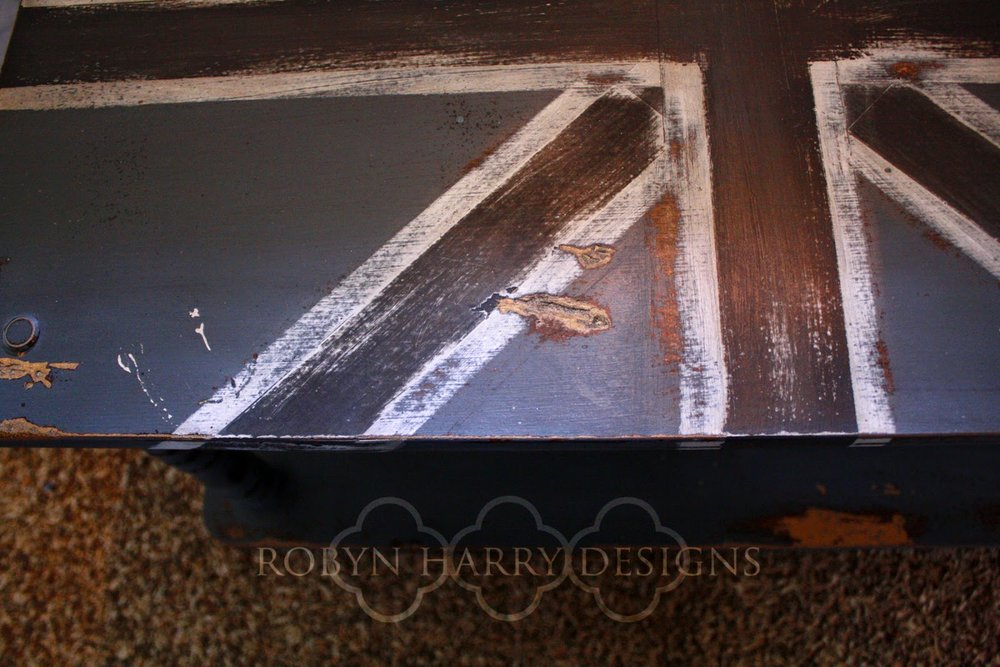
After the paint dried and I removed the tape, I sanded the stripes quite a bit as well. I wanted them to look very worn and blended together. I love how it all turned out.
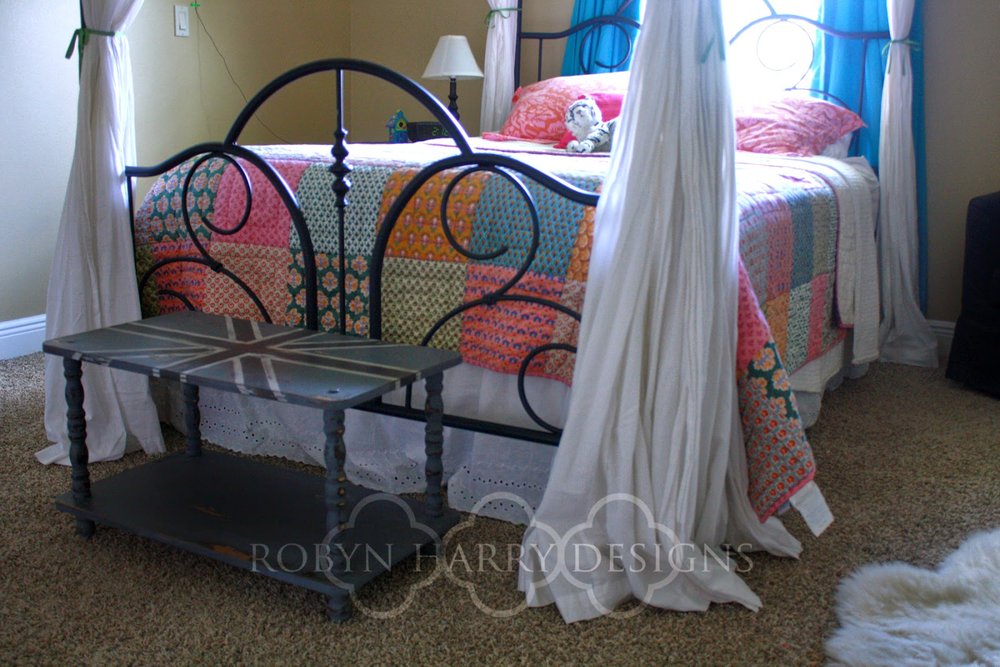
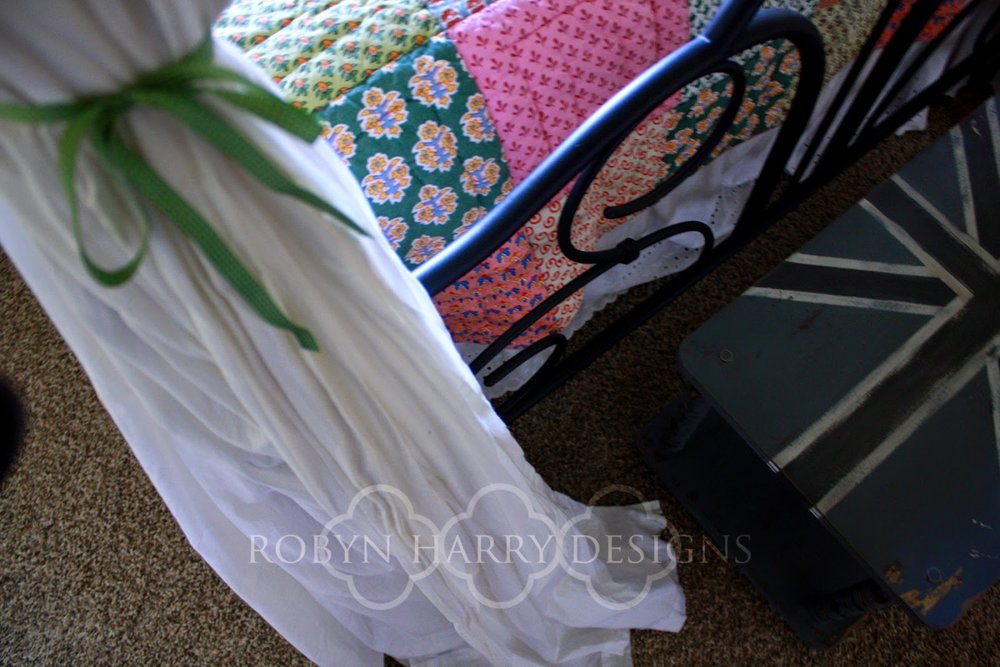
I am loving the combination of this dark, distressed piece with flowy white drapes, colorful bedding, and a lush, faux fur accent rug.
Paint truly is amazing, isn't it? I don't think I will ever stop loving transforming these forgotten pieces into something lovely.

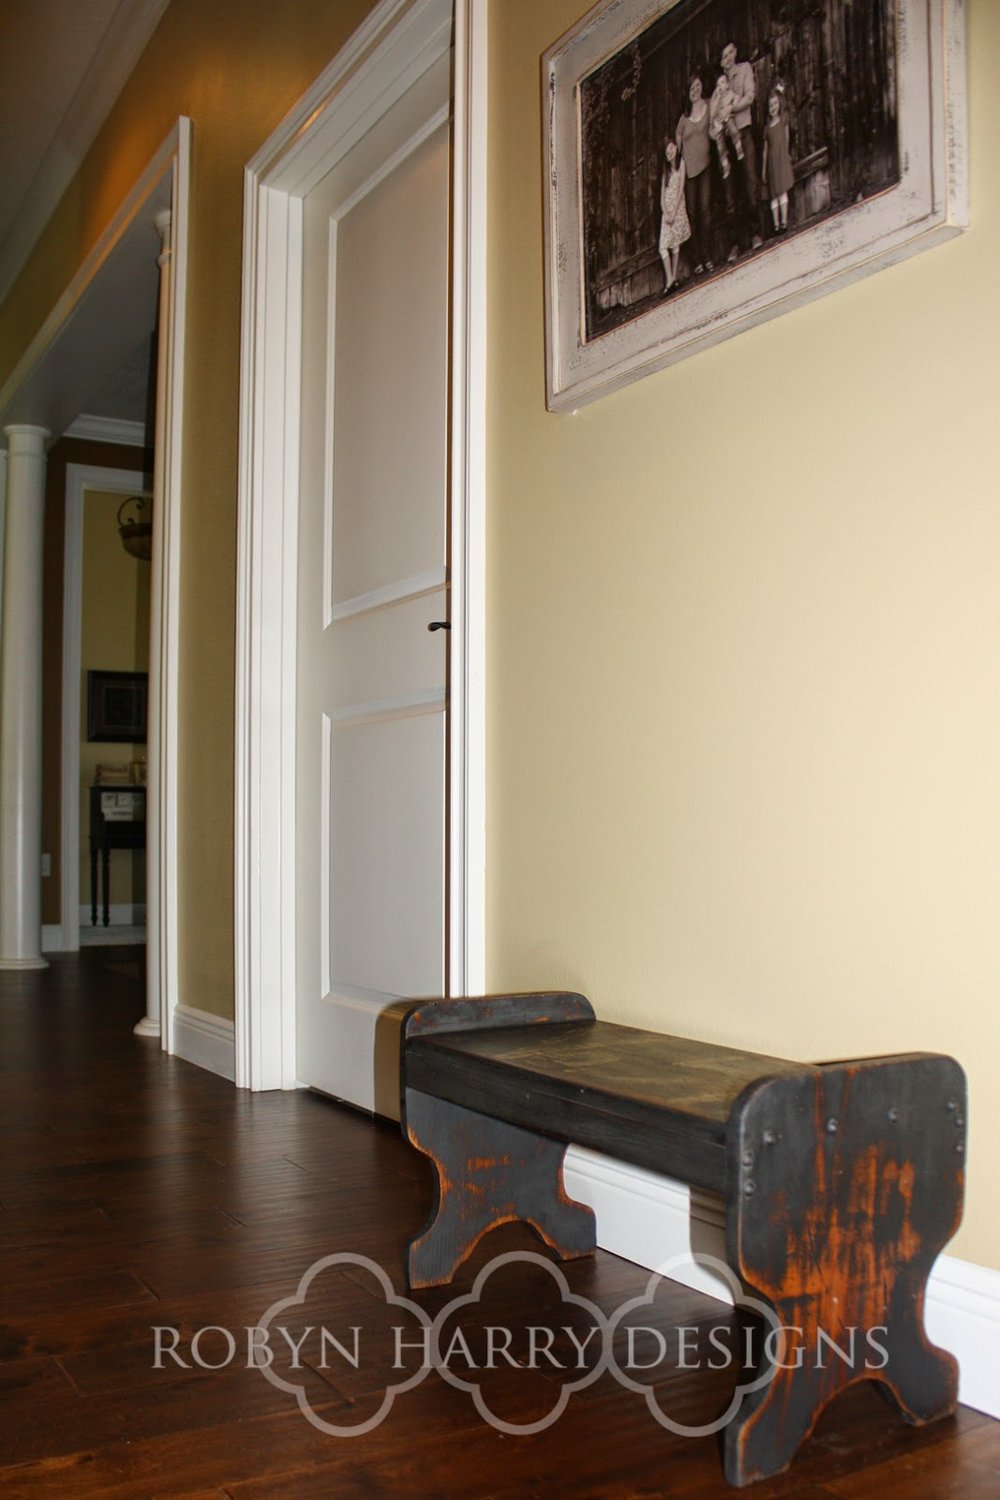
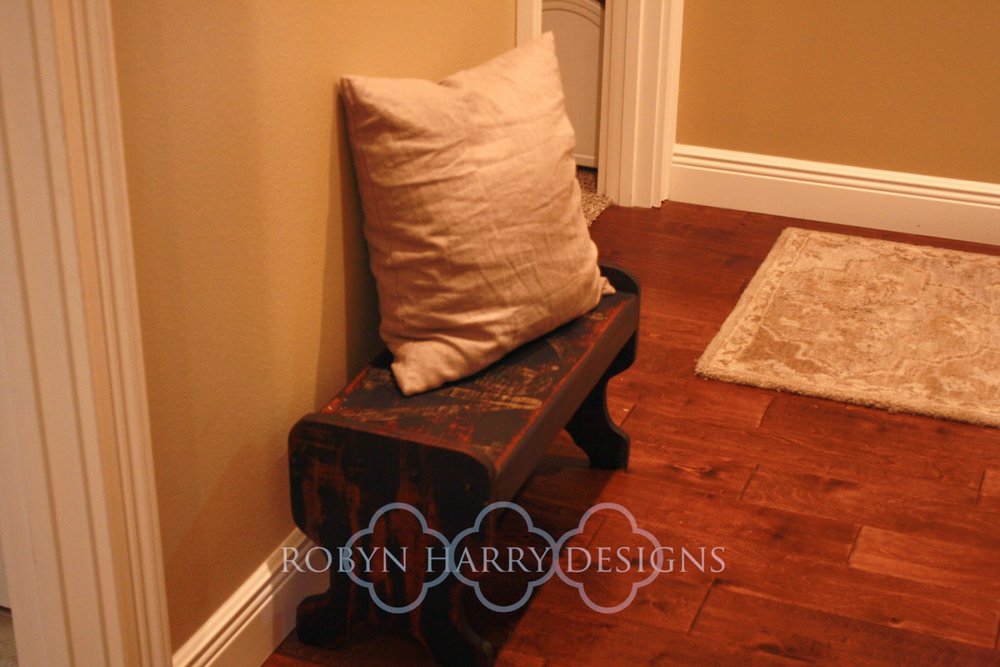
Facelift Friday | Handmade Stool
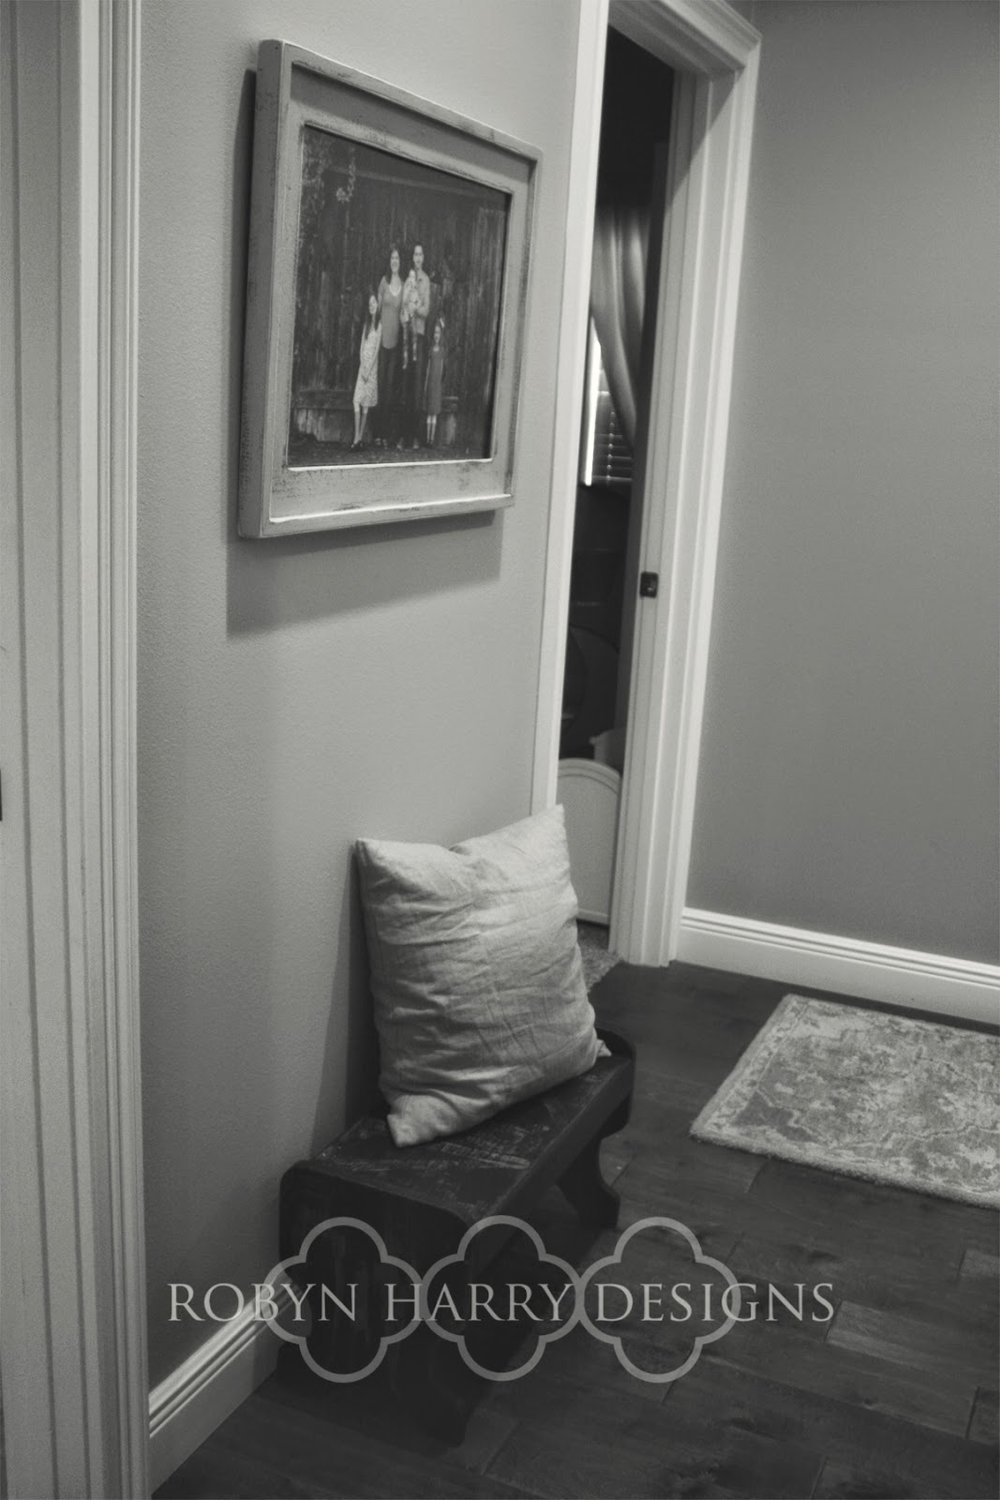
I picked up this stool at a local mission for a super great deal. From the looks of the construction and pieces used, I am guessing it was handmade.
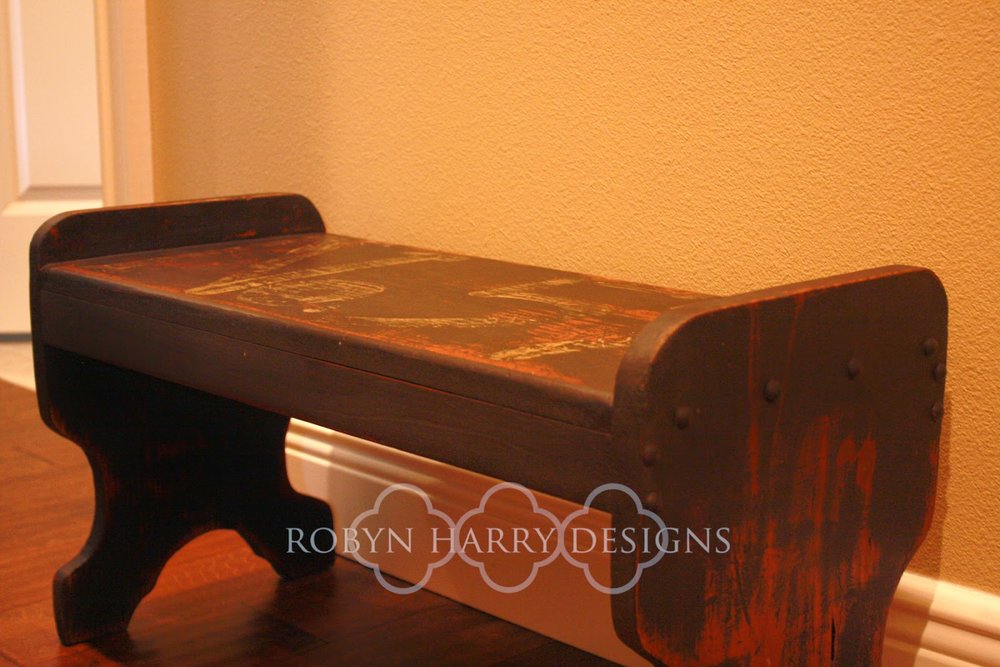
The legs of this stool are very unique. I've never seen anything quite like them.
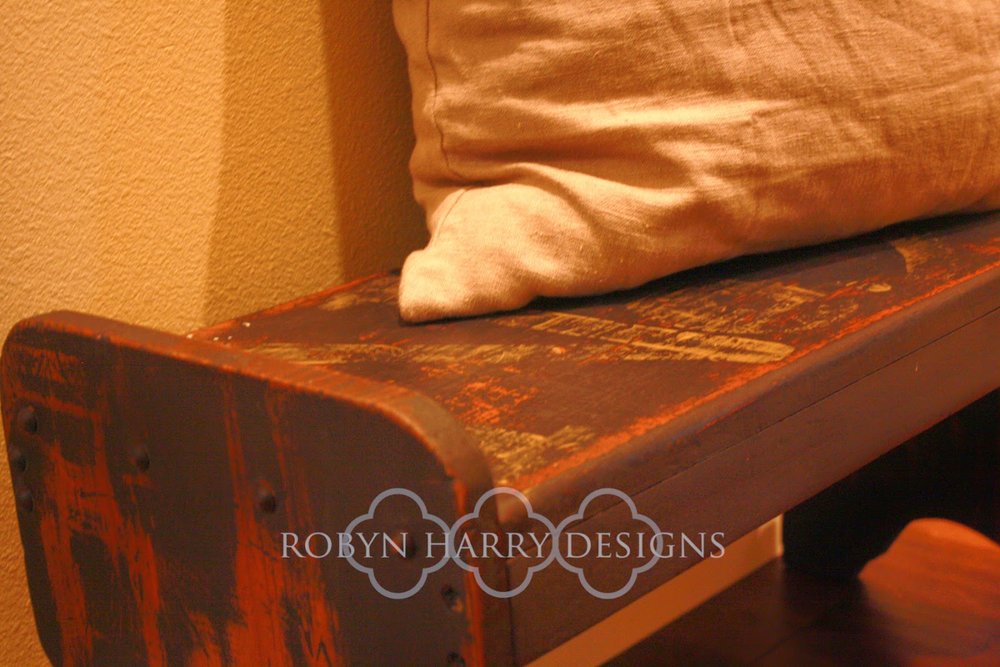
The first step in reviving this gem was giving it a light coat of Miss Mustard Seed's milk paint in typewriter.
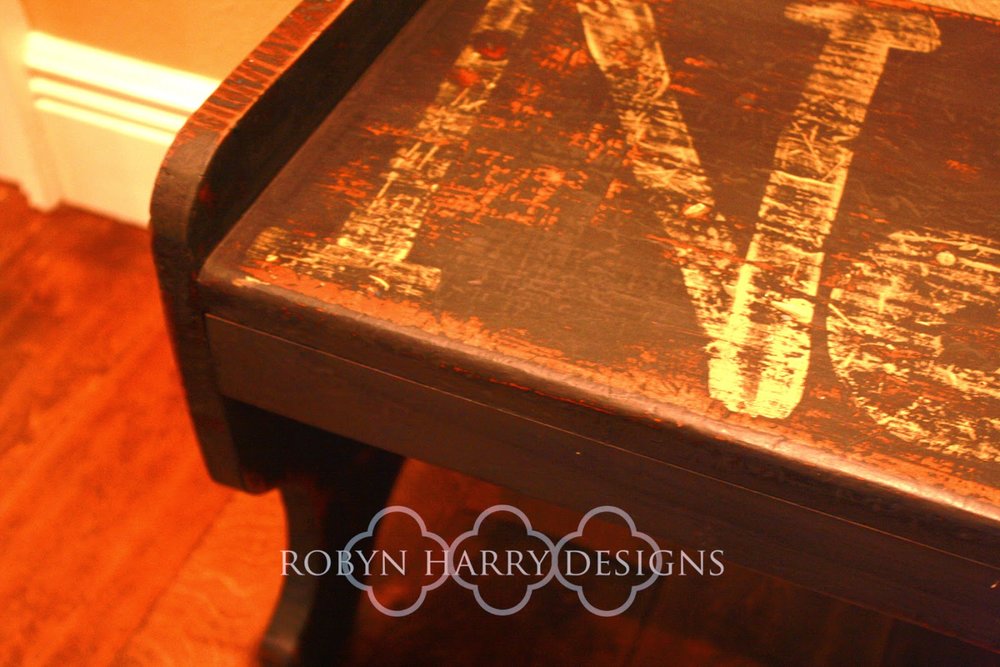
Next, I hand painted some simple text on top mimicking a vintage typewriter font I'd found online. I used acrylic paint in gold for this.
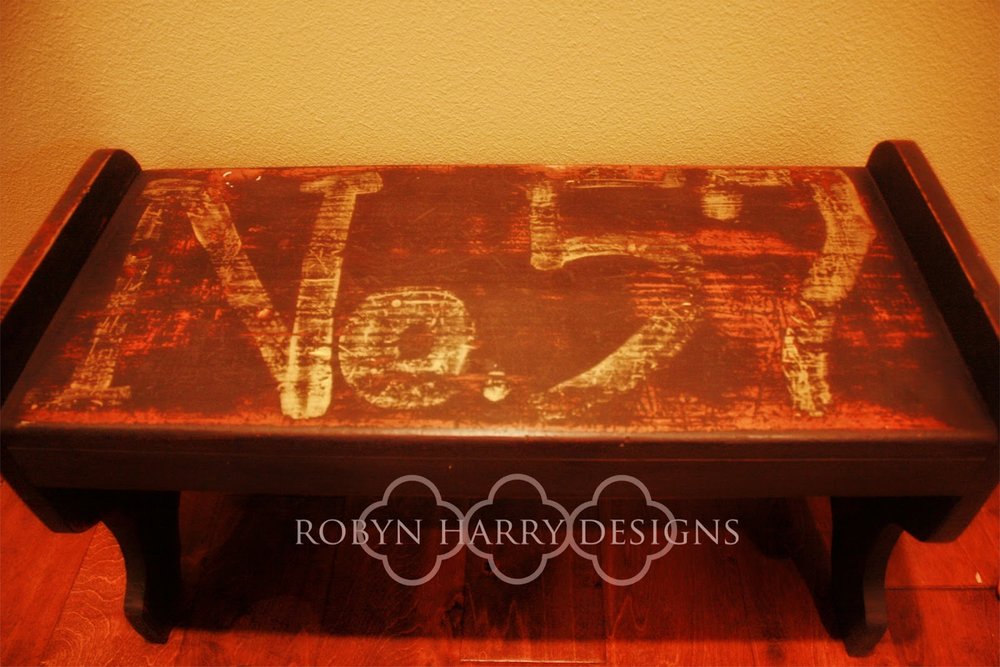
I found the lettering looking too perfect, so I roughed it up quite a bit using a medium grade sandpaper. I also sanded the complete piece using my electric sander and fine grit paper.

I used Miss Mustard Seed's hemp oil on the entire piece to bring out the natural wood and soften the overall look. I love how that wood grain stands out.
Finally, I completed the piece with one coat of antique wax as well as a single coat of furniture wax. I am pleasantly surprised with how much I ended up liking this piece. I set it up right outside of our laundry room/garage entry and I am thinking it's an excellent place for children to sit and put their shoes on. I also think it would be a great nightstand for an industrial chic bedroom.
Facelift Friday | Little German Rocker
Today's facelift feature is a fun one. I purchased this sweet little rocking chair from a sweet friend who was downsizing before a move. She told me it was given to her from a neighbor who had purchased it in Germany.
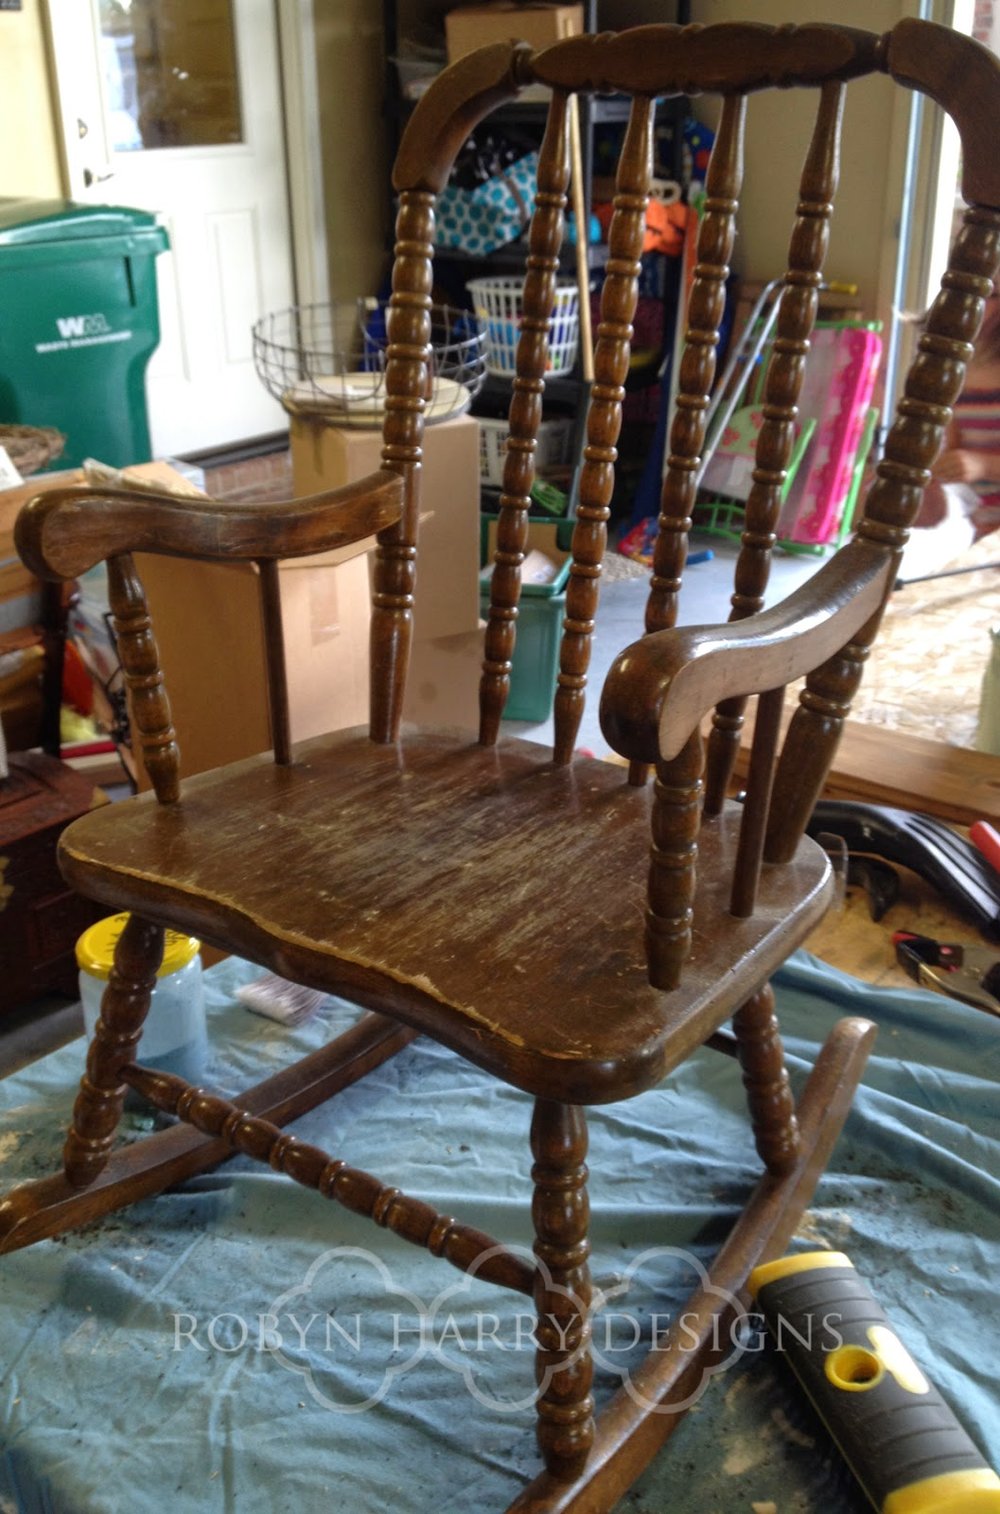

I started with a single coat of Miss Mustard Seed's milk paint in French enamel. It was a little brighter than I'd like and I was also running into bleed through from the previous stain.

Thankfully, I found this post written by Marian addressing such a roadblock. I simply sprayed the entire piece with a clear coat enamel and let it dry overnight. I also added Miss Mustard Seed's bonding agent to the the paint mix.

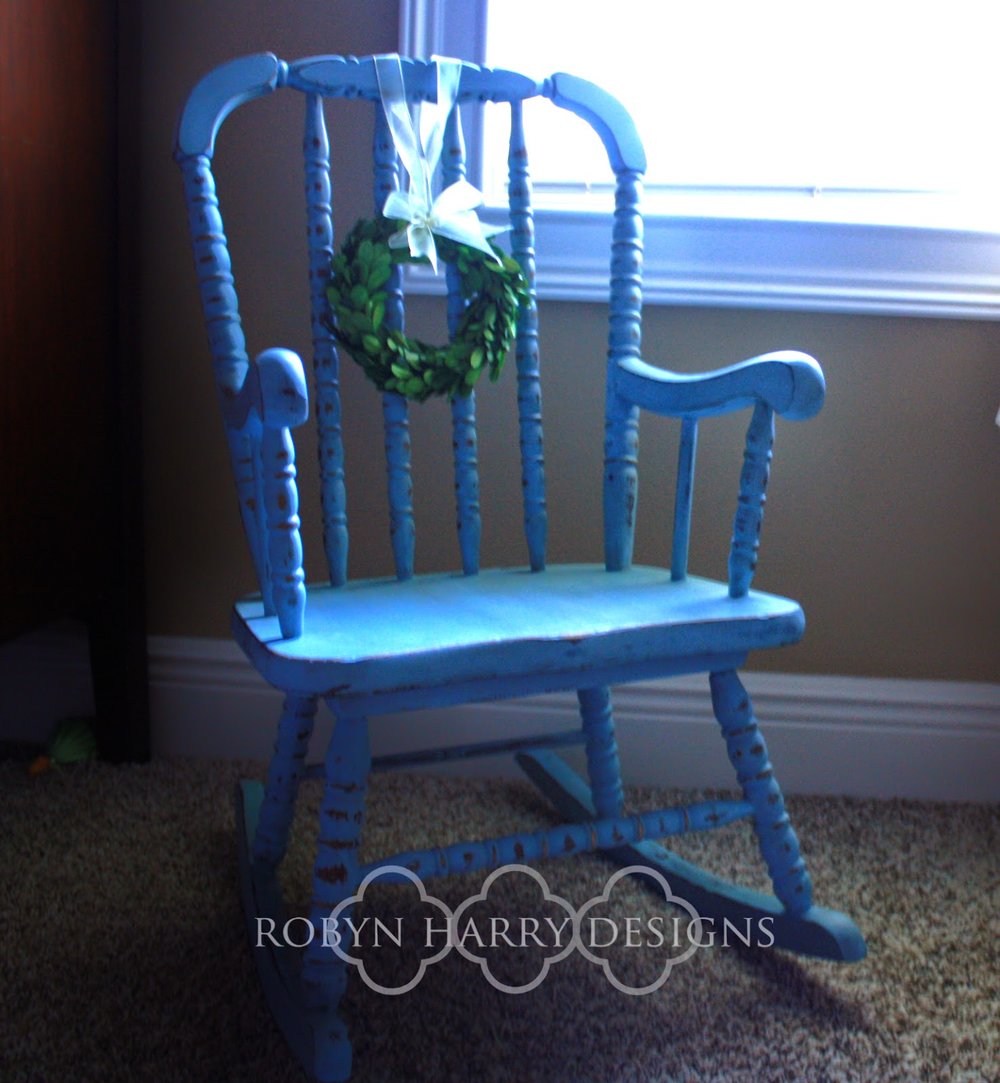
I now needed to address the brightness of the paint. I simply added more milkpaint in ironstone to the paint I'd previously mixed. It was now the perfect shade of blue.
I only ended up using one coat of the french enamel/ironstone mix. I let it dry overnight and when I came back to it, I was not in love. It looked straight out of a 1980's country decor catalog; not quite the look I was going for.
I decided even though it wasn't my style, someone could still love it. I dutifully grabbed my sand paper to smooth down the finish and decided to distress it quite a bit more.
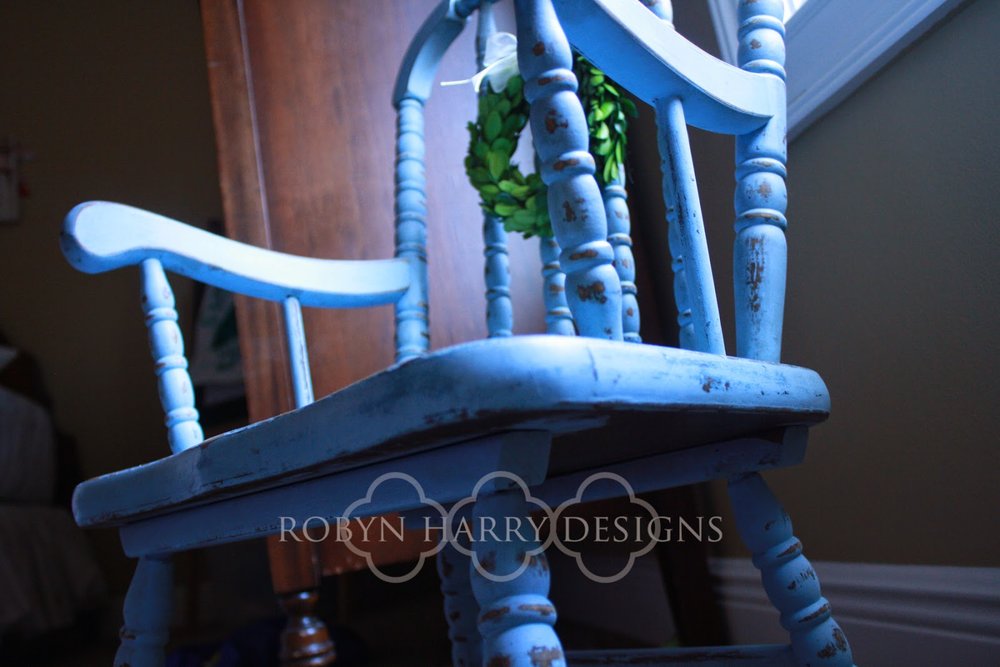
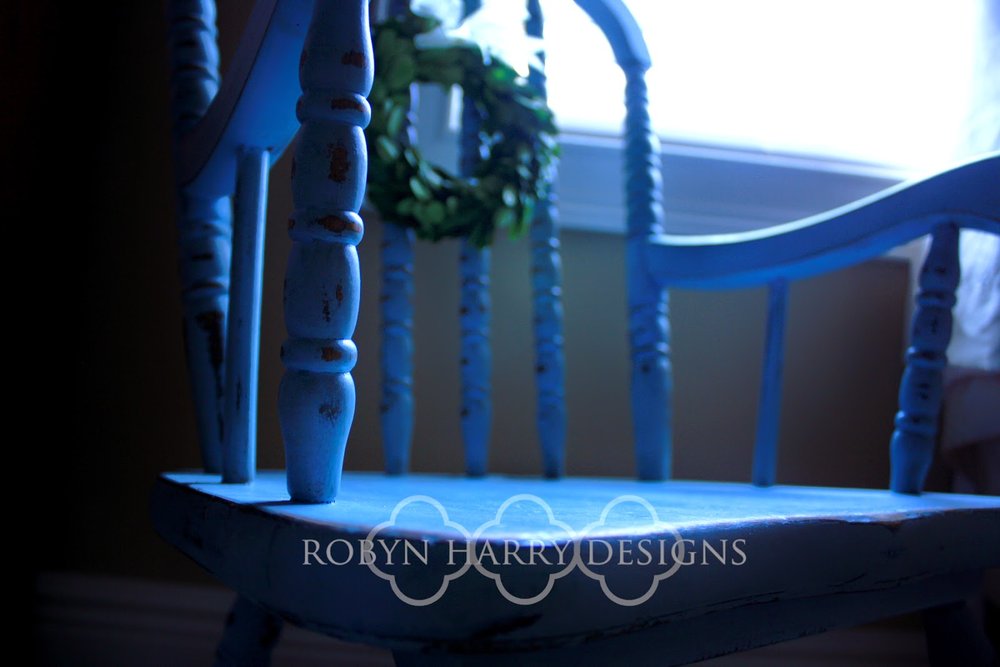
Just look at that chippyness! Now, I was in love.

To further distress it, I used Miss Mustard Seed's antique wax. It dulled the paint just enough and really brought out the chippy distressing.

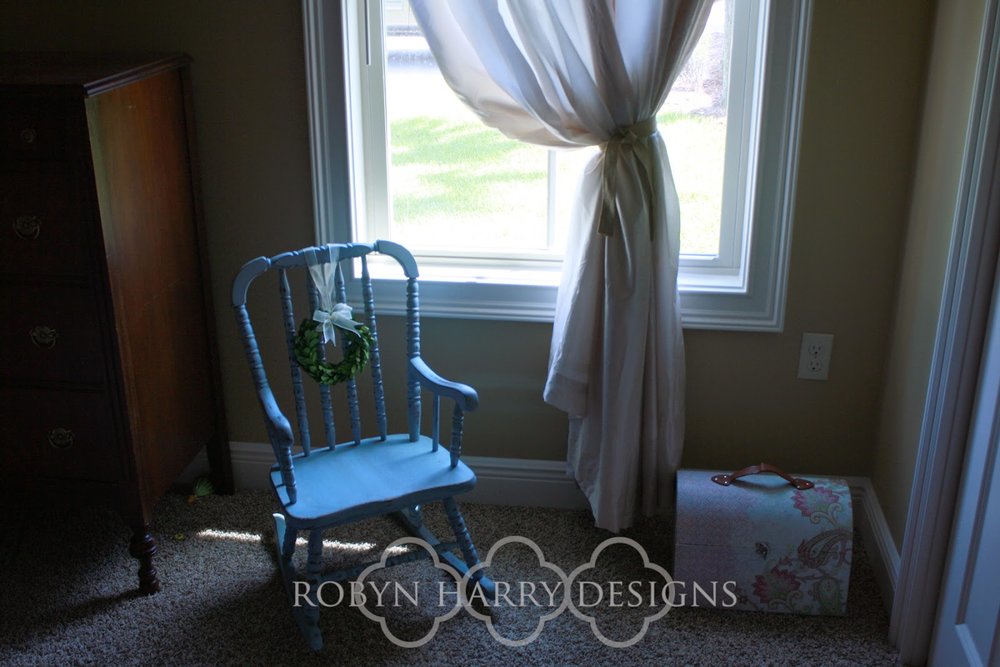
This little rocking chair turned out so sweet.
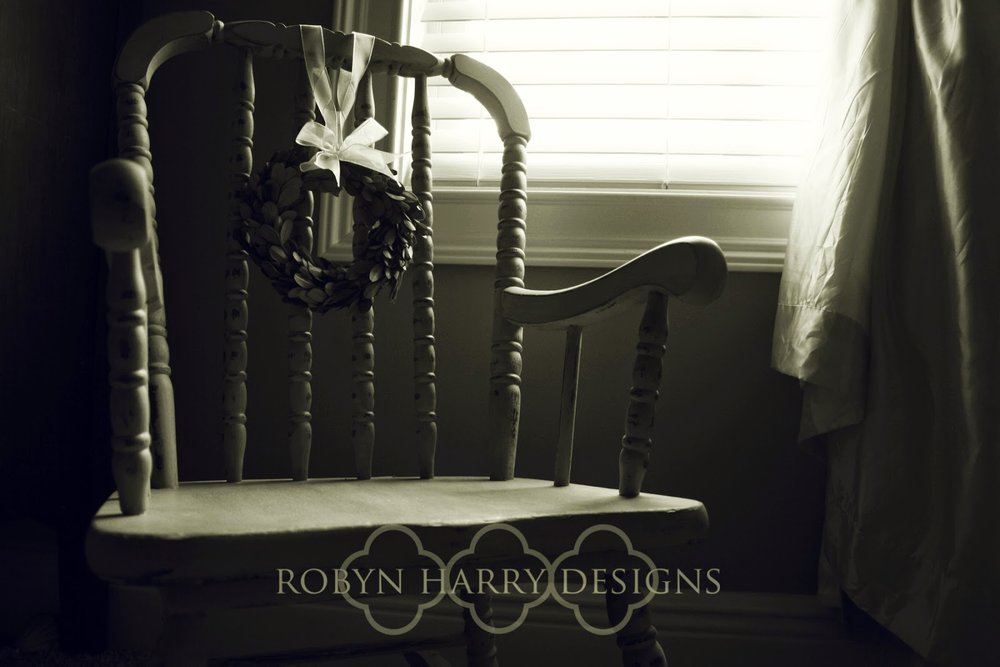
I think it is just the perfect addition to a boy or girl's room. It would even be lovely in a guest bedroom as a side table.

You know, it never ceases to amaze me the difference a little paint and wax can make. I just don't think I will ever get tired of this job.
Facelift Friday
Giving new life to a mass produced end table.
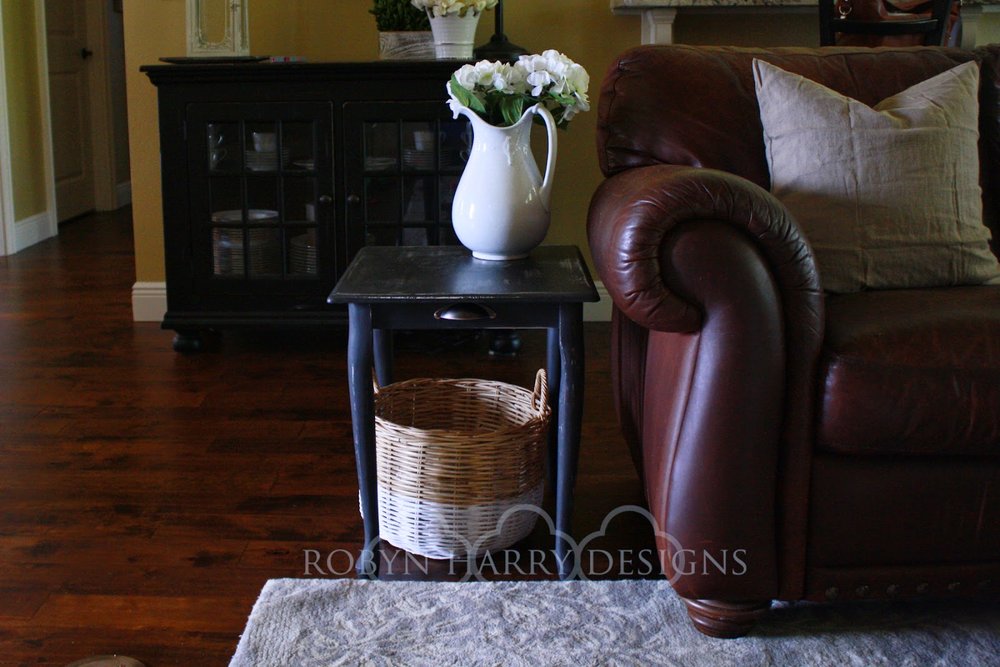
I recently picked up a run of the mill end table much like this one:
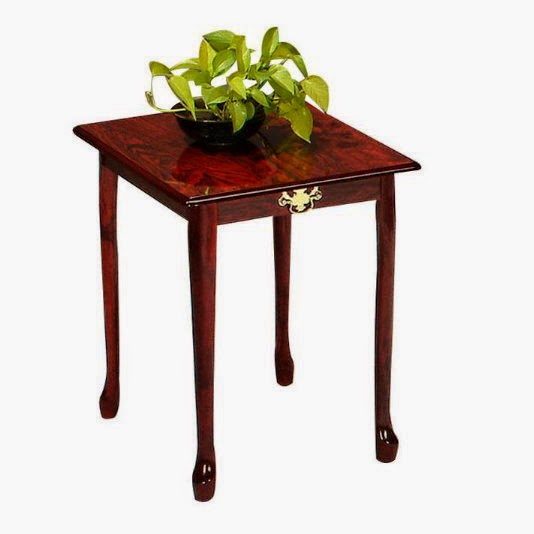
It was super cheap and I'm sure it is hardly solid wood. But everything in this life deserves a second chance, right? I like the idea of rescuing pieces that most wouldn't give another thought to.

For the first coat of paint, I used a homemade chalk paint in an antique white. I wasn't entirely sure the direction I'd be headed with this piece.
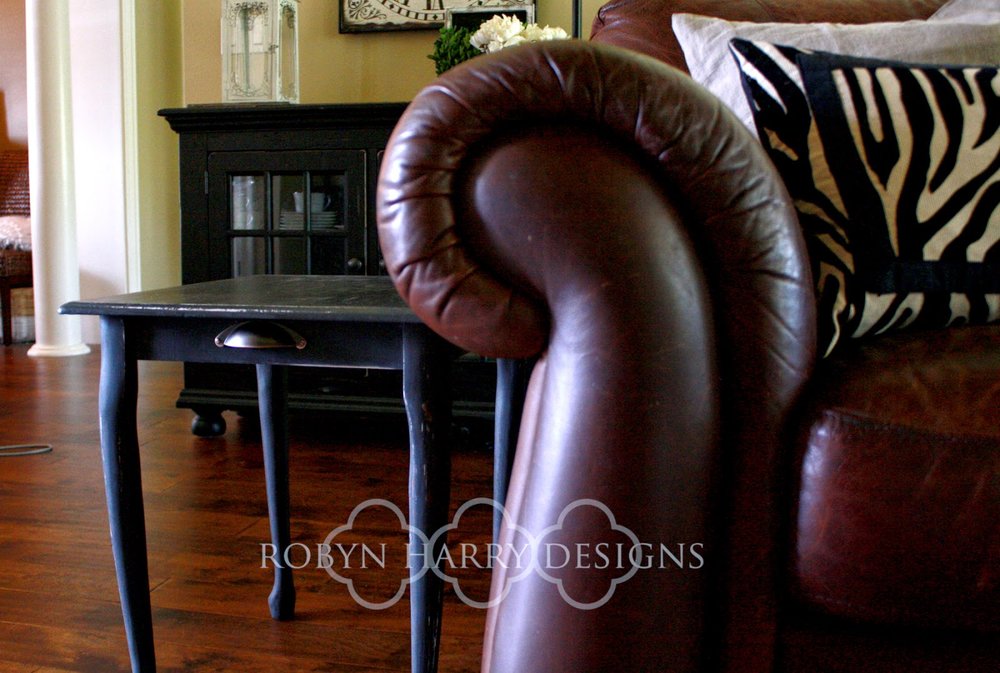
The second and third coats of paint are Miss Mustard Seed's Milk Paint in Typewriter. I am in love with the soft charcoal pigment of this paint.

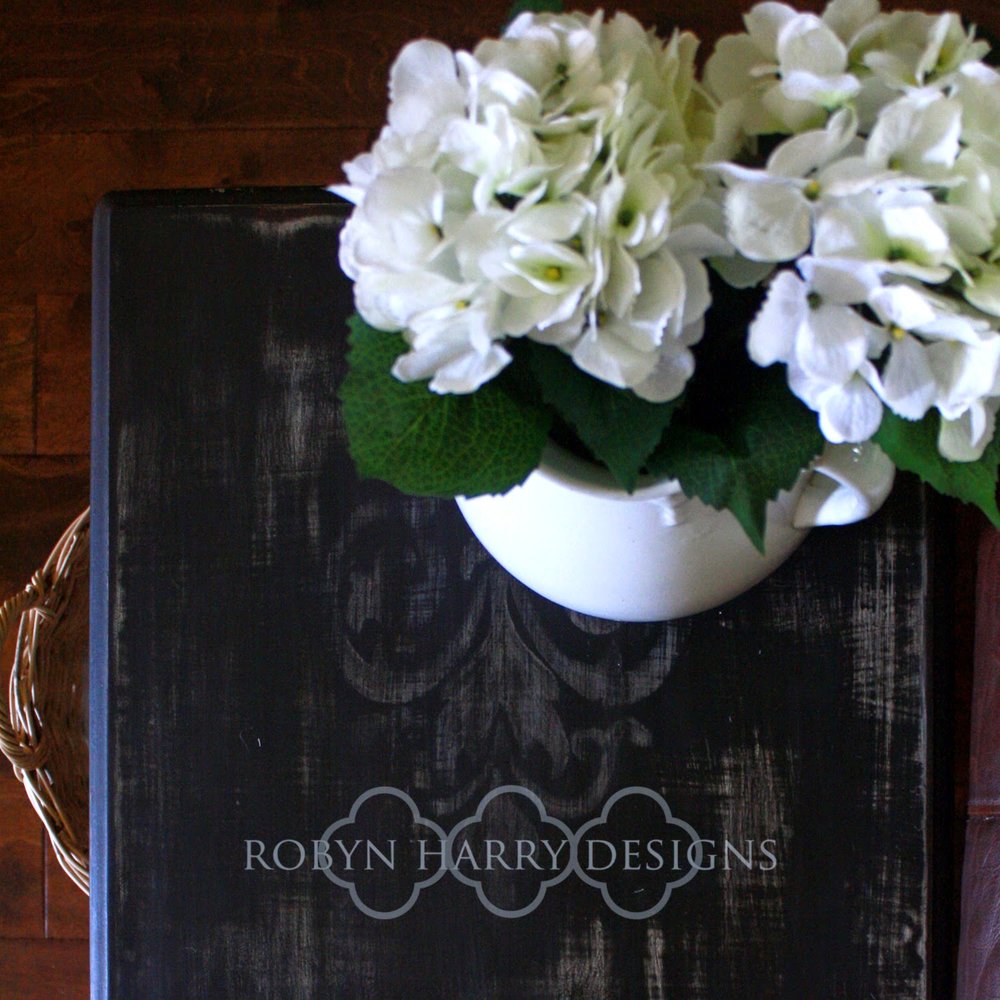
I knew right away I'd want a damask on the top. I found a pretty image at www.thegraphicsfairy.com, but it was a little taller and thinner than I prefered. A simple manipulation in PSE fixed that.

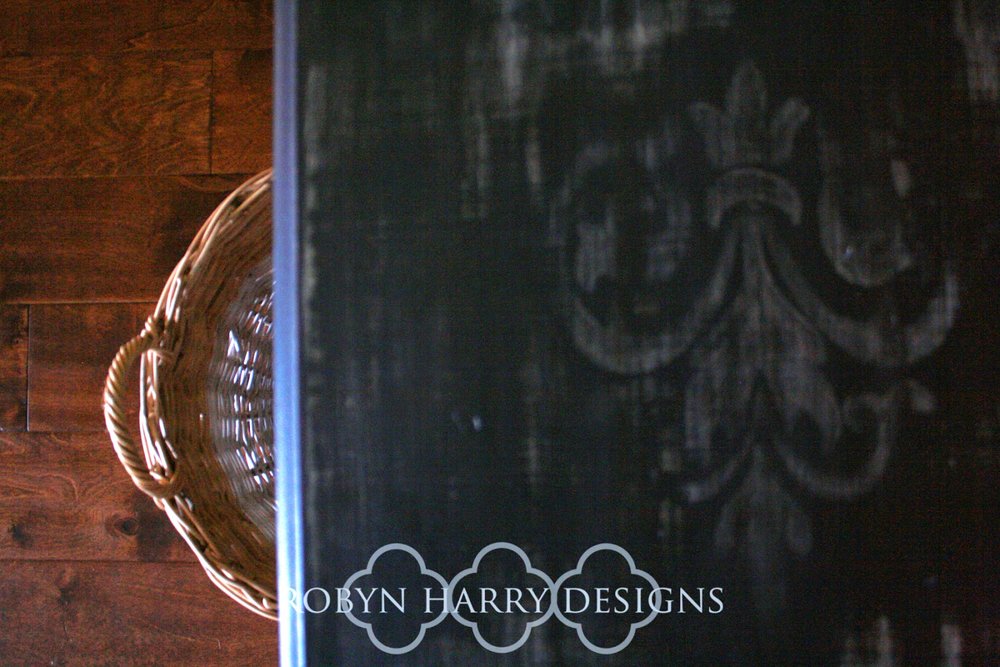
I painted the damask with a very dark grey latex paint in hopes that it would withstand a heavy amount of sanding. It worked. I sanded quite a bit on the top of the table so the antique white would come through.
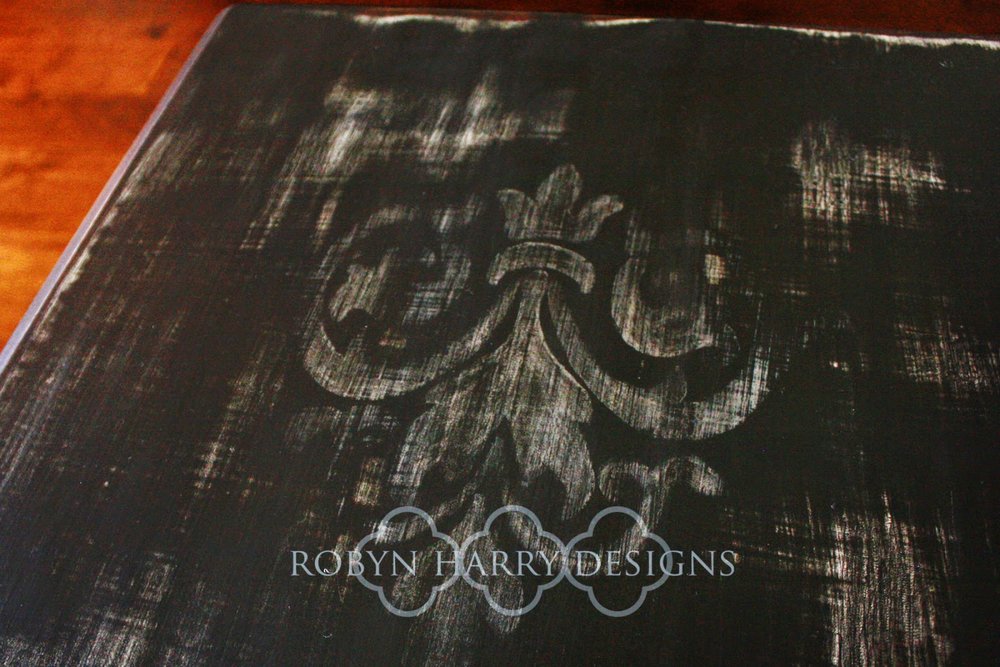
The result is a beautiful image that looks as if it has survived many years of love and wear.
The final step to complete this table was new hardware. An antique bronze cup pull was just perfect.

The final result is just lovely. I hope you are inspired to breathe new life into something this weekend!
sharing at MMS Milkpaint Masterpiece Monday