One Room Challenge | Week Two
Our entire home is painted the same neutral color.... although I don't think it is truly, truly neutral. I kept saying to myself and others the paint was too much of a yellow base and I wanted a cooler tone. But when I really got to looking at it, I realized it has a green base. Not pretty and definitely not neutral. I've been leading a campaign in my home to update our paint color for a few months now. Unfortunately, the mayor of my town wasn't having it. I finally convinced him to let me try out paint on our master bath. I am convinced when he sees how amazing it looks, he will let me do the rest of the house.
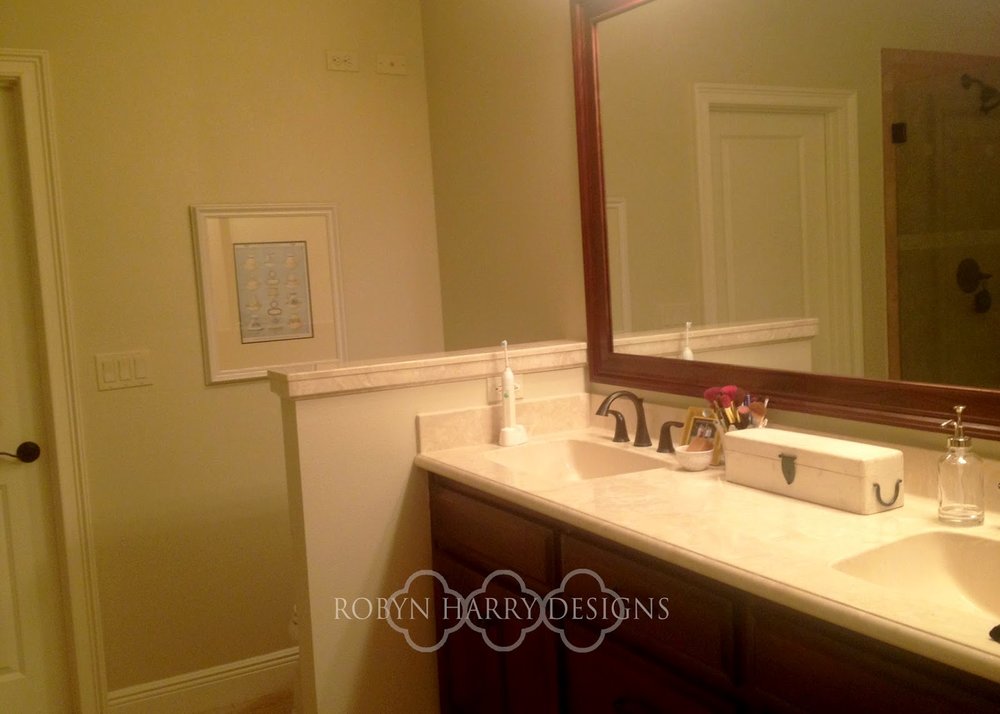
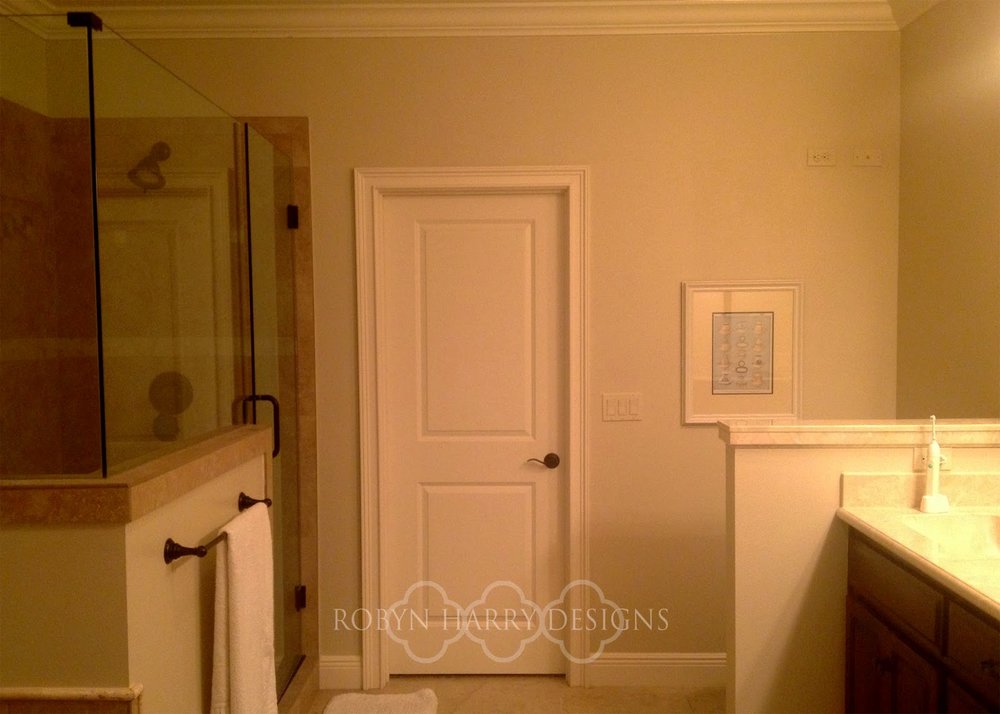
Thankfully, the mayor happens to be away on business at this time and I have been free to paint the bathroom my own way and deal with the mishaps on my own terms. I'm mostly thankful because the first color I chose {and painted half of my bathroom in!!} was a total disaster. I don't why I kept thinking I wanted white. But I did. So, I bought it. And, well, here it is....
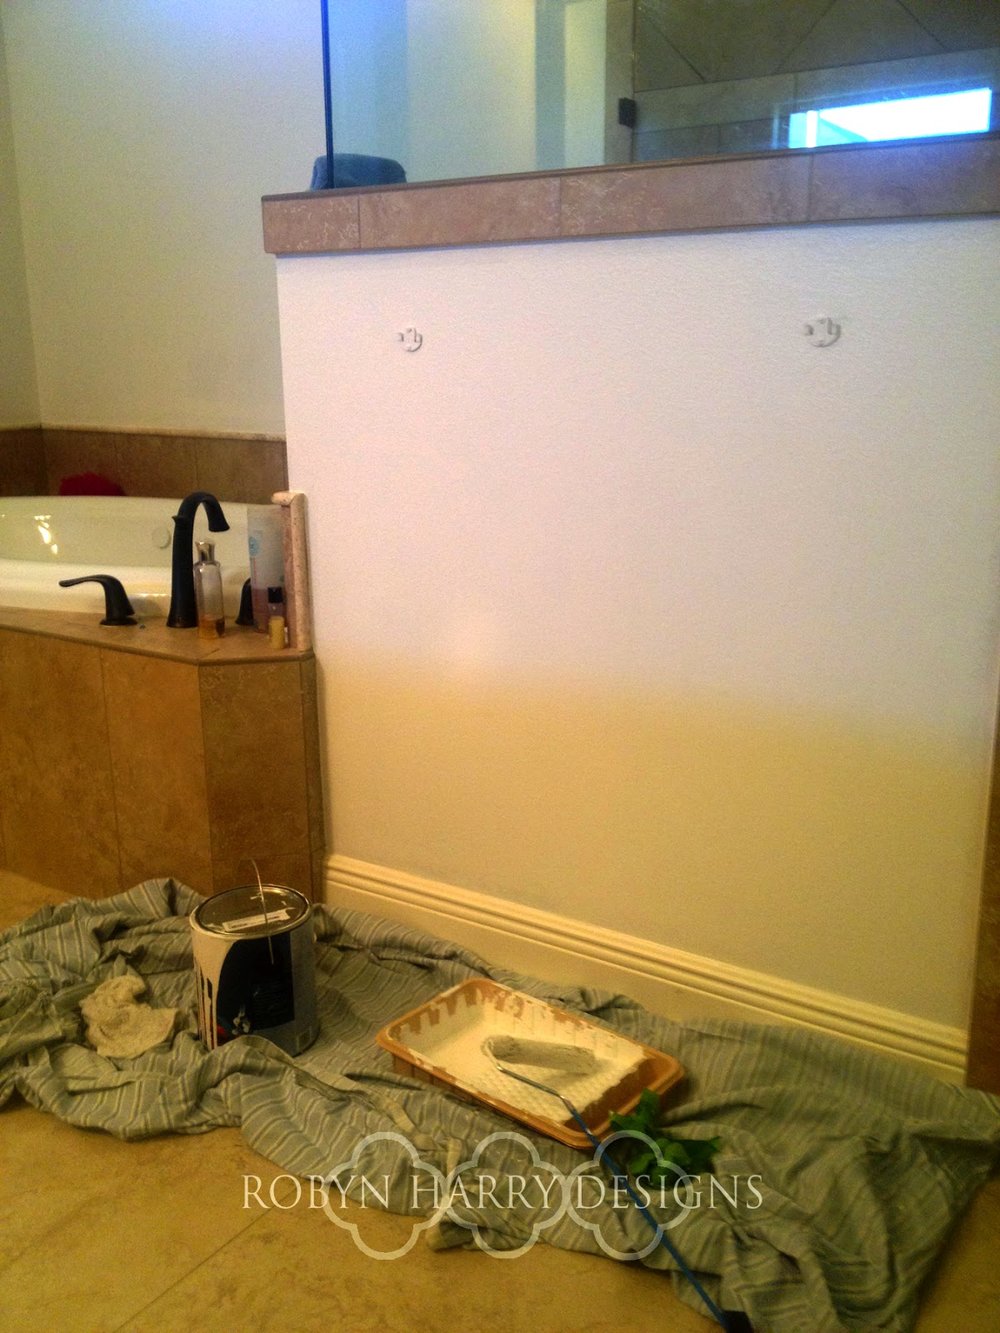
I thought I wanted white. When I got it up on the walls, I hated it. It just looked so stark against the creamy floorboards and the warm tile & marble.
This is the part where I had to really evaluate the look I was going for. Why did I want white walls? How could I achieve what I really wanted?
I knew I wanted a gray. As you can see, the tile and marble in my bathroom are very warm colors. So, I hopped on Pinterest and searched for warm grays. I analyzed grays all night and all morning. Then, I headed back to Lowes for more samples. When I got home, I painted several different colors on different parts in our bathroom where the light hits it differently.
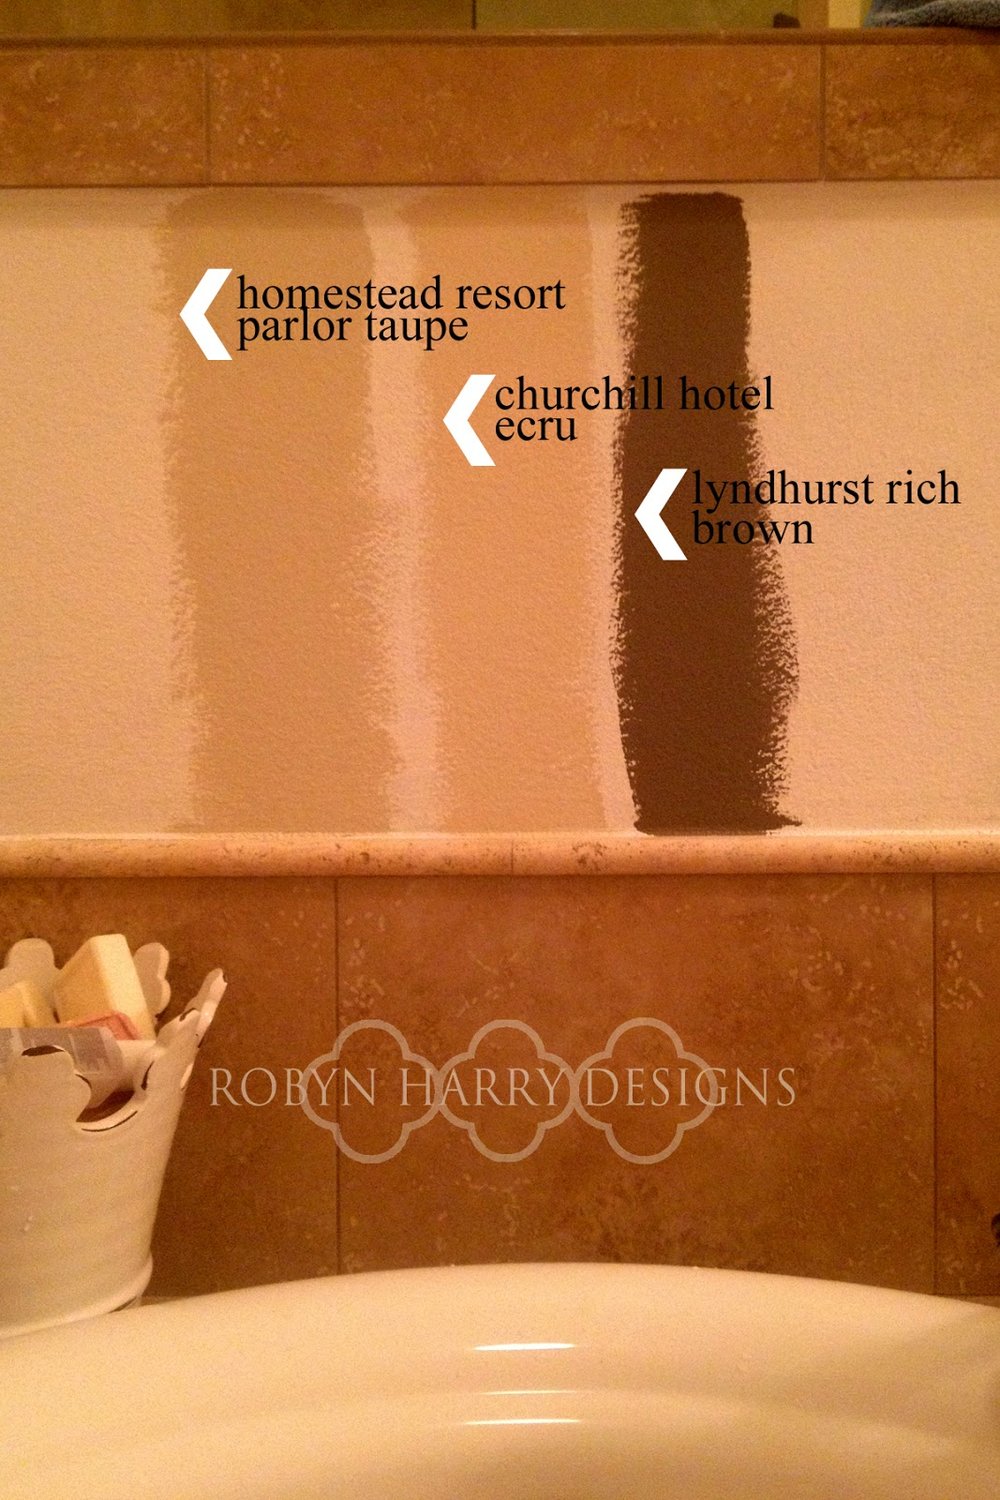
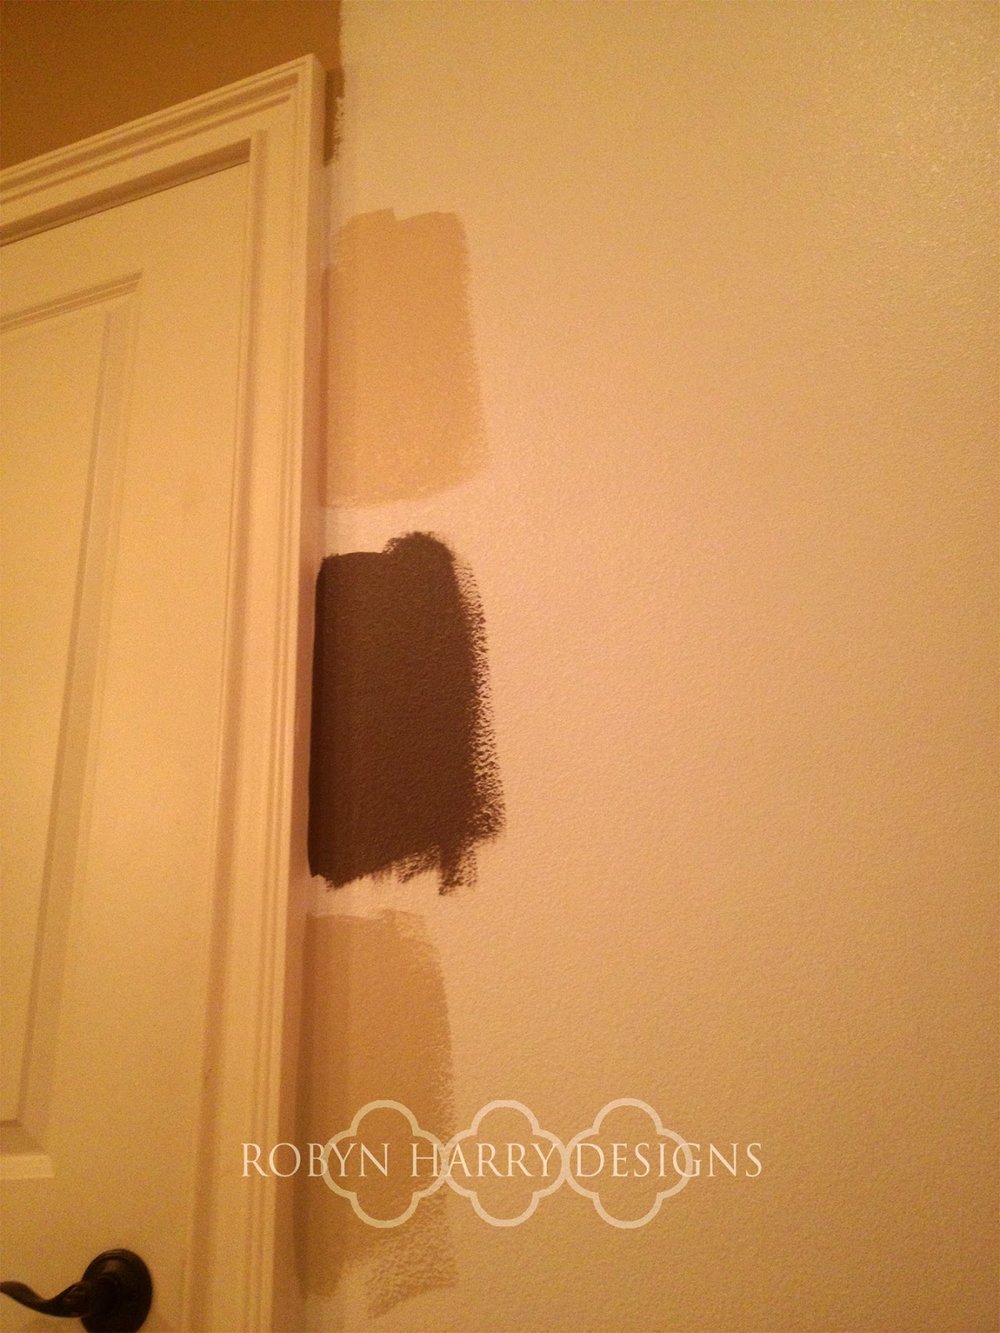
Once I the samples on the walls, it was an easy decision. I kicked myself repeatedly for not doing this the first time! I went with Homestead Parlor Resort Taupe. It is a fantastic color from Valspar. It looks warm and cream colored in certain lights and then a great gray in others.
I could not love it more.
I apologize for the quality of the photos. I snapped them quickly with my phone as my family and I were running out of town. {notice the suitcase}
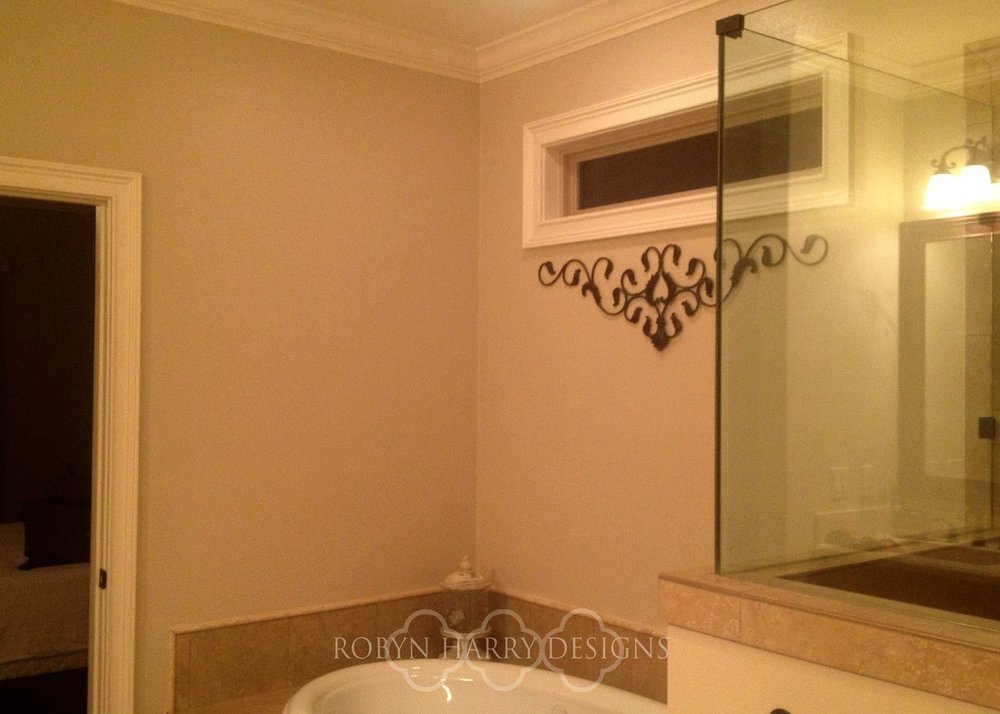
It is amazing what a difference half a gallon of paint can make!! Once the paint was done, I was beginning to see my vision for this room come together and I am so excited! Next up I will be working on some new accessories, shelving and light fixtures. I hope you join me in the journey!
Room Refresh | Cozying up the living room.
Thank you so much for joining me for the last reveal of this 3 part room refresh! I'm excited to share with you some of the best changes we made.

The biggest challenge many people face when decorating a room is deciding how to dress the windows. This proved especially true in my client's living room. She considered hanging curtains on the windows on either side of the french doors. The problem is the window casings are too close to the door frame. She also considered hanging a curtain on a very (very!) long rod spanning the entire width of the windows and the door. That is definitely a viable option, however I think it would have given the room a more formal feel than my client desired.

Right away you can see the difference window treatments make. The room feels warmer and much more inviting.

Again we used tiebacks in unconventional way. Because of how close the window frame is to the door casing, a standard curtain rod would look out of place. The finials would have to be near nonexistent or they would jut over the door frame. I truly feel the look would have been cluttered and disorganized. In contrast, the treatment we went with looks chic and streamlined. It adds a great frame to the set of windows.

The rest of the changes we made in the living room were small, but had a large impact. The first thing we did was get rid of the shelves behind the sofas. (They are now being utilized in the home office.)

We replaced the shelves with a desk that was not currently being used. I moved one of the lamps to the desk and added a few accent pieces that she already had.

My client wasn't overly in love with her lamps in the living room. I thought they were pretty and fit well with her space. Together, we realized what she didn't love about them were the shades. They are rectangular and she felt they seemed out of place in the middle of the room on the end tables. Moving one of them to the desk and against a wall helped to create a more cohesive look. I suggested she buy a round lamp shade for the lamp that was to remain in the middle of the room.

Finally, we come to the fireplace. This is, without a doubt the focal point of the room.

My client had decide before we met that she was going to have floating shelves installed. Also on her own, she decided to paint the walls behind the shelves in a gorgeous blue. Many of her accent pieces are blues. This is such an inexpensive way to make a large impact on a room. The blue really makes the shelves pop.

Every single thing on those shelves is something my client already owned. It just shows you don't have to invest a lot of money to make your home a haven. Sometimes all you need is a second eye to help you arrange everything in complimentary way.

Above the mantle, we placed an amazing sunburst mirror that my client picked up on her own when we began working together. It's a perfect fit for her style and the space.

On either side of the mirror are simple groupings of beautiful pieces already owned by my client.

One last thing I LOVE to do is to find a large basket to keep blankets in. It adds "something" to a place in the room you feel may be lacking. It's instant coziness and warmth. Both literally and figuratively.

I have immensely enjoyed working with this client. I felt together we came up with perfect solutions for her home. I know she feels more relaxed and at ease in her own space now. I'd even dare to say it is now her haven.