One Room Challenge | Week Two
Our entire home is painted the same neutral color.... although I don't think it is truly, truly neutral. I kept saying to myself and others the paint was too much of a yellow base and I wanted a cooler tone. But when I really got to looking at it, I realized it has a green base. Not pretty and definitely not neutral. I've been leading a campaign in my home to update our paint color for a few months now. Unfortunately, the mayor of my town wasn't having it. I finally convinced him to let me try out paint on our master bath. I am convinced when he sees how amazing it looks, he will let me do the rest of the house.
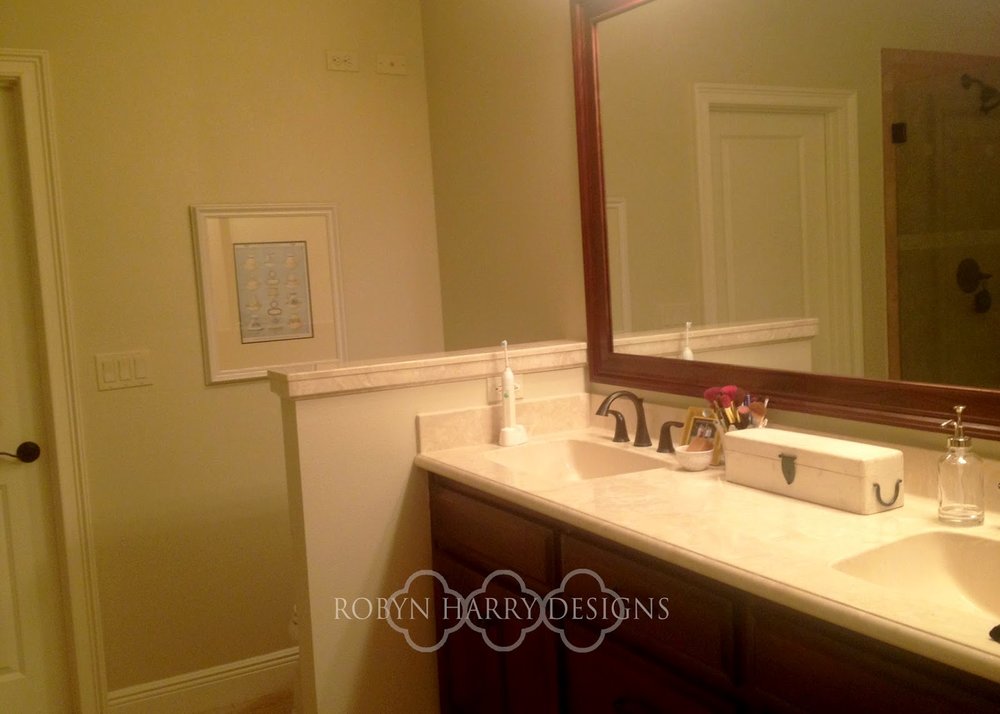
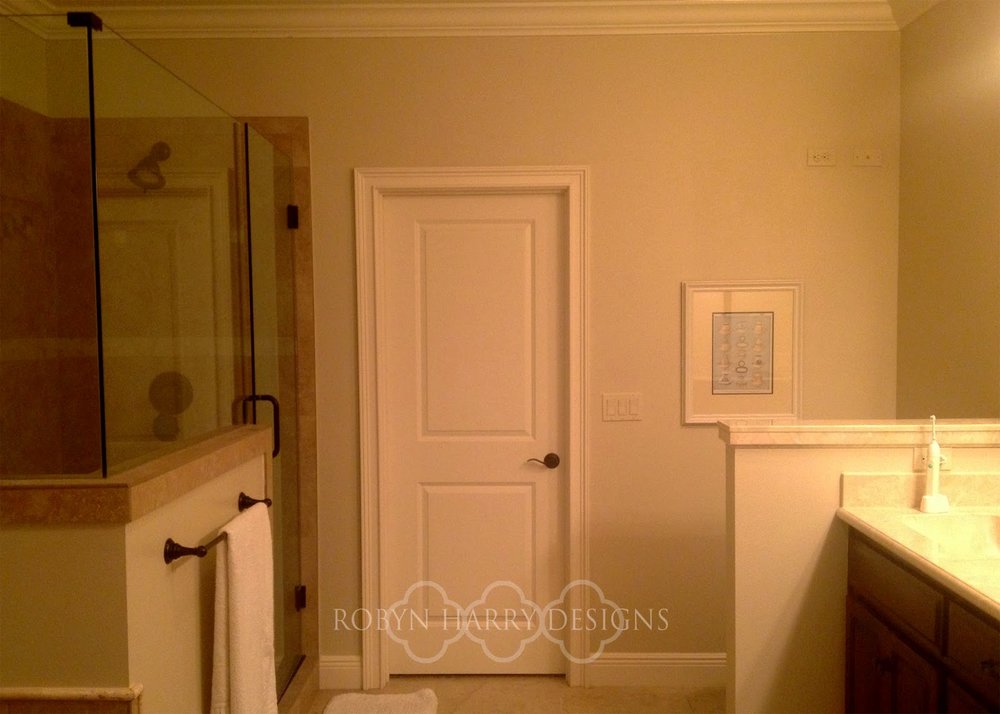
Thankfully, the mayor happens to be away on business at this time and I have been free to paint the bathroom my own way and deal with the mishaps on my own terms. I'm mostly thankful because the first color I chose {and painted half of my bathroom in!!} was a total disaster. I don't why I kept thinking I wanted white. But I did. So, I bought it. And, well, here it is....
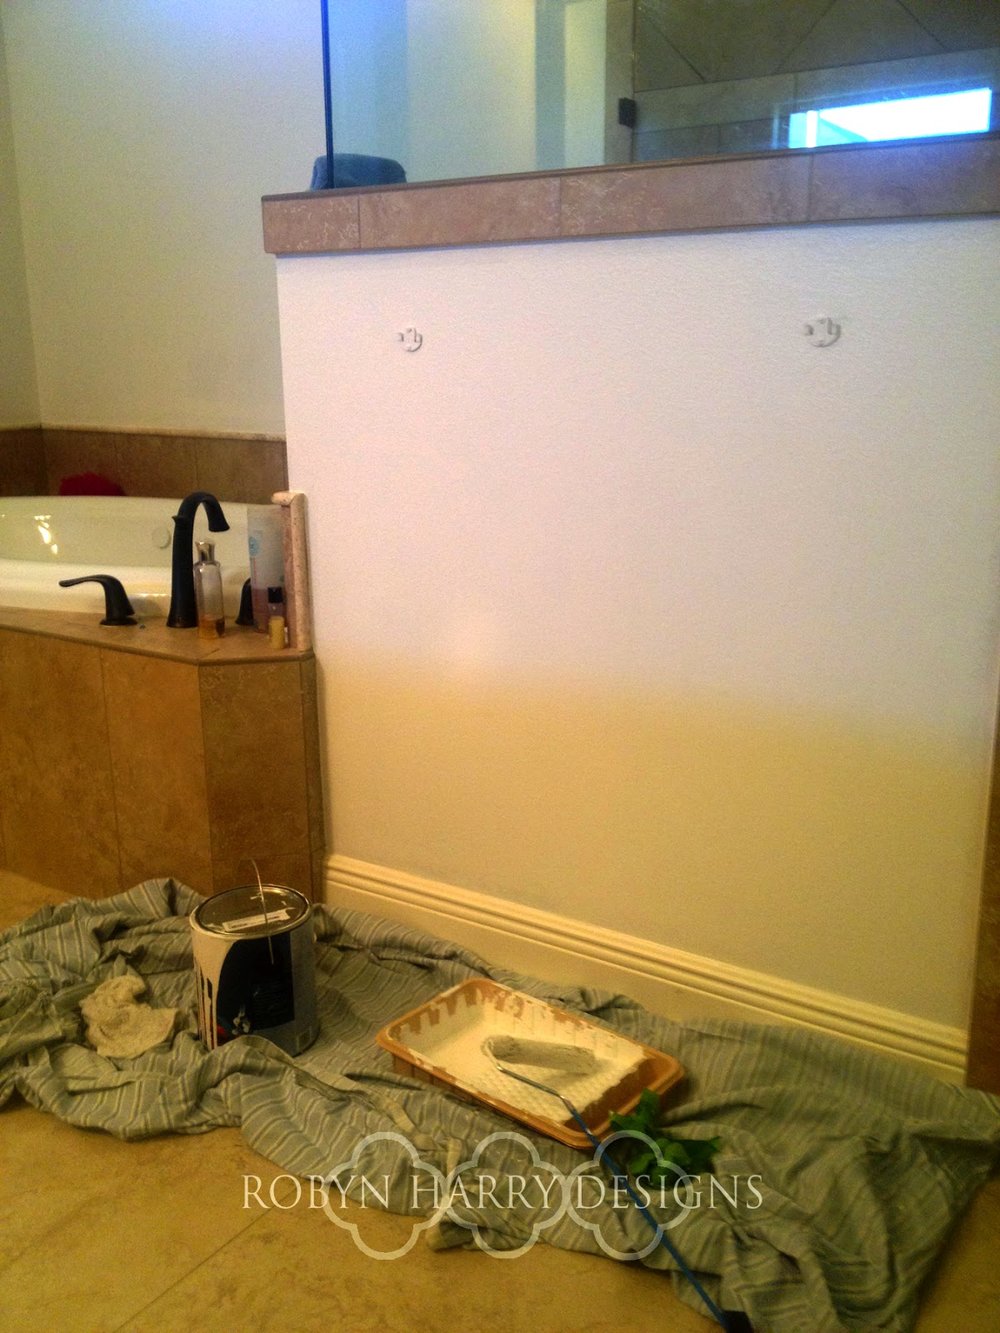
I thought I wanted white. When I got it up on the walls, I hated it. It just looked so stark against the creamy floorboards and the warm tile & marble.
This is the part where I had to really evaluate the look I was going for. Why did I want white walls? How could I achieve what I really wanted?
I knew I wanted a gray. As you can see, the tile and marble in my bathroom are very warm colors. So, I hopped on Pinterest and searched for warm grays. I analyzed grays all night and all morning. Then, I headed back to Lowes for more samples. When I got home, I painted several different colors on different parts in our bathroom where the light hits it differently.
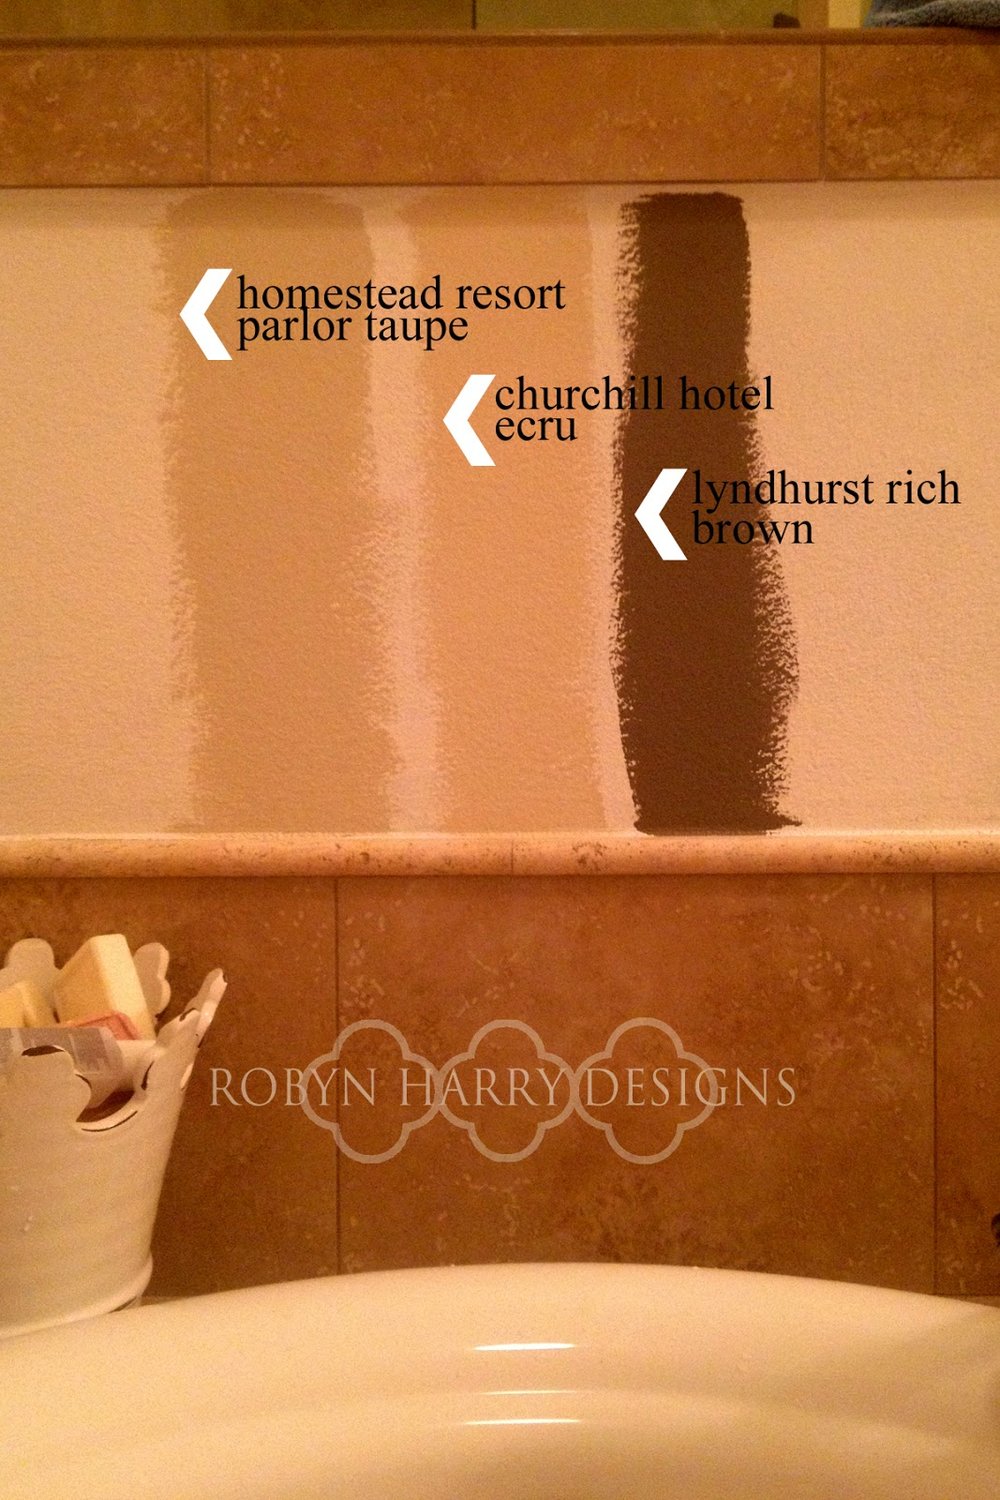
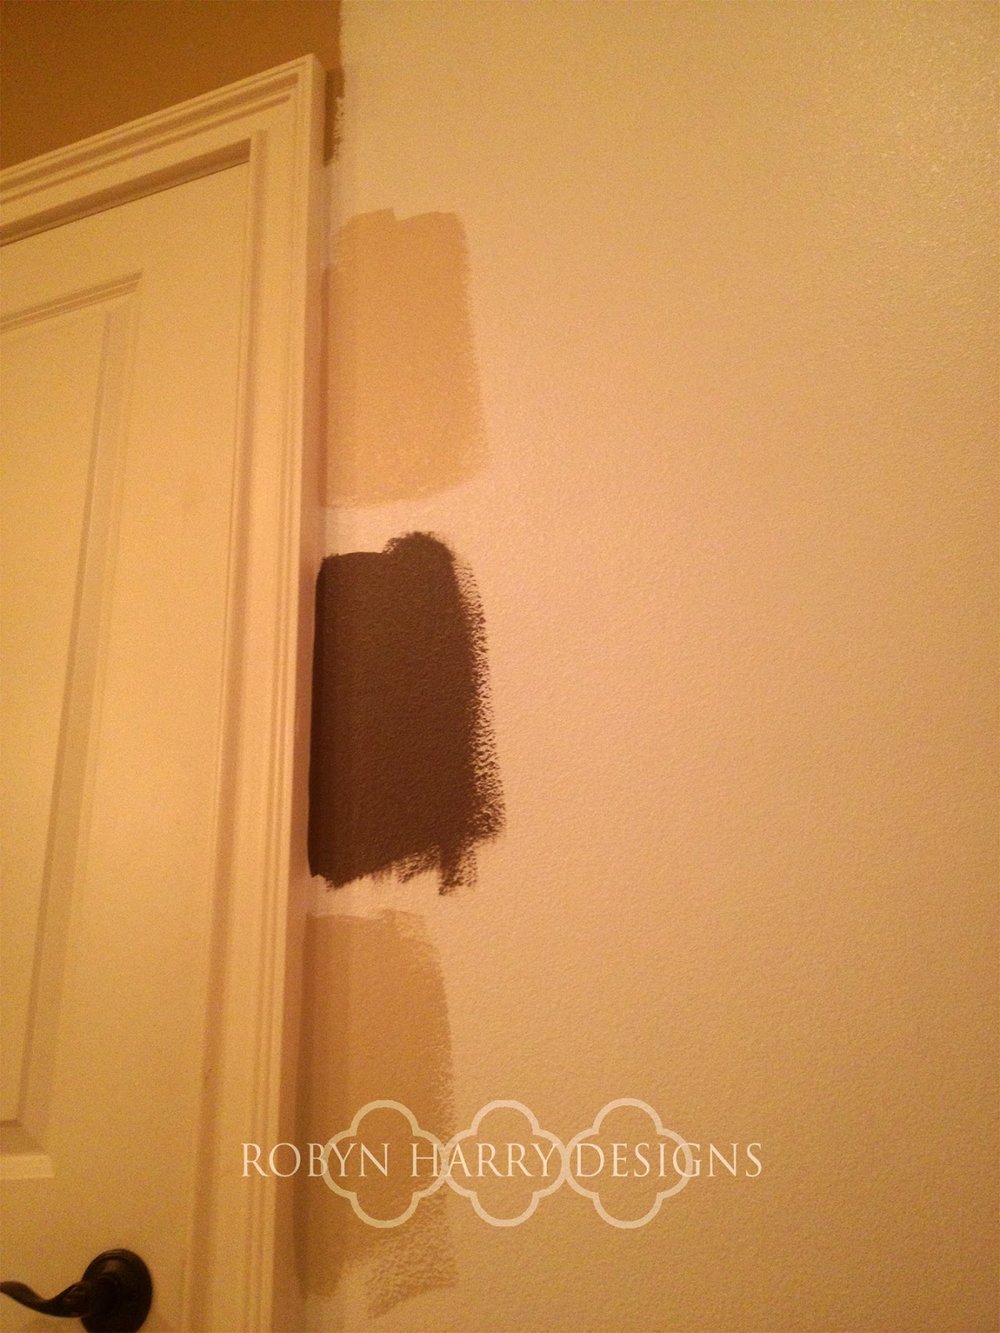
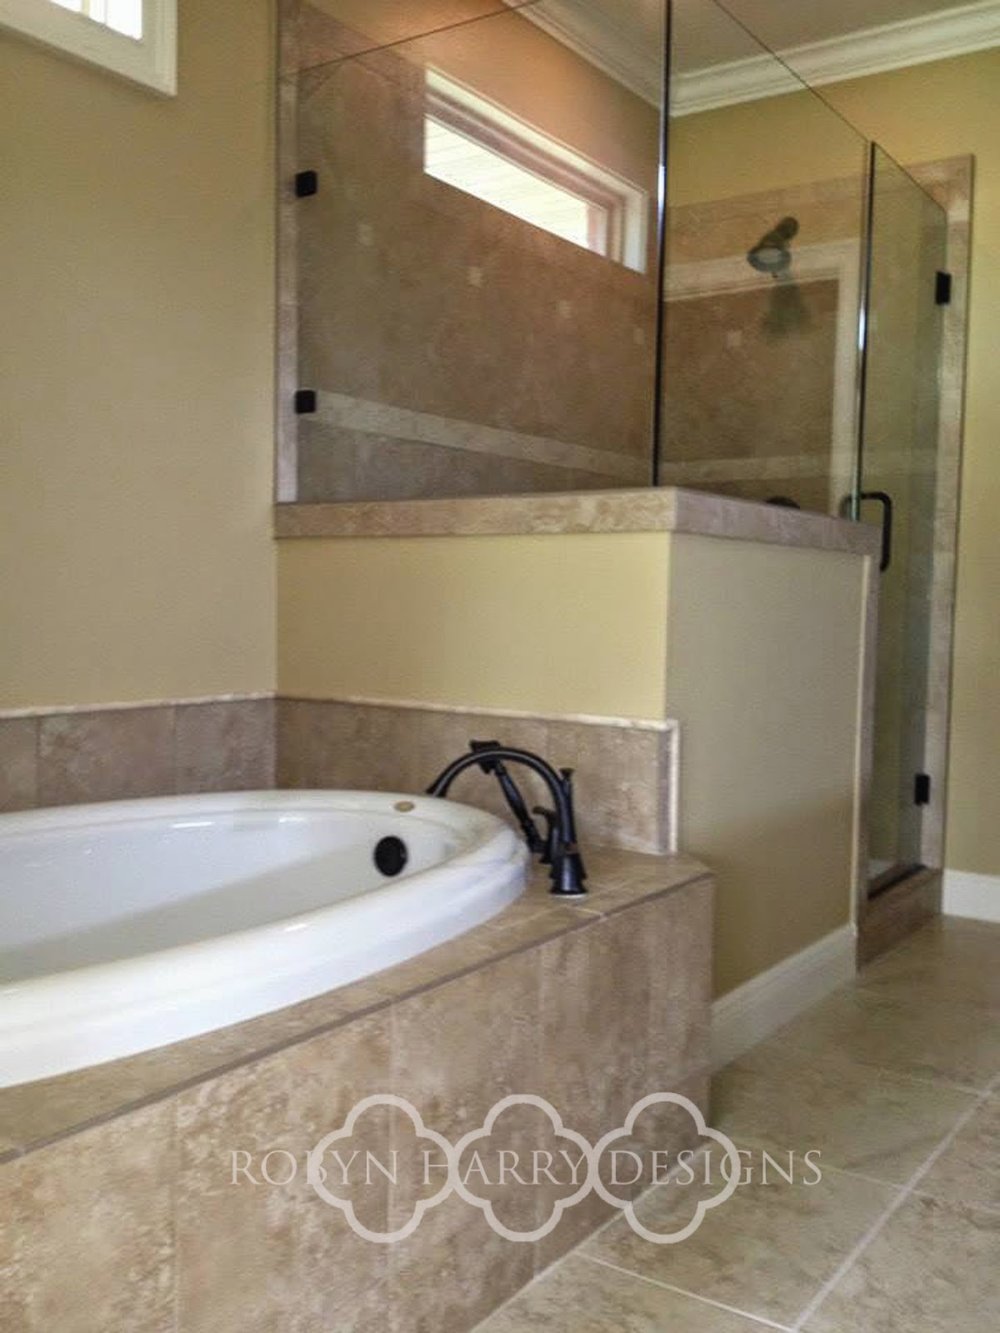
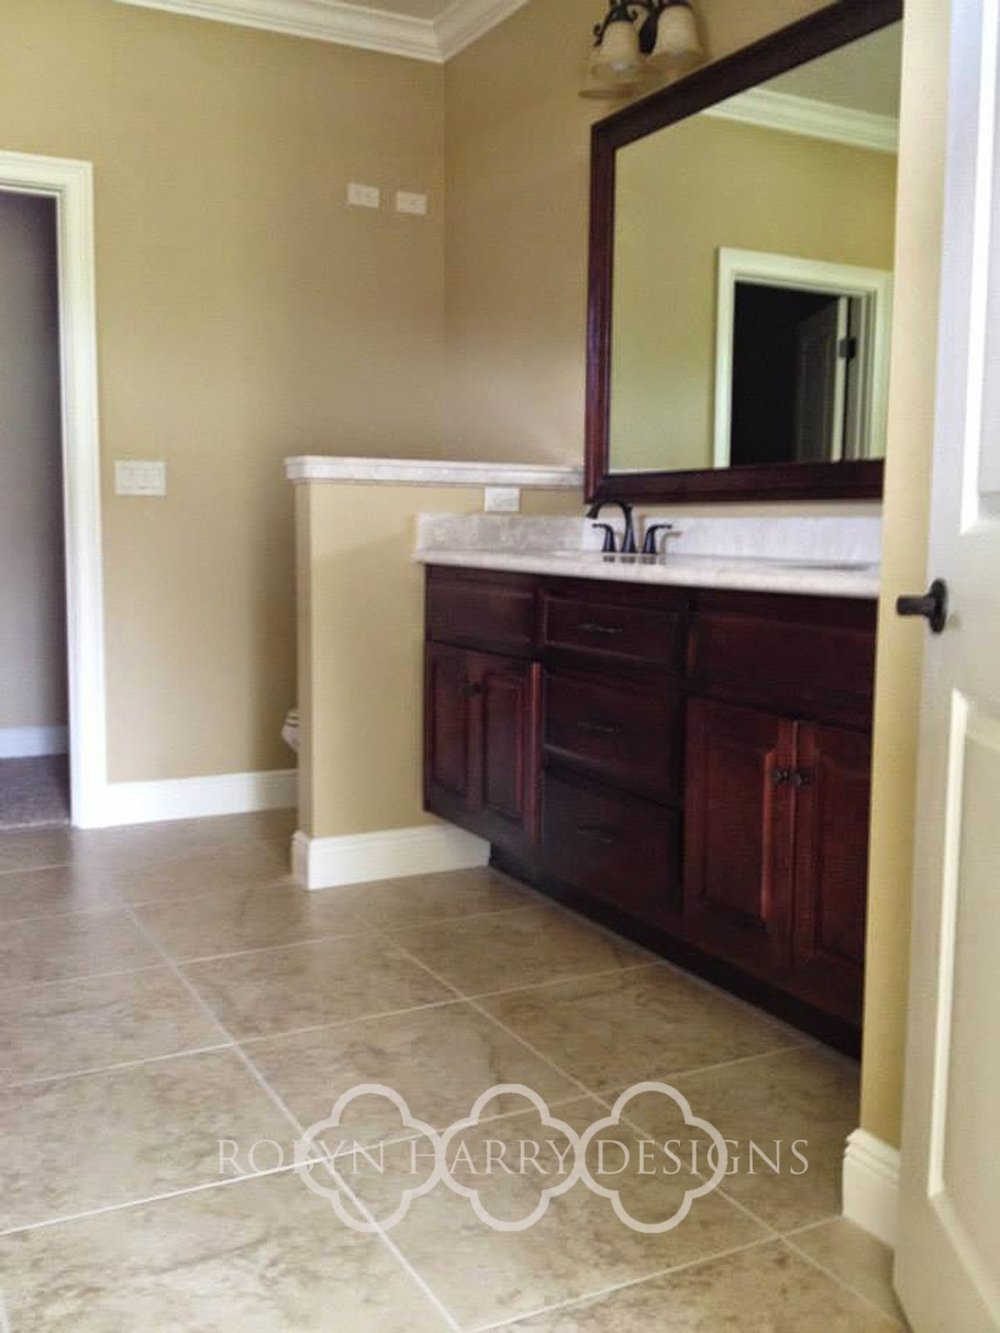
Once I the samples on the walls, it was an easy decision. I kicked myself repeatedly for not doing this the first time! I went with Homestead Parlor Resort Taupe. It is a fantastic color from Valspar. It looks warm and cream colored in certain lights and then a great gray in others.
I could not love it more.
I apologize for the quality of the photos. I snapped them quickly with my phone as my family and I were running out of town. {notice the suitcase}
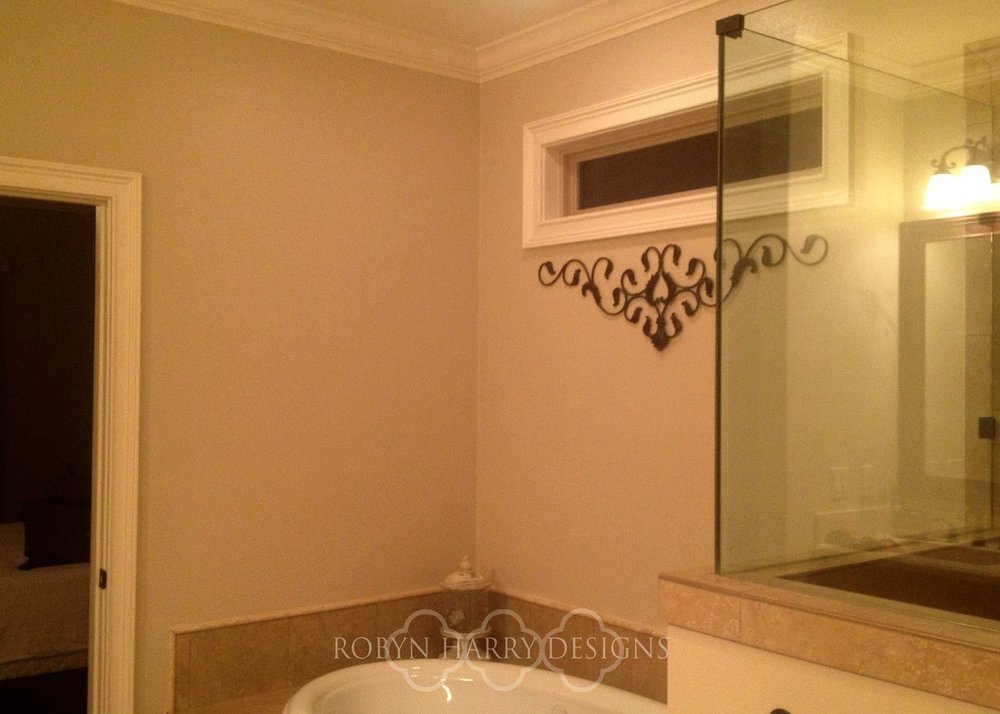
It is amazing what a difference half a gallon of paint can make!! Once the paint was done, I was beginning to see my vision for this room come together and I am so excited! Next up I will be working on some new accessories, shelving and light fixtures. I hope you join me in the journey!
One Room Challenge | Week One
Just last week I was scrolling through Instagram and was introduced to the One Room Challenge. I was intrigued, so I hopped over to Linda's blog to find out more. The One Room Challenge is a concept created and run by Linda of Calling it Home. Linda hosts the challenge twice a year in April and October. This amazing idea is actually in it's eighth season. I don't know how I have missed out on it thus far! In a nutshell, a designer will work on updating or even renovating only one room for six weeks. Each week, progress is shared on the designer's blog. You can read all the juicy details on Linda's gorgeous blog.
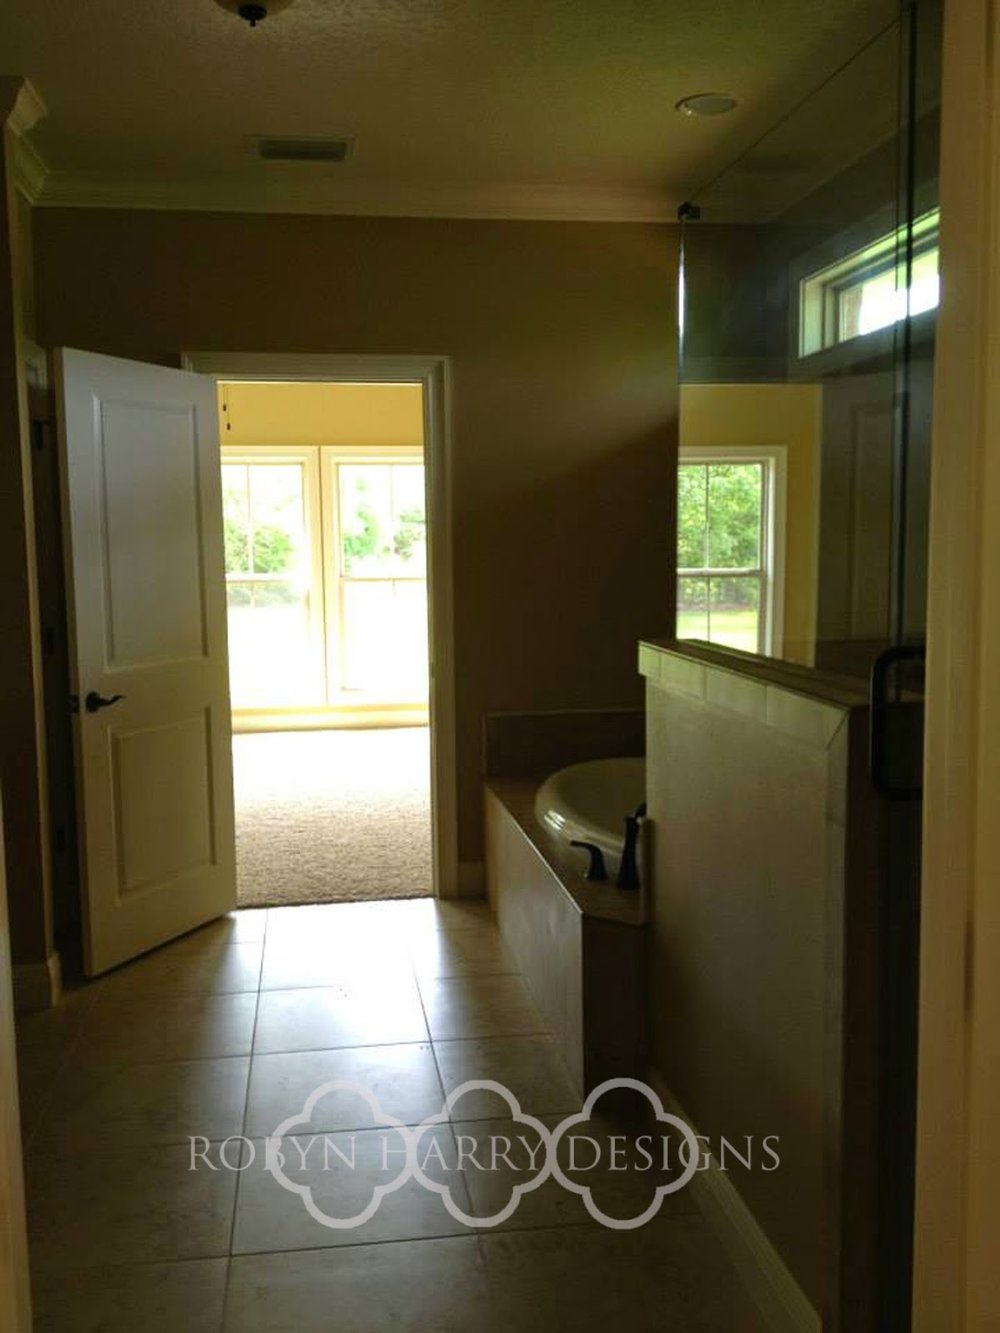
I am so excited to participate for my first time this spring. So, let me introduce you to the room I will be working on for my first round: our master bathroom.

Our home is only two years old. We are the first owners, though we did not have it built. We won't live in it forever. It will likely only be a total of four years or less. I'm telling you this because I feel kind of silly updating anything in our home. I mean, it's practically brand new! But here's what you also need to hear: It is important to make your home your own. No matter how new it is. No matter how long you will live there. Home is the heart of our families and our lives. Make it your haven.
Now, on to the plan!!!

1. First things first. I plan to start with the easiest, most inexpensive fix there is out there: PAINT. I'd really like to do a warm gray of some sort, but not entirely sure on the shade yet.
2. Next up, I'm looking to replace our light fixtures. Again, they are new and they are very nice. But they just aren't our style. I would really love to have some sort of industrial farmhouse fixtures over the vanity. Also, in my dream design, I'd LOVE a chandelier over our soaking tub.
3. Because of all the wall space in this room, I think the addition of floating shelves would be great. Luckily, my hunky hubby is a fantastic wood worker and he is happy to help me with this. I plan to stain them in a dark, rich hue. I love the mix of natural elements and industrial pieces. {source}
4. Finally, accessories!! This is my favorite part of any room. I want to find some luxe rugs to add warmth and depth to the marble tile. I'd also love to add some greenery and maybe an antique mirror or two.
So, that's it! I hope you join me on this exciting journey. I'm already looking forward to using our new and improved space!!
{BONUS: a selfie shot!}
Our home is only two years old. We are the first owners, though we did not have it built. We won't live in it forever. It will likely only be a total of four years or less. I'm telling you this because I feel kind of silly updating anything in our home. I mean, it's practically brand new! But here's what you also need to hear: It is important to make your home your own. No matter how new it is. No matter how long you will live there. Home is the heart of our families and our lives. Make it your haven.
Now, on to the plan!!!
1. First things first. I plan to start with the easiest, most inexpensive fix there is out there: PAINT. I'd really like to do a warm gray of some sort, but not entirely sure on the shade yet.
2. Next up, I'm looking to replace our light fixtures. Again, they are new and they are very nice. But they just aren't our style. I would really love to have some sort of industrial farmhouse fixtures over the vanity. Also, in my dream design, I'd LOVE a chandelier over our soaking tub.
3. Because of all the wall space in this room, I think the addition of floating shelves would be great. Luckily, my hunky hubby is a fantastic wood worker and he is happy to help me with this. I plan to stain them in a dark, rich hue. I love the mix of natural elements and industrial pieces. {source}
4. Finally, accessories!! This is my favorite part of any room. I want to find some luxe rugs to add warmth and depth to the marble tile. I'd also love to add some greenery and maybe an antique mirror or two.
So, that's it! I hope you join me on this exciting journey. I'm already looking forward to using our new and improved space!!
Facelift Friday | Bulletin Board Upcycle
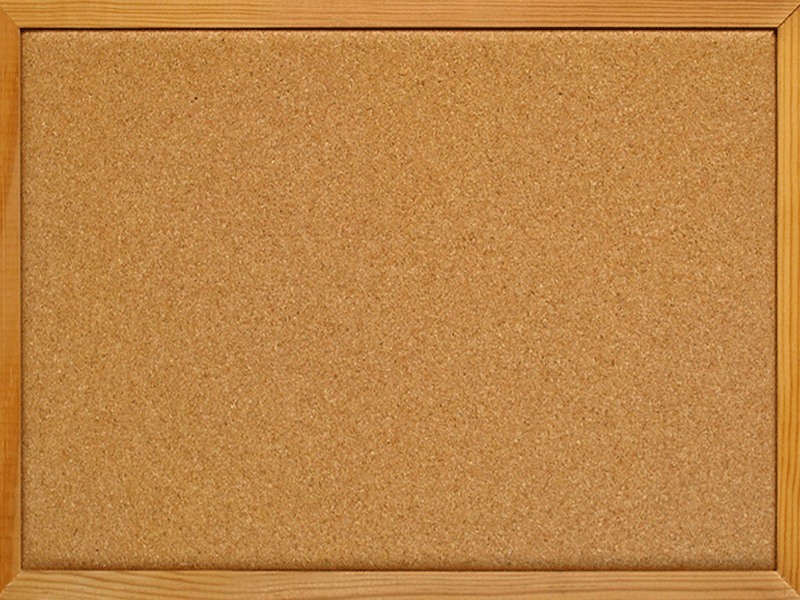
How many times have you seen something like this at a garage sale or thrift shop and passed it up?
I finally stumbled upon this blog post by Chelsea at two twenty one and fell in love with the idea.
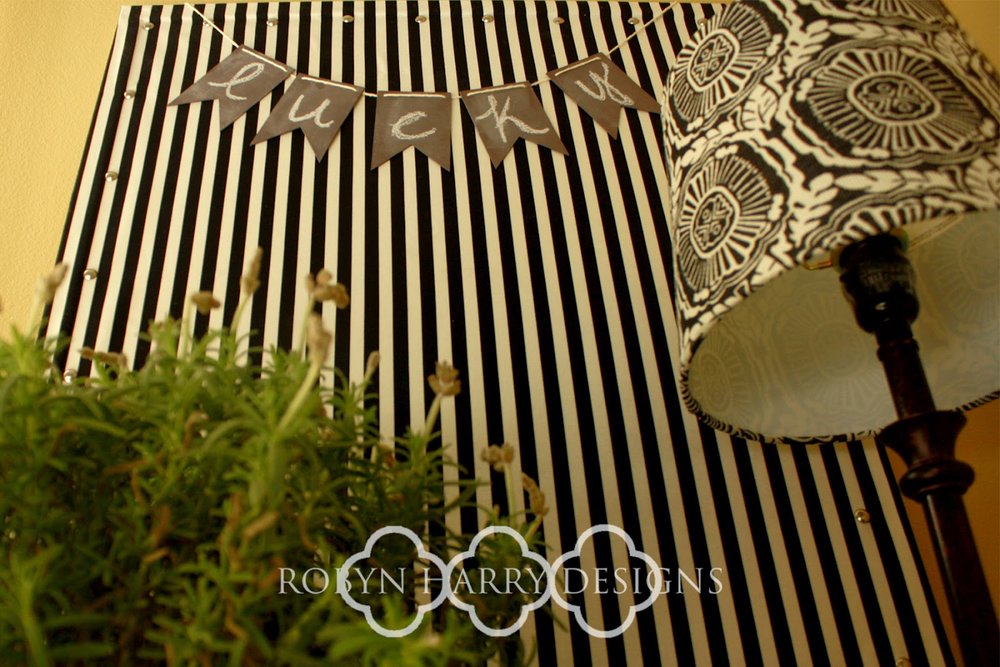
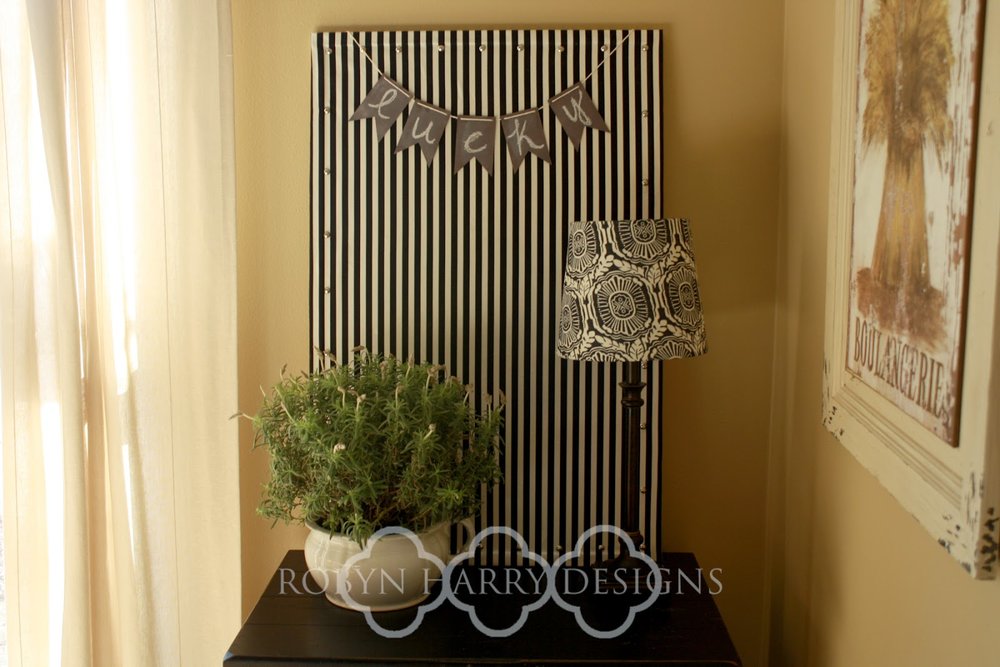
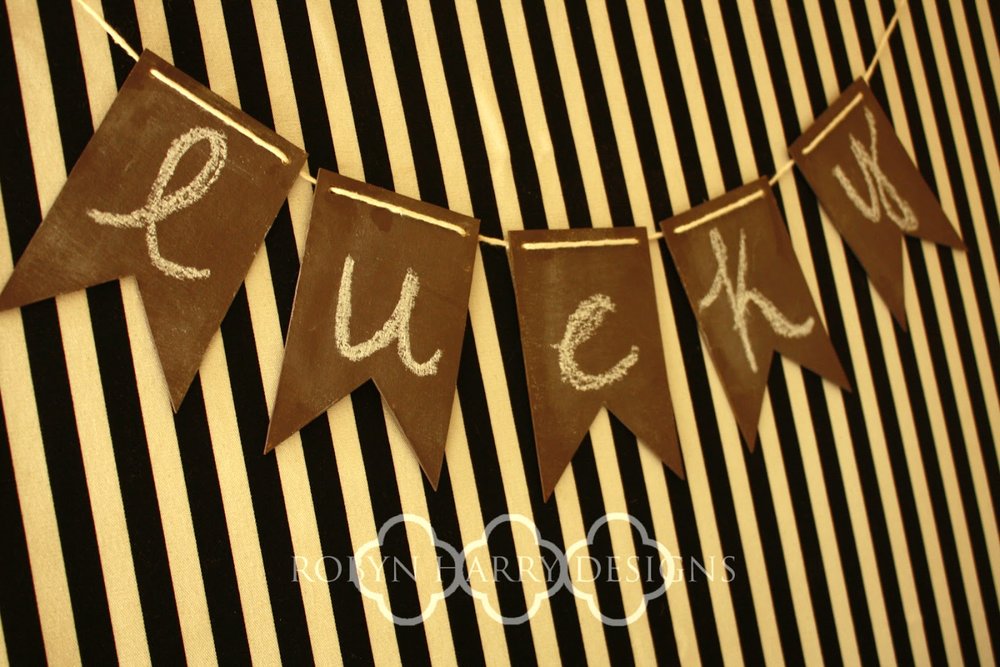
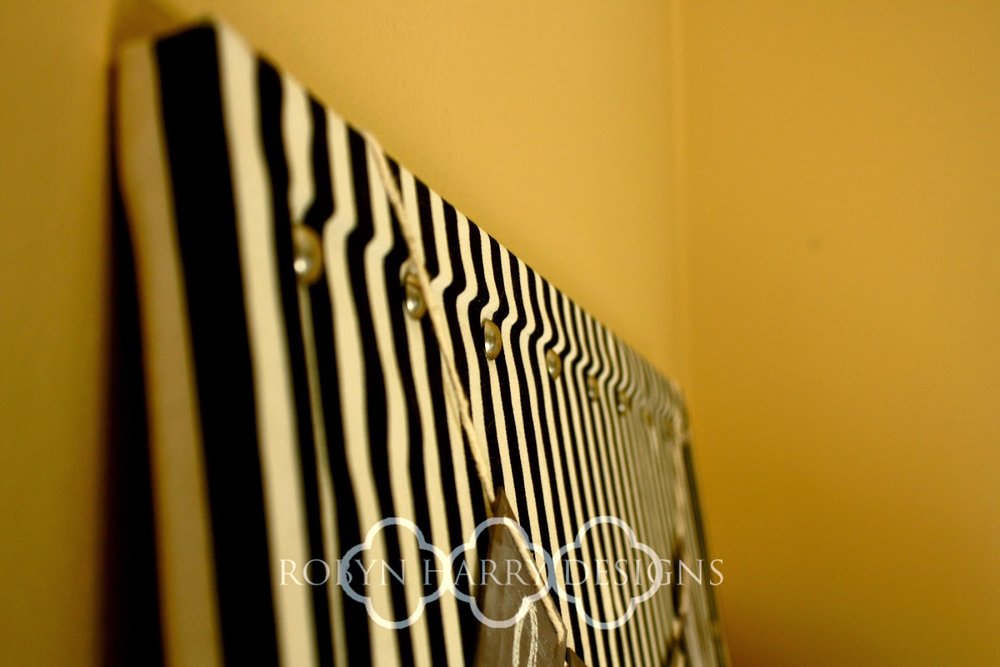
I had the perfect black and white stripe fabric that I picked up at IKEA this past fall. I used spray adhesive to attach the fabric to the bulletin board and then secured it with upholstery tacks I picked up at a big box craft store. The only thing I did different then Chelsea was to separate the tacks a bit more.

I simply used the wood frame as a guide for where to place the tacks.
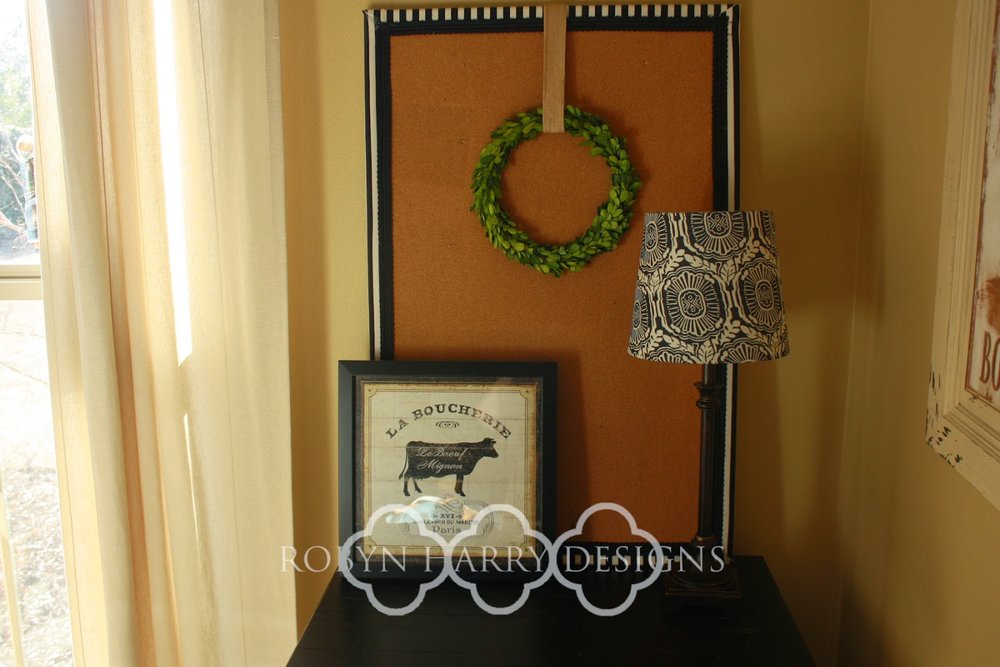
I love how chic it turned out. I think it looks fantastic vertical or horizontal.

And I took this a step further! The upholstery tacks are a bit longer than regular push pins, and I worried about them sticking out on the backside. So, I found a lovely black trim to cover the back.
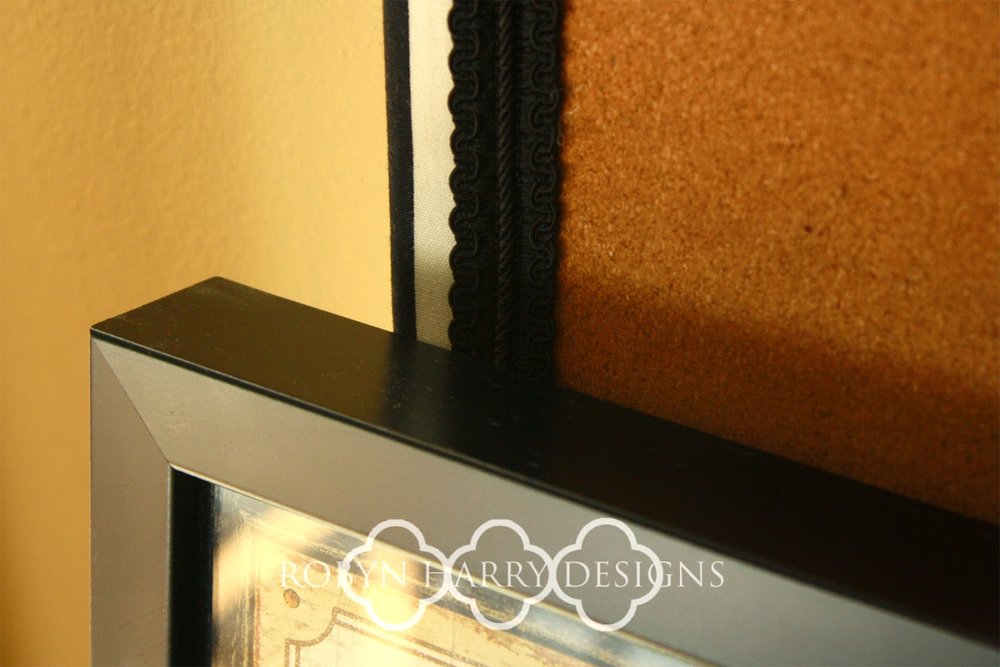
Voila! A reversible bulletin board!!


Facelift Friday | Getting back in the swing of things!
Friends, it has been far too long. I have really missed this little blog of mine. But I have thoughtfully made some changes in my life and as a result, will have more time to blog. I'm happy to be back!
Well, I meant to post this Friday, but as we all know, life gets hectic and I am slowly getting back into photographing, editing and writing up home decor projects and ideas. This week's facelift is a super fun and easy project that anyone can do.
Per usual, I completely neglected to take a before photo. I started with a very large decorative bowl that I picked up at a local thrift shop. Something similar to this, but dark red with palm trees:
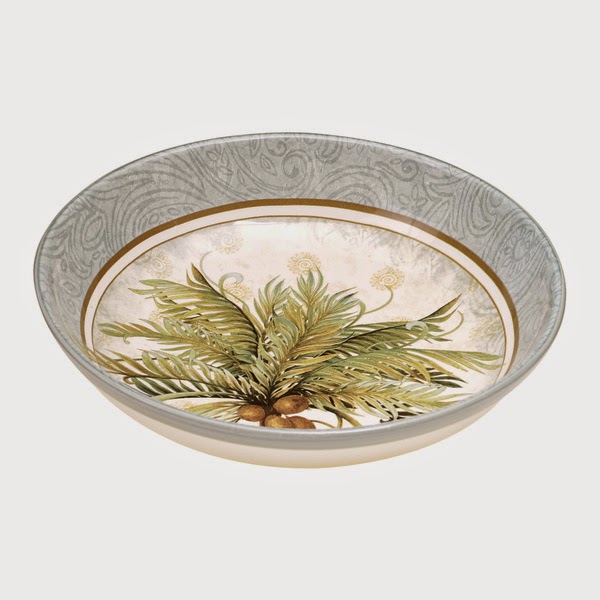

This bowl is very large and would make such a great accent piece in a kitchen, dining room, or bookshelves.
Well, I meant to post this Friday, but as we all know, life gets hectic and I am slowly getting back into photographing, editing and writing up home decor projects and ideas. This week's facelift is a super fun and easy project that anyone can do.
Per usual, I completely neglected to take a before photo. I started with a very large decorative bowl that I picked up at a local thrift shop. Something similar to this, but dark red with palm trees:
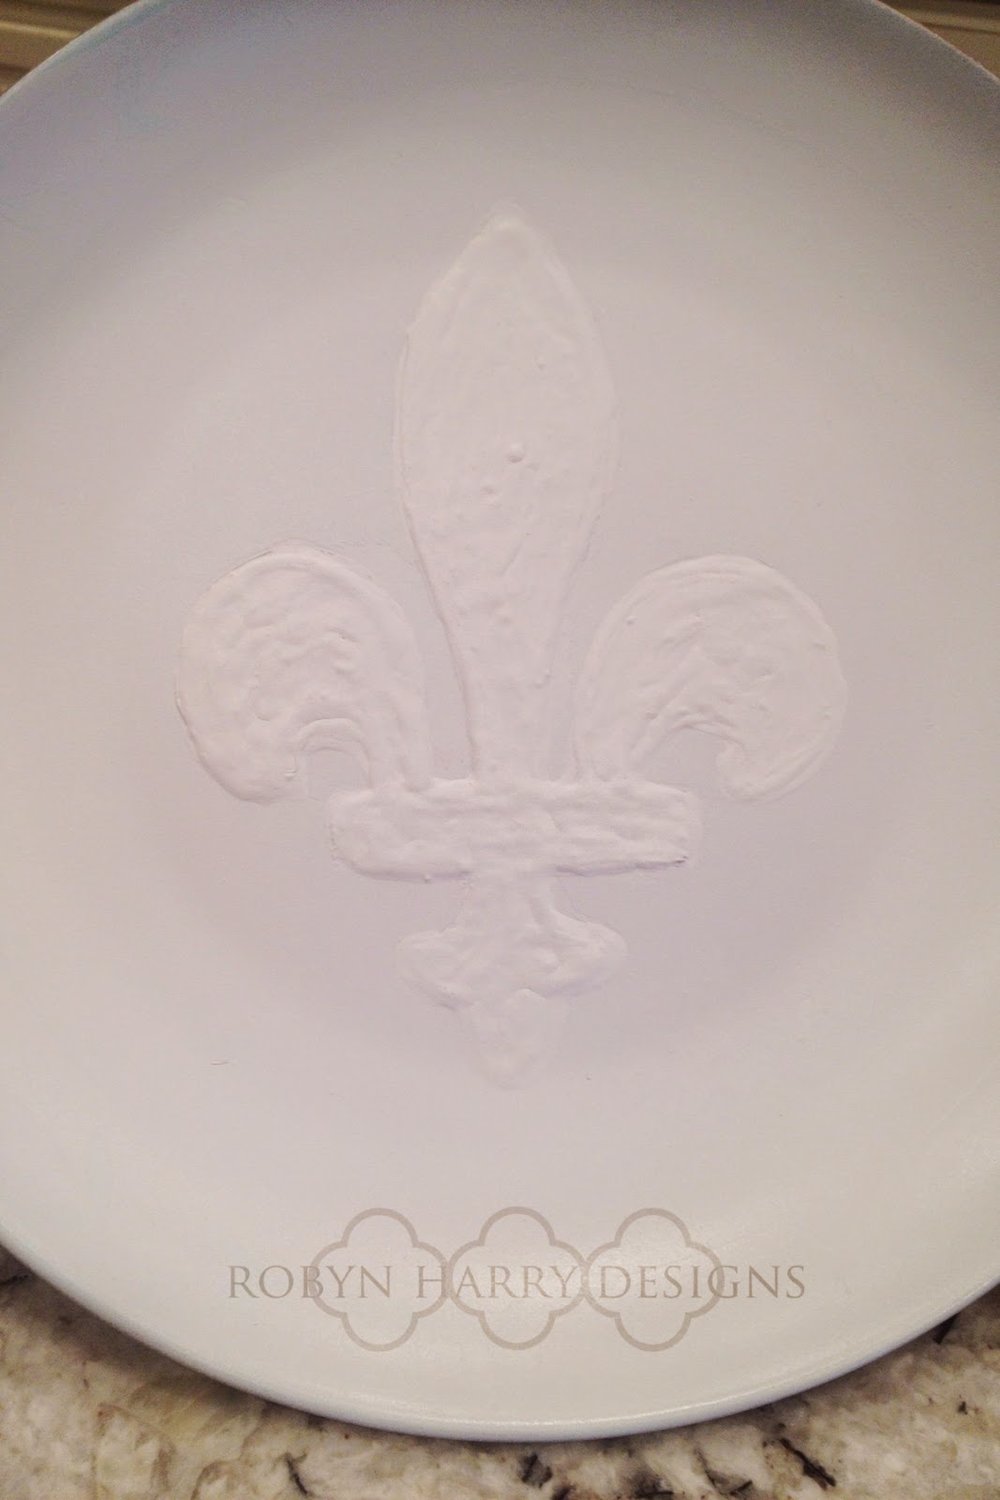
I knew I wanted something on it that would be textured and raised up off of the surface. I remembered I had a jar of gesso and the wheels in my head started spinning.
First I printed out a free image of a fleur de lis I liked. Next, I traced it onto a thicker cardstock and cup that image out with an exacto knife to create a stencil.
After taping the stencil to the bowl, I added a layer of gesso and let it dry. Next, I pulled the stencil off and just used the first layer as a guide. I applied quite a few more coats of gesso on top. I'm going to be honest and let you know this bowl was on my island for several weeks. Some people (hubby) got really tired of looking at it.
Once I was satisfied with the amount of texture and depth of the fleur de lis, I spray painted the entire thing with two coats of flat white. I wanted to use milk paint on this, but I knew it would have a hard time adhering to such a smooth, perfect surface. The spray paint was to give it some depth as well as something for the milk paint to adhere to.
Here is what it looked like after the spray paint:
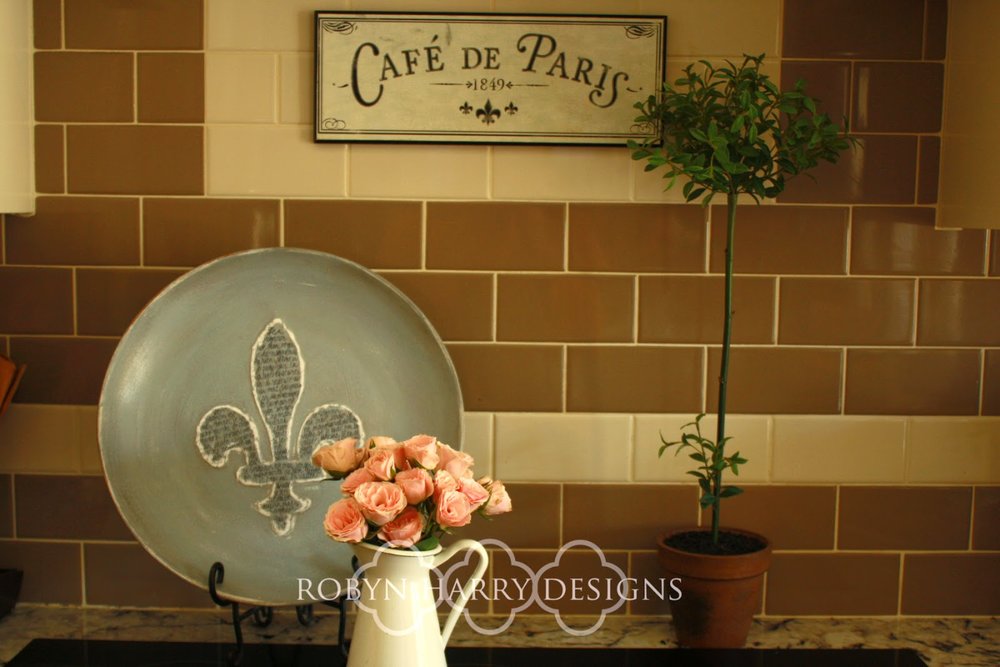
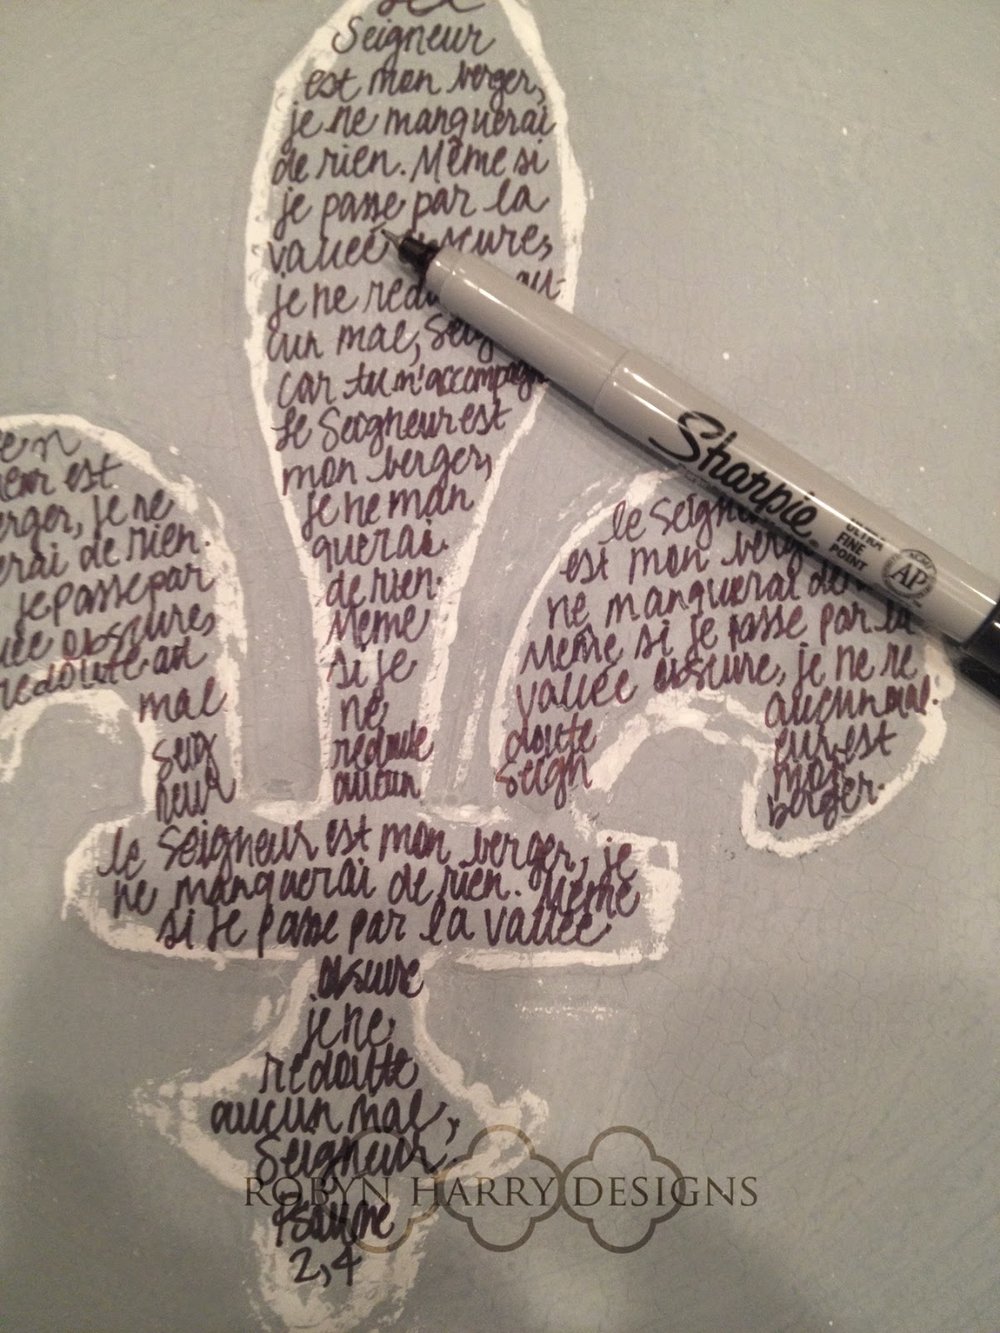
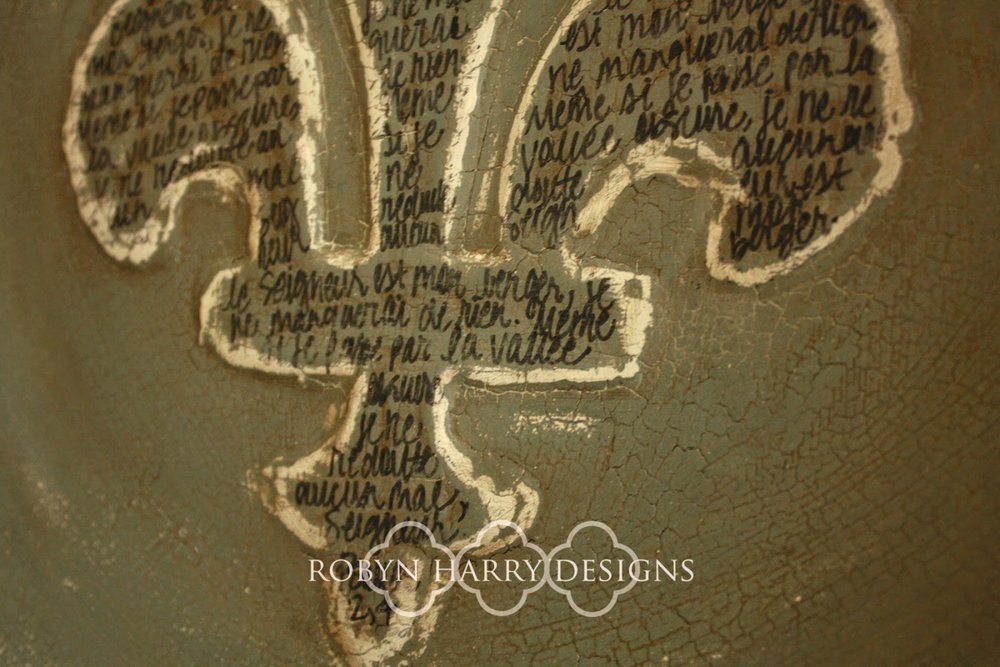
Next, I added one coat of Miss Mustard Seed's milkpaint in Shutter Gray. Once it dried, I sanded a bit around the borders of the fleur de lis to reveal the flat white. My plan was to use a large French script stamp I have and stamp only on the raised fleur. I'm telling you, I tried every technique possible and I just couldn't get it right! I finally resolved to handwriting Psalm 23: 2 in French.
It's SO not perfect, but it will do. Finally, I used a very fine grit sand paper to smooth down the entire thing and rough up the handwriting a bit. I added a coat of MMSMP antique wax, followed by a coat of white wax. I love how it brought out the lovely crackle texture left by the milkpaint.
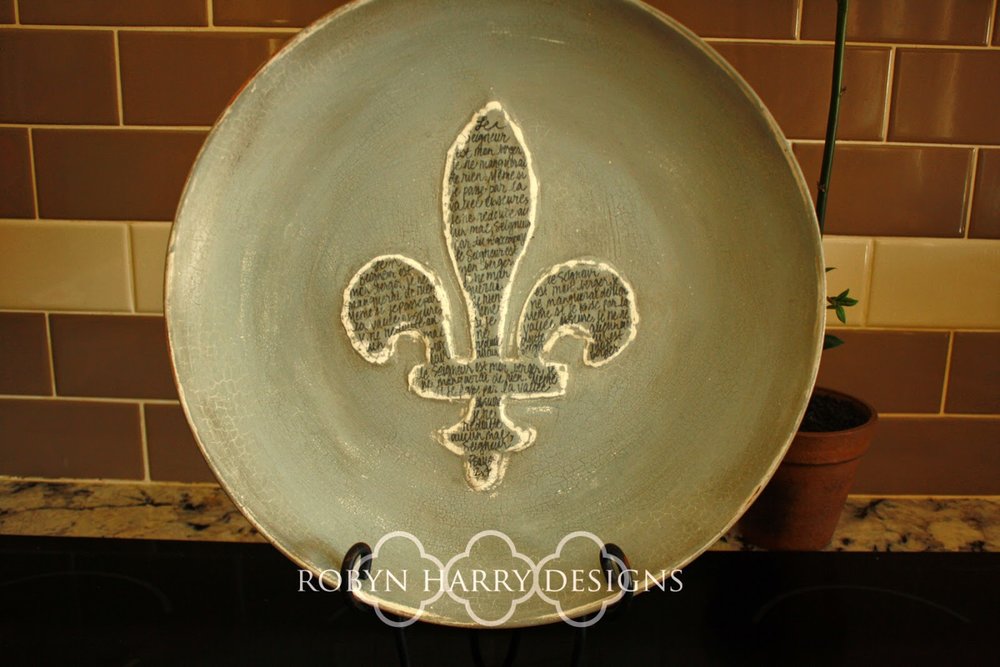
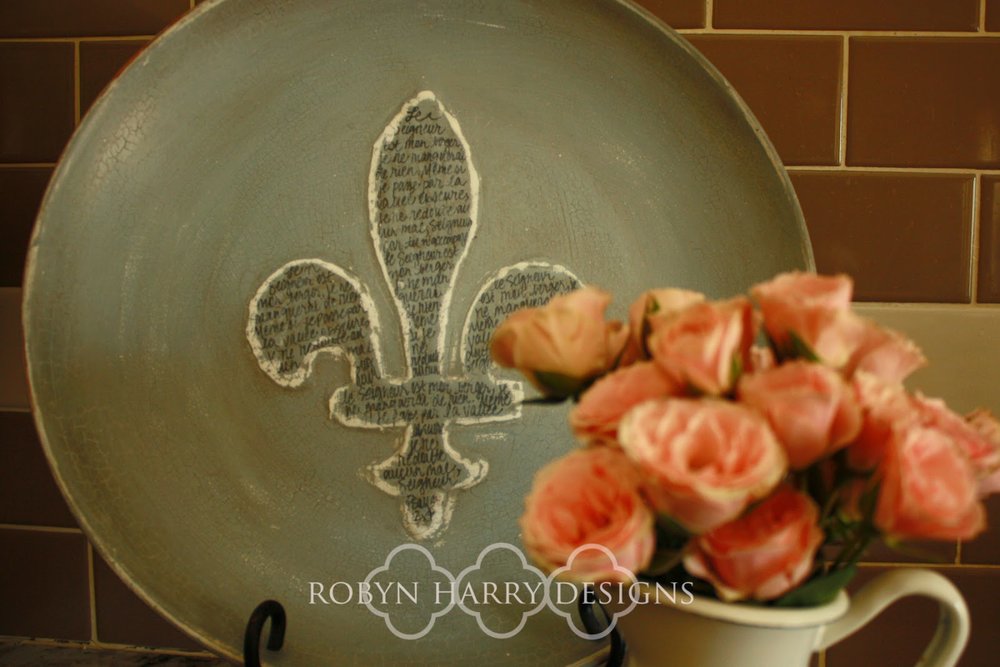
This bowl is very large and would make such a great accent piece in a kitchen, dining room, or bookshelves.
The colors are all quite neutral, so I think it would be a great fit for any color scheme.
All of the Miss Mustard Seed Milk Paint line is nontoxic, though I still wouldn't recommend using this piece for food. I think I'm going to put it up in my booth at Old Time Antiques. If you are local, you should absolutely check it out!
Facelift Friday | Let's try this again.
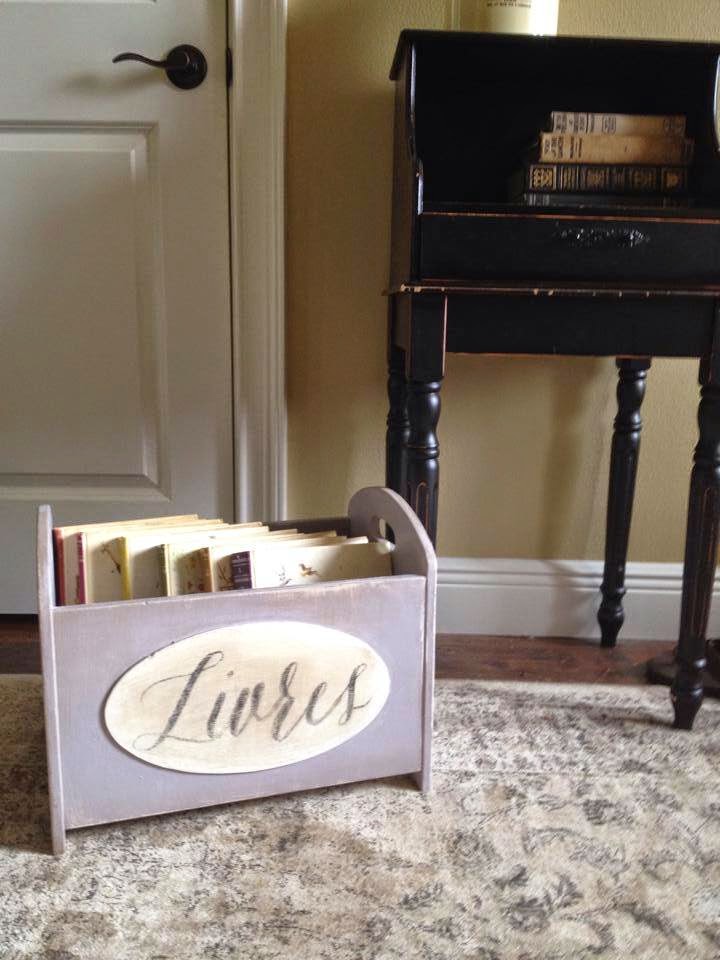
I found this awesome toy box crate at a thrift shop in the spring. It was a bright red, but I saw the amazing potential. It had casters at one time, so it was already perfectly outfitted to add them again. I first painted it in ASCP Paloma and added the French word for books, "livres." Well, it turns out that not everyone is a Francophile like me. (How?) I had it in my shoppe for $18 for months and no one touched it. Not every style suits every person, right? So, I brought it home with me to give it yet another facelift.
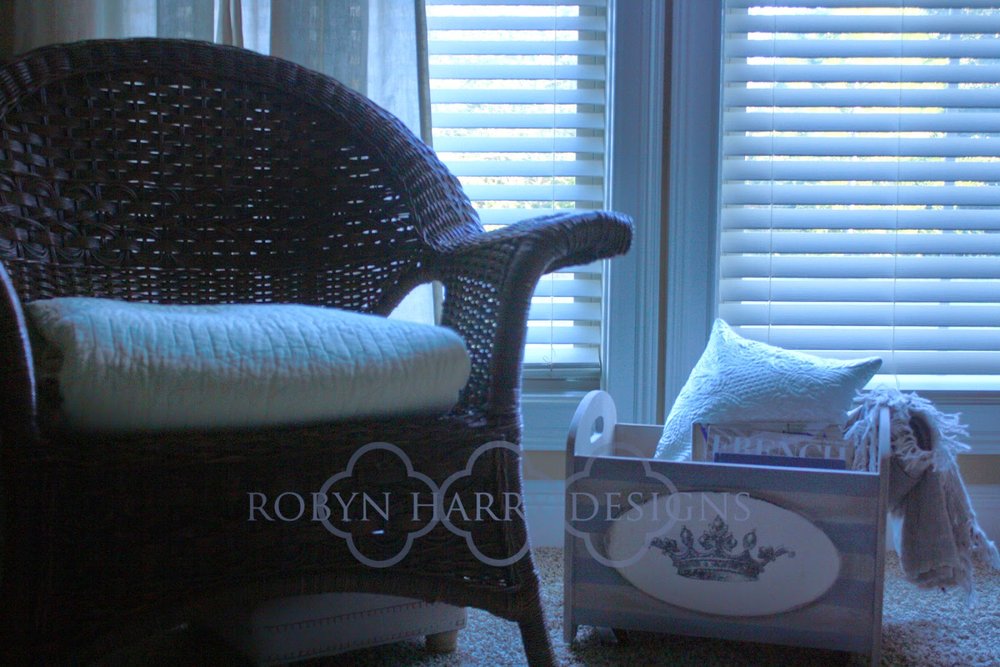
I painted the entire thing in MMSMP Grain Sack. It is a creamy tan color that I just love; perfect and neutral.
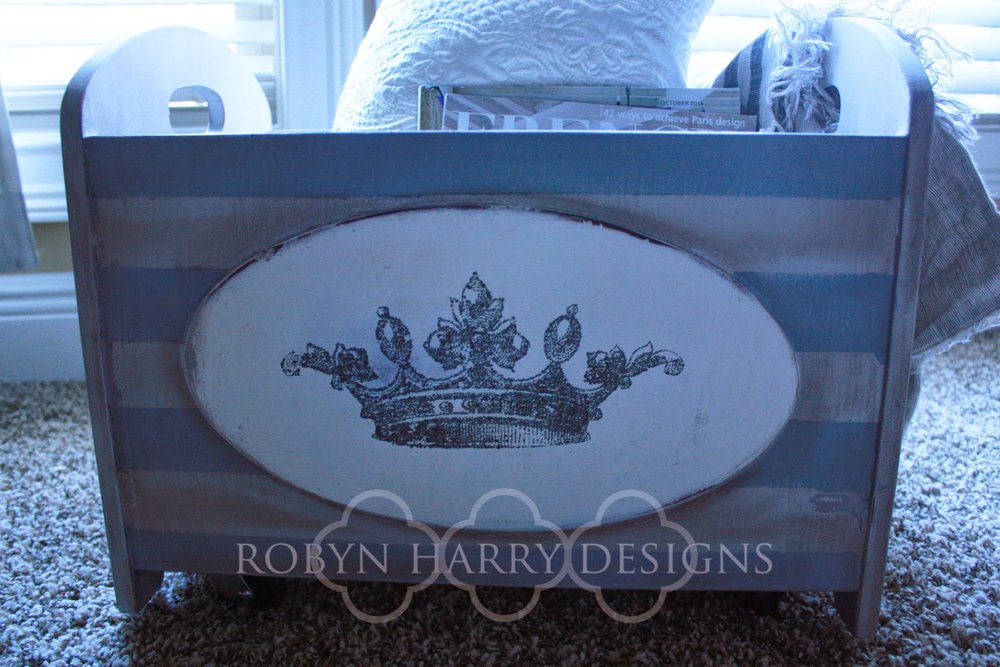
I added stripes in Shutter Gray to the front and back panels. I am loving stripes. I think they are classic.
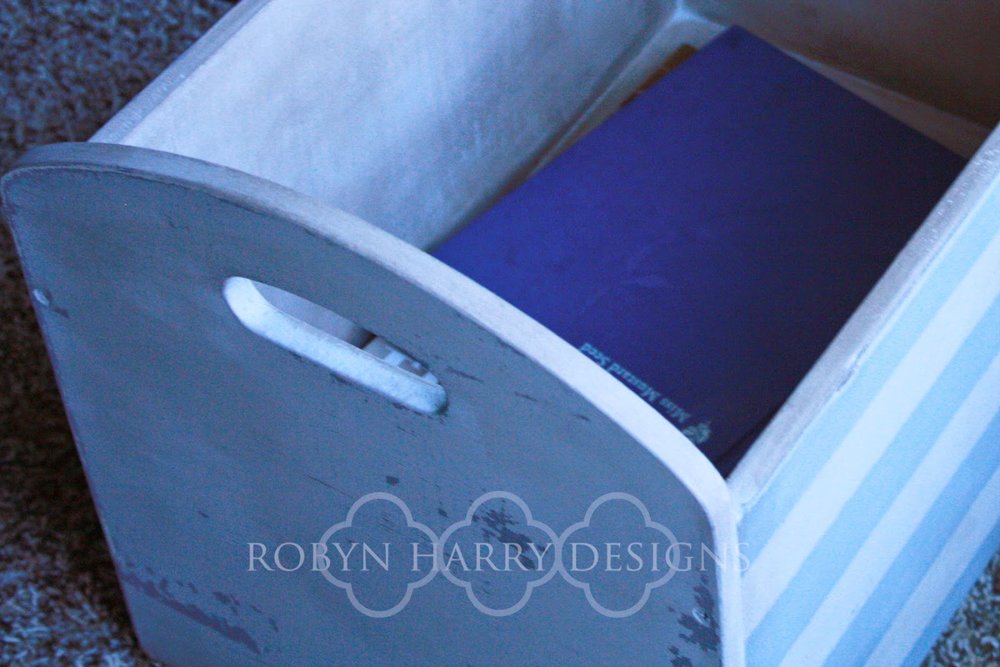
Oh! And remember I mentioned the casters? I finally got around to adding them. I love adding just a bit off industrial decor to elegant French Country.
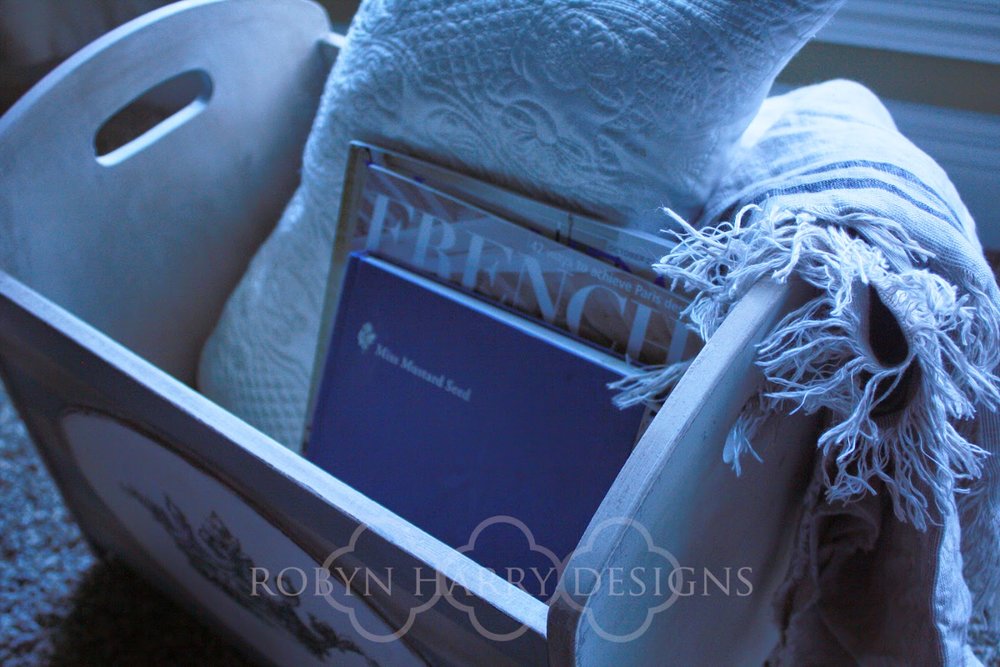
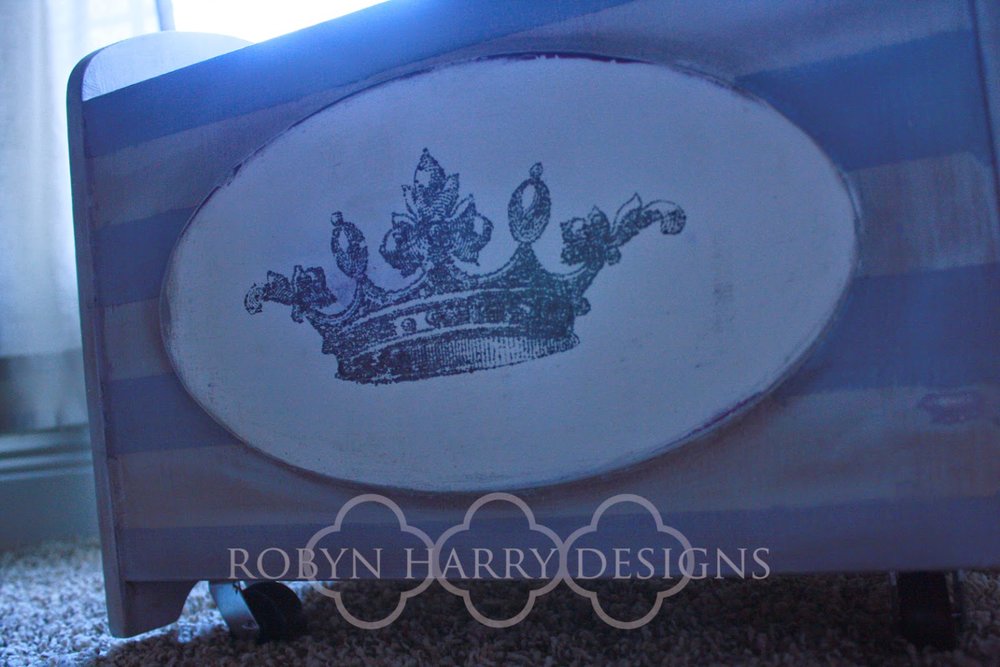
I covered the entire piece with MMSMP Antiquing Wax, except for the oval piece in front. (I'm still undecided about that part.)
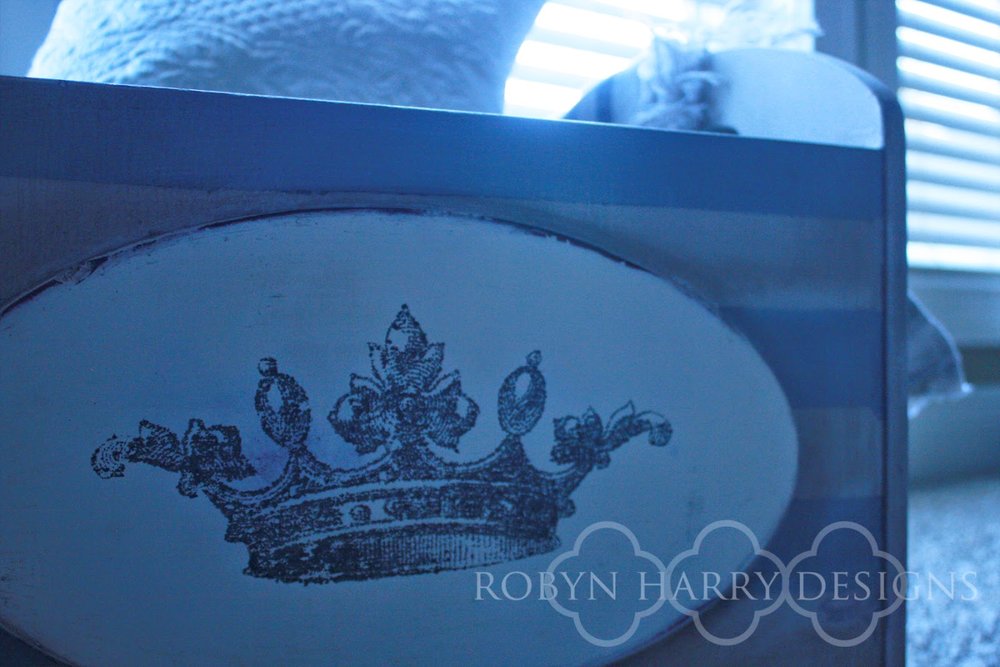
For the graphics on this time around, I used a lovely vintage crown instead of a French word that no one seemed to get. ;)
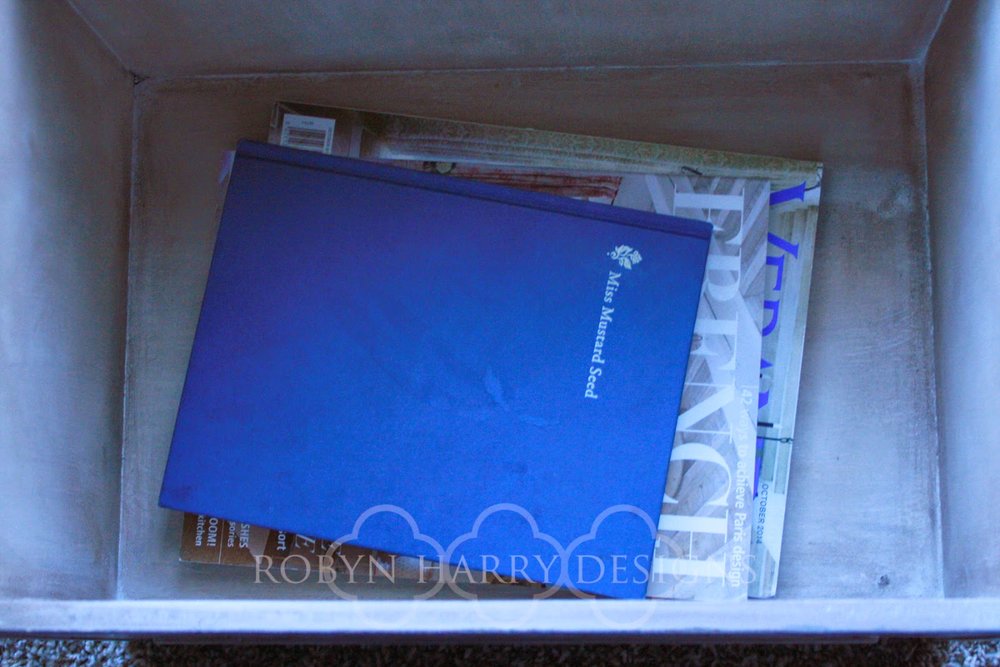
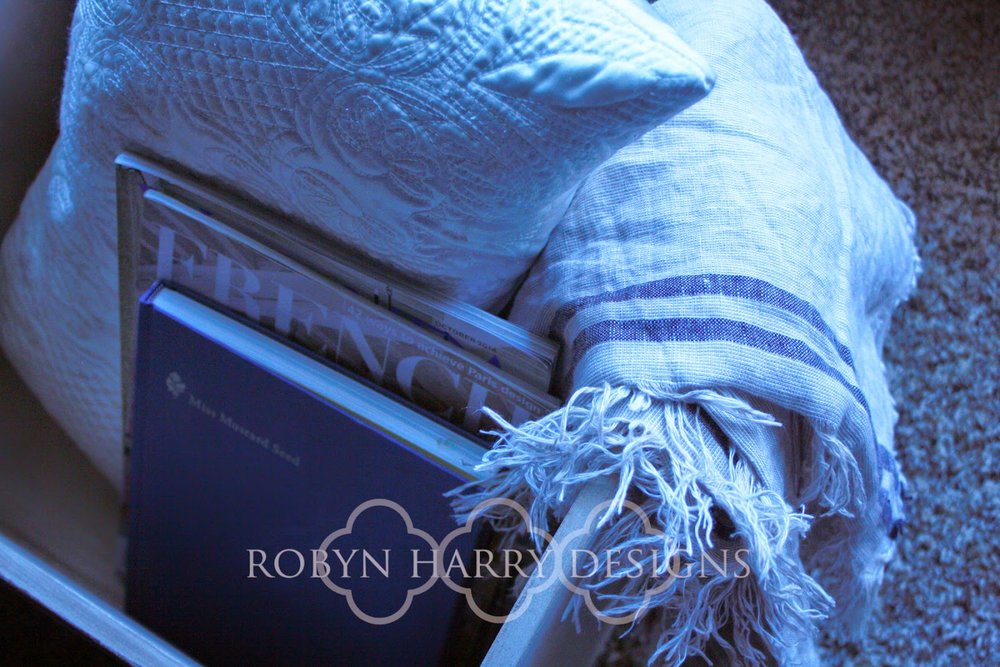
I think this time the piece is much more versatile. It would be excellent in a living room holding all of your throws for the winter. It would also be lovely in a den holding books and so sweet in a kid's room. Where would you use this piece?
Facelift Friday | Handmade Stool
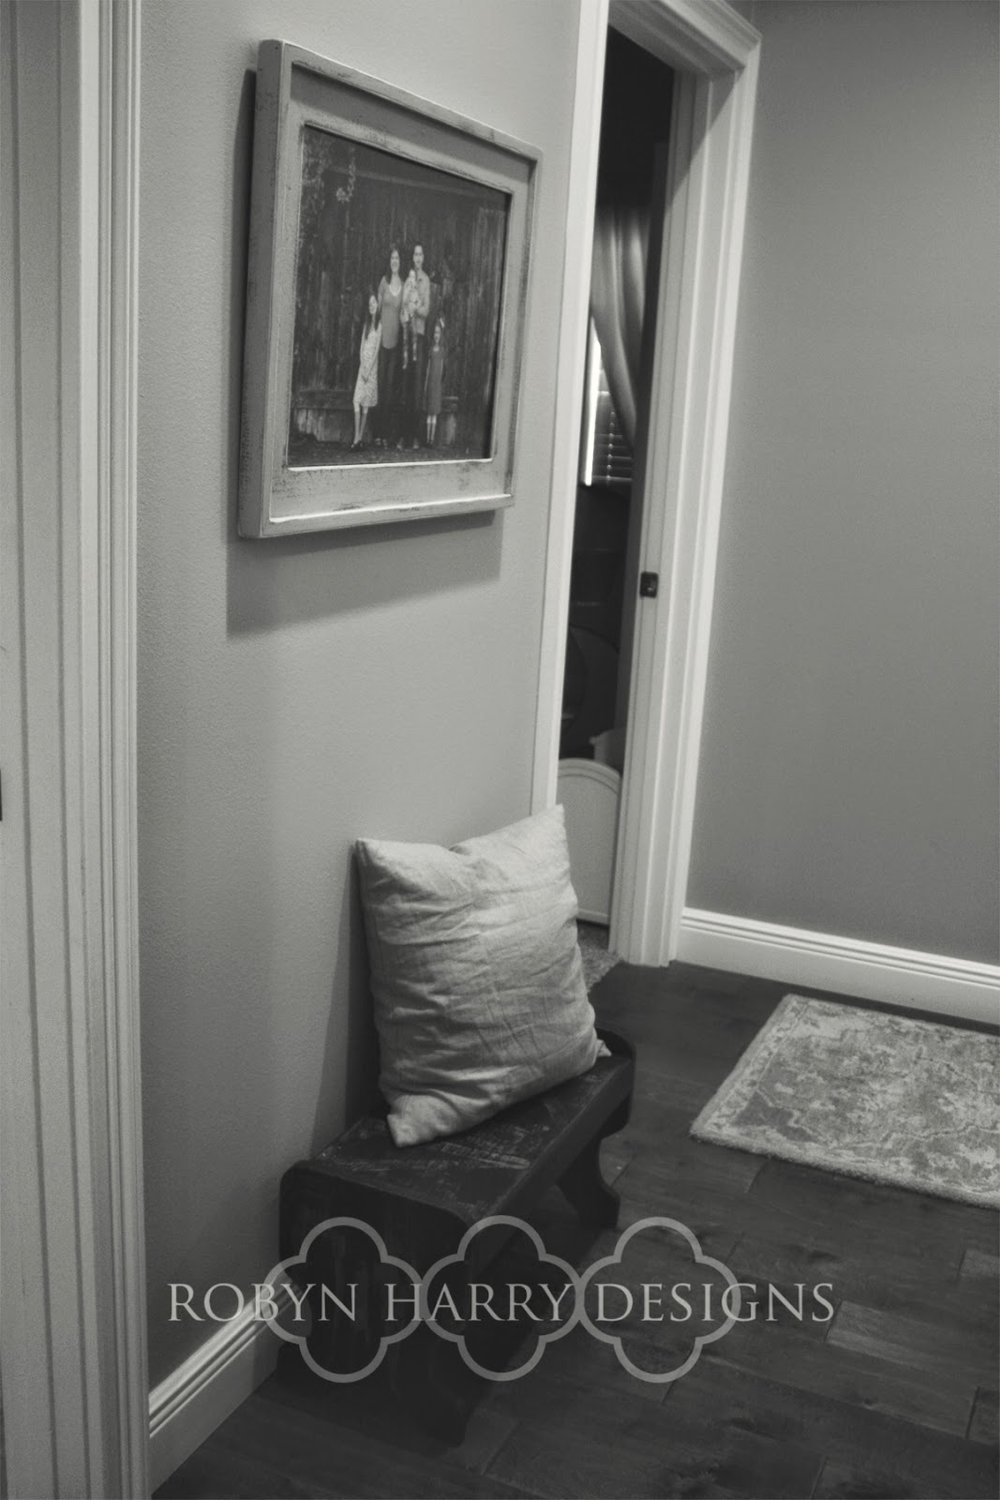
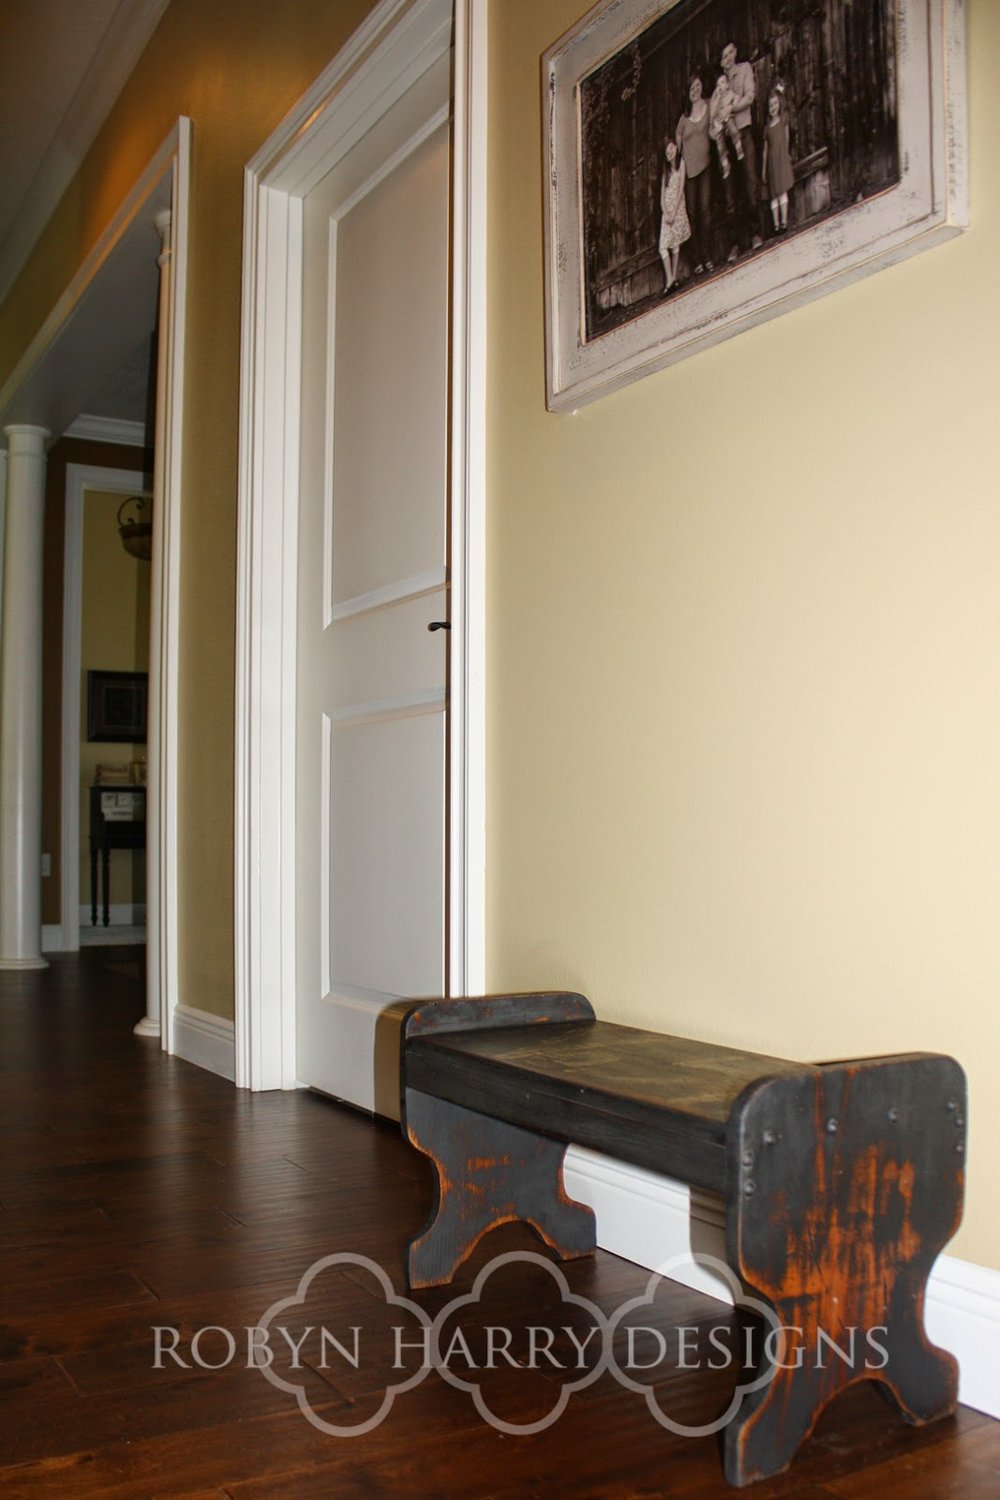
I picked up this stool at a local mission for a super great deal. From the looks of the construction and pieces used, I am guessing it was handmade.
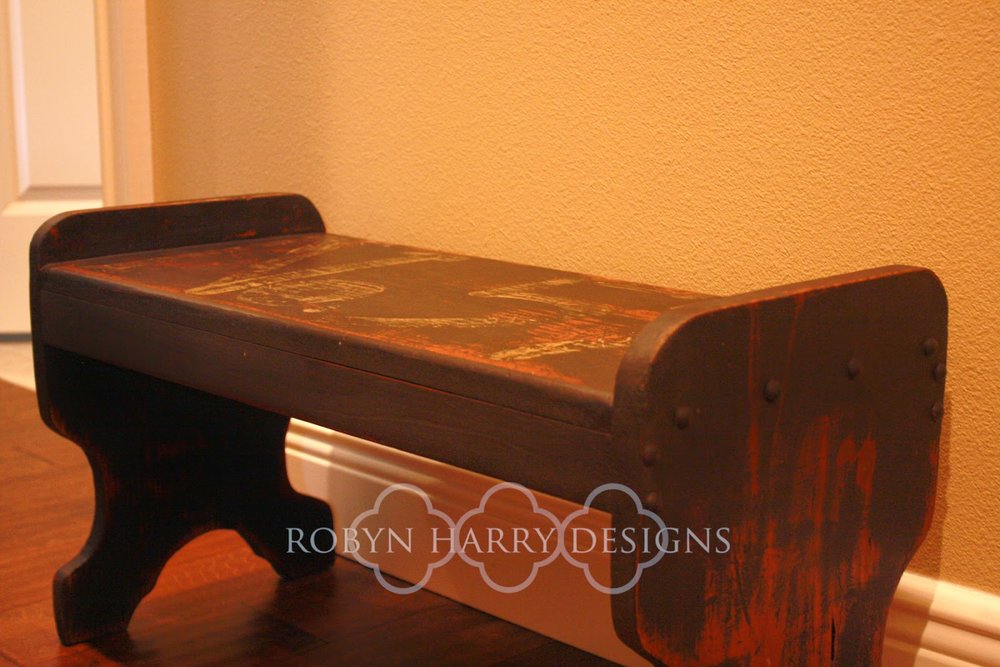
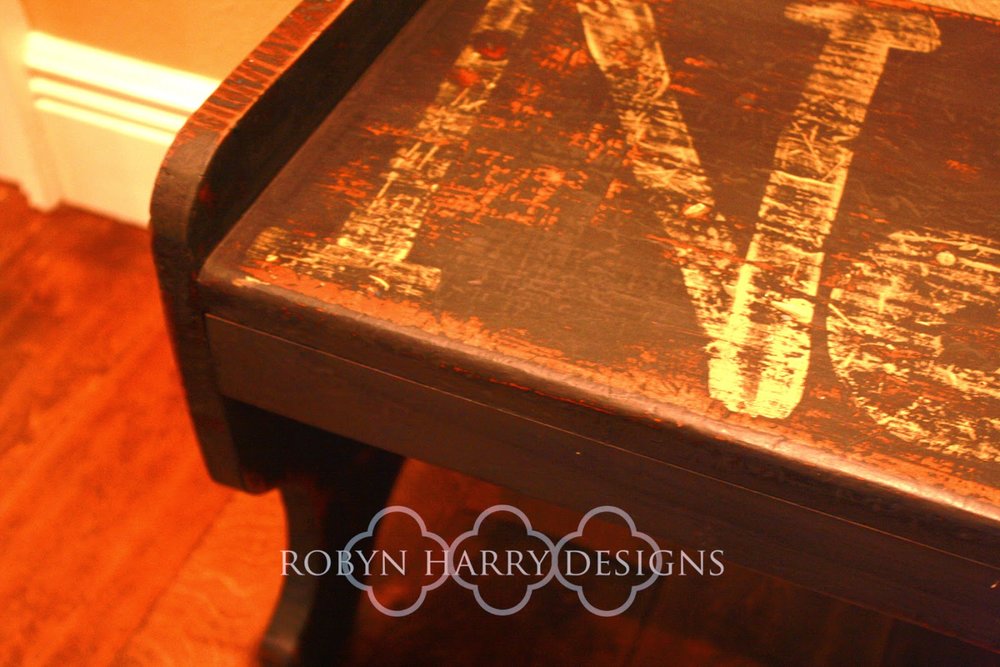
The legs of this stool are very unique. I've never seen anything quite like them.
The first step in reviving this gem was giving it a light coat of Miss Mustard Seed's milk paint in typewriter.
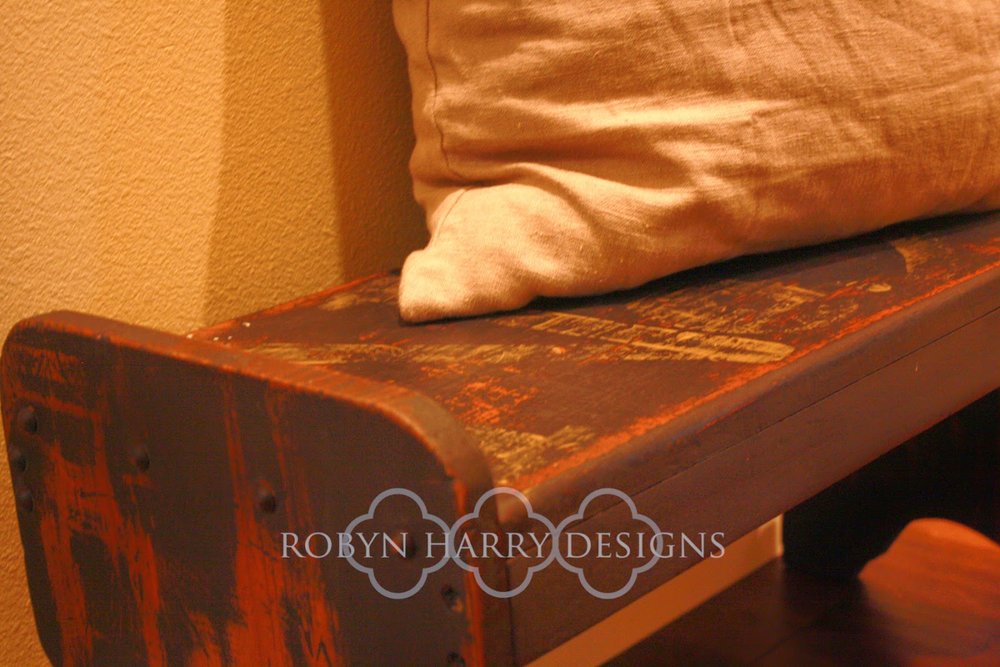
Next, I hand painted some simple text on top mimicking a vintage typewriter font I'd found online. I used acrylic paint in gold for this.
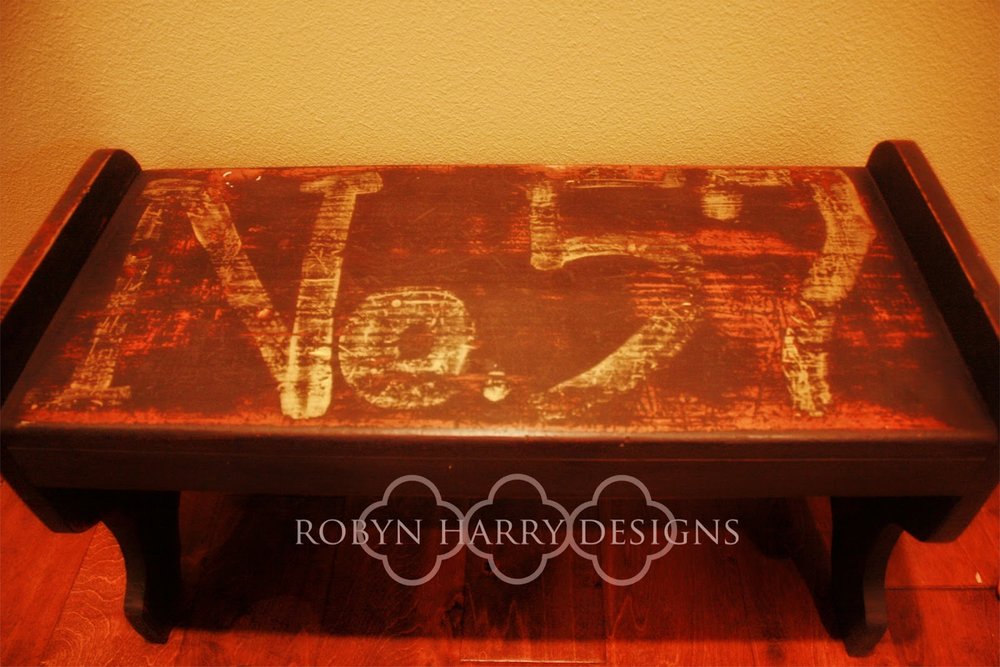
I found the lettering looking too perfect, so I roughed it up quite a bit using a medium grade sandpaper. I also sanded the complete piece using my electric sander and fine grit paper.

I used Miss Mustard Seed's hemp oil on the entire piece to bring out the natural wood and soften the overall look. I love how that wood grain stands out.
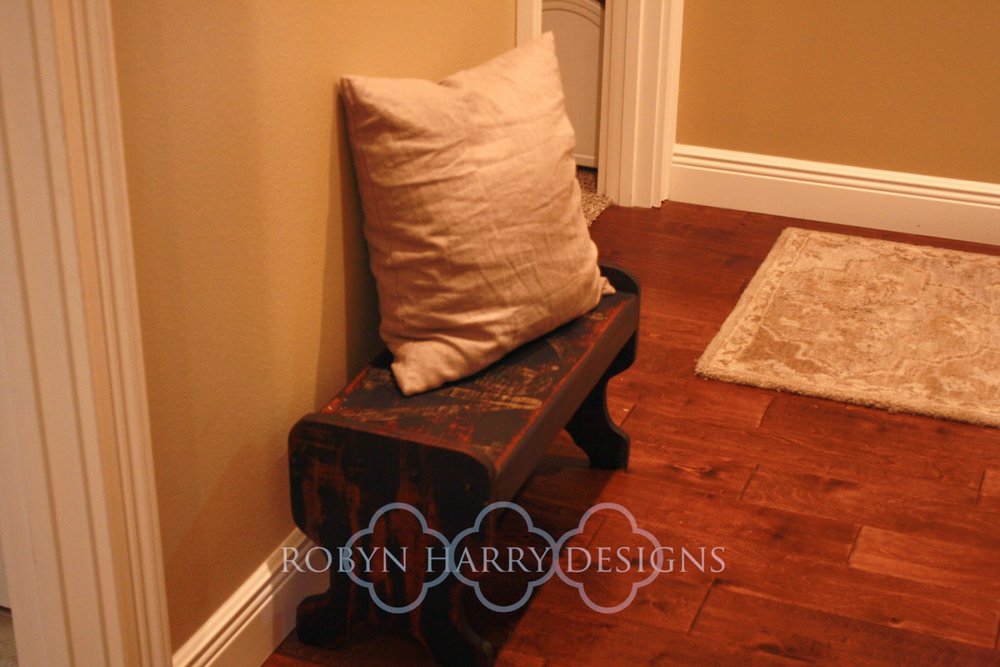
Finally, I completed the piece with one coat of antique wax as well as a single coat of furniture wax. I am pleasantly surprised with how much I ended up liking this piece. I set it up right outside of our laundry room/garage entry and I am thinking it's an excellent place for children to sit and put their shoes on. I also think it would be a great nightstand for an industrial chic bedroom.
Room Refresh | Better flow in the dining room.
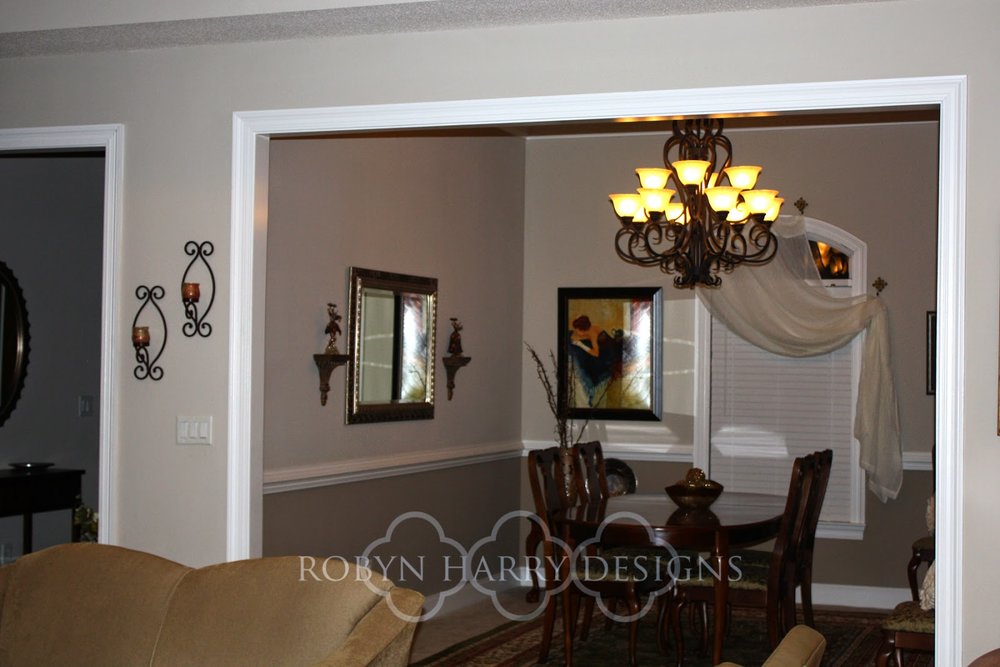
Thanks for joining me again for the before and afters of my first room refresh. Today I will be sharing the changes we made in the dining room. I think the dining room ended up being my favorite of the four spaces we converted. My client loved most everything about her dining room except for the flow of the space.

Because the room is long and a bit narrow, her husband felt angling the hutch in the corner was the best use of space. In fact, it ended up having the opposite effect.

She and I moved the hutch straight against the right wall with the help of these awesome furniture sliders. She was pleasantly surprised with the result. {I hope her husband will be as well!!}

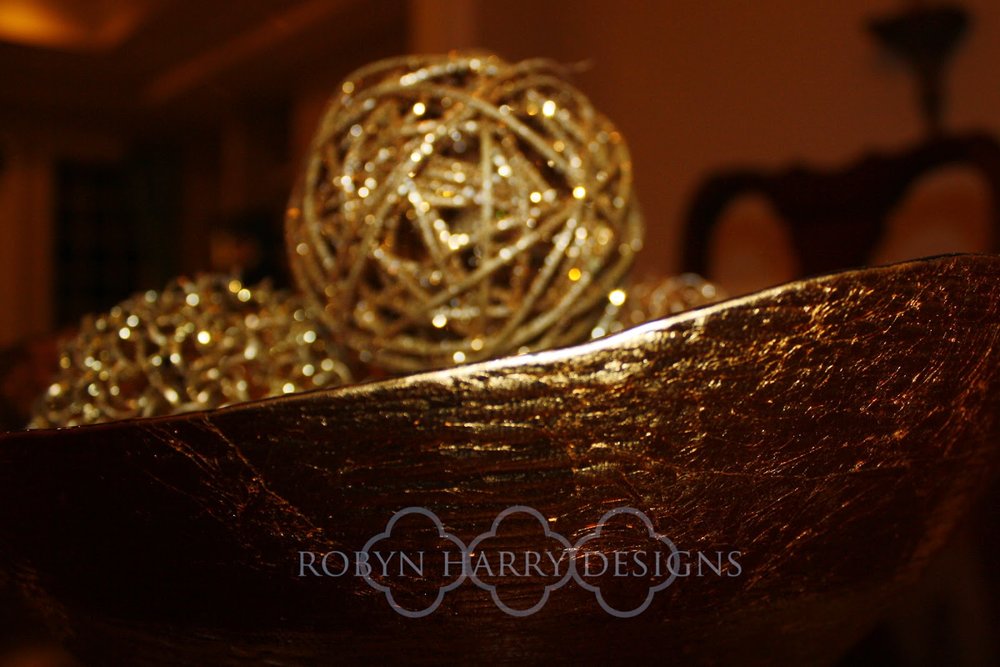
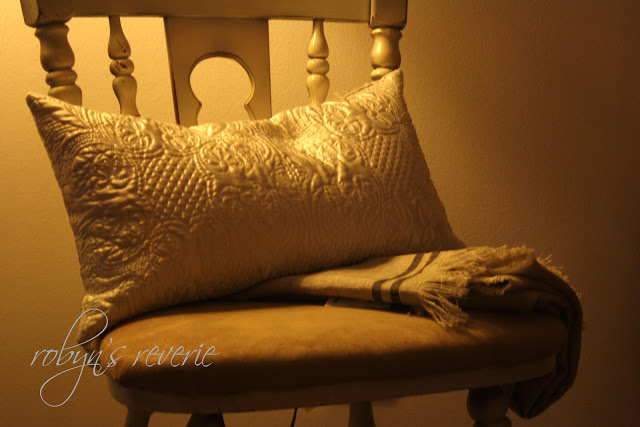
Another tip to create more space is to remove the end chairs from the dining room table. You can store them away until you need them or you can add some lovely pillows and use them as accents in your room.

My client chose the latter and I am so happy she did. I think the result is quite stunning.
Next, we had only minor changes to make in the dining room. The first thing I thought would improve the feel was to move the Venetian figurines a bit lower and closer to the mirror.

This gorgeous painting is special to my client. Previously, it was centered on one of the long walls and felt lost. We moved it to a smaller wall on the side of the window and I feel it gets the deserved attention in this space.
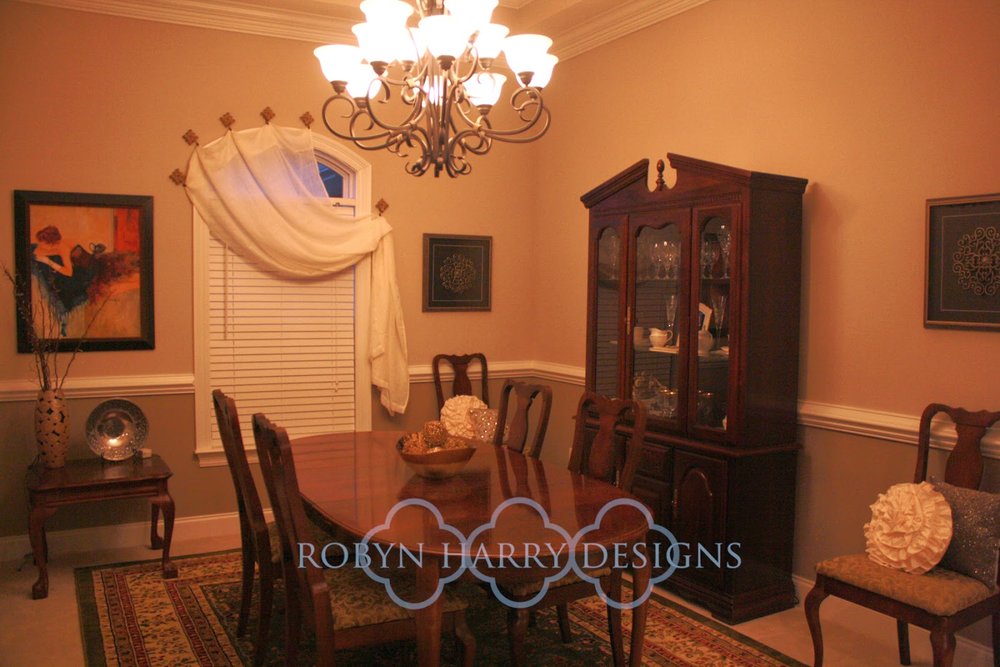
Do you see the cute little Queen Anne table under this painting? It was one of a pair that was acquired by my client's husband prior to their living together. My client felt they were a bit outdated. If you have similar tables and have the same sentiments, a super simple fix is to remove the glass tops. Voila! Easy.

Another common challenge for my clients is window treatments. I would suggest to you to think a bit outside of the box when it comes to this. My client felt her only option was to leave the window as is. I sent her pictures of various treatments for arched windows and she chose this elegant swag.
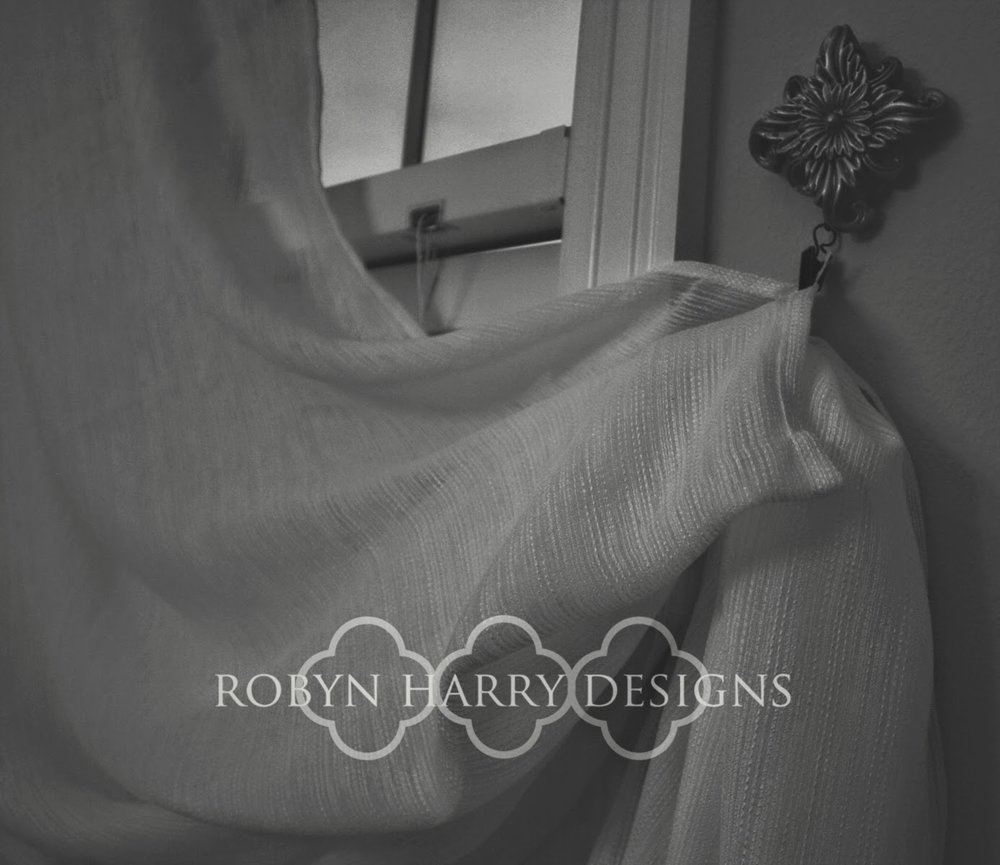
The voile curtain is held in place with the most lovely tiebacks. I simply gave my client the ideas. She purchased exactly what she wanted and installed it herself. In fact, the longer I worked with her, the more confident and independent she became in transforming her home into a haven.
That is exactly what I desire to accomplish when working with my clients. My hope is to empower each of them with the tips and suggestions I give. I want to be able to give them the freedom to add pieces to each room as their schedule and their budget permit.
Naptime Project | Recovering the old chair.
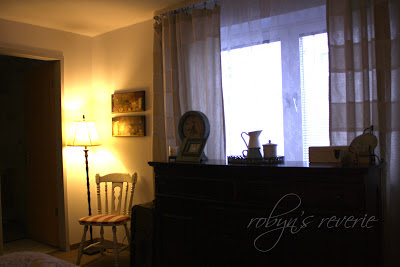
Recently, we moved a desk out of our bedroom to the family/dining area. We didn't move the chair because we just pull one from the table as we need it. And as you will shortly see, it was quite an eyesore.
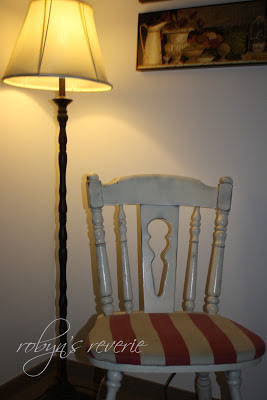
Here is our lovely chair before the makeover. This chair was picked up curbside after a morning of garage sale-ing with my dearest friend in Grand Forks. I covered in a sunbrella red cabana stripe fabric. We intended to use it in the school/playroom in Newport, so I thought something water resistant would be smart. It was a good fit at the time.
We've moved twice since Newport and the red striped chair has found it's way into the master bedroom. While it was tucked under the cream colored desk, I didn't mind the red stripes. But with with the displacement of the desk, this is how it appeared daily in our cream/flax/brown bedroom. No, thanks.

Enter the woolworth faux suede blanket. I had a hard time cutting this, but I resolved that we have too many throws and we are moving to the deep south.

I basically mimicked the shape of the seat.
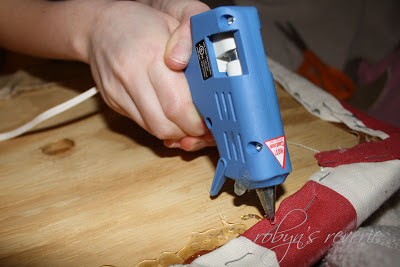
And then I got to hot gluing with a lovely helper.

My little napper woke up and I'd say he approved of the new choice in fabric.
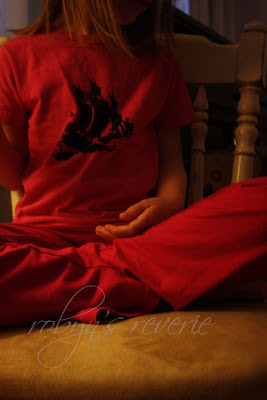
My not so little one also approved.
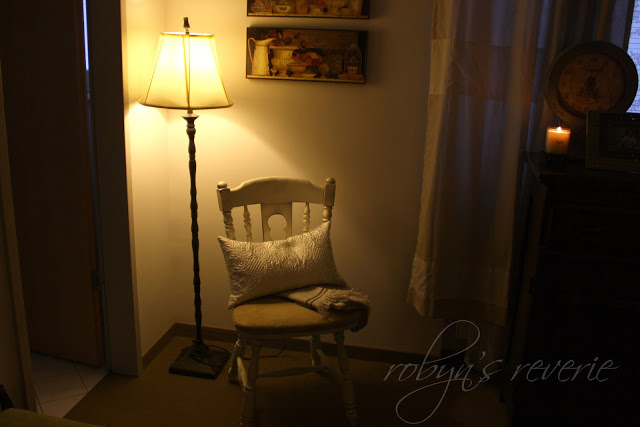
Here it is completed in it's new home. I love how it fits right in with the rest of our decor.

One last look.
Have a wonderful Monday!
Valentine Banners + A Ribbon Rosette Tutorial
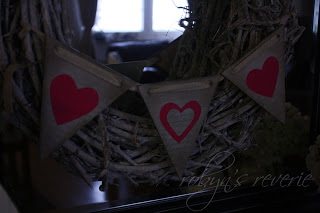

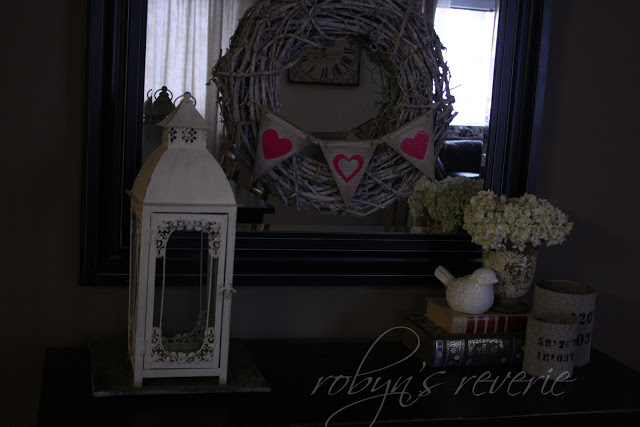

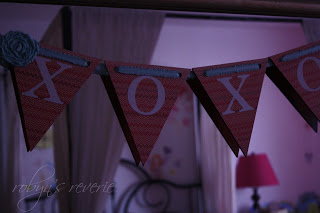

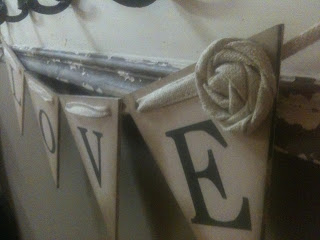
These lovely banners were sold for a limited time in my etsy shoppe this year for Valentine's Day. On each banner, I featured a delicate ribbon rosette. I thought I'd share a very amateur tutorial on how to make these sweet little rosettes.
You will need ribbon, double sided adhesive and a piece of cardstock.
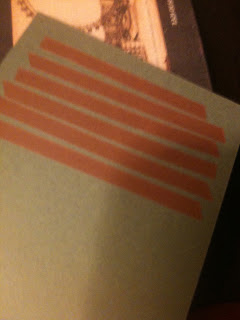
1. Start by lining the piece of cardstock with double sided adhesive. Make the sticky space large enough to accommodate the desired size of your rosette.
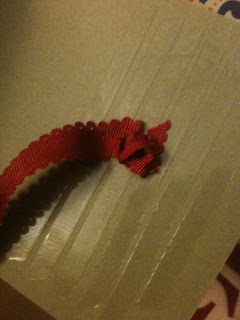
2. Tie a knot at the end of your ribbon. This will be the center of your rosette.

3. Start twisting and wrapping. As you twist the ribbon, wrap it continuously around the knotted center.
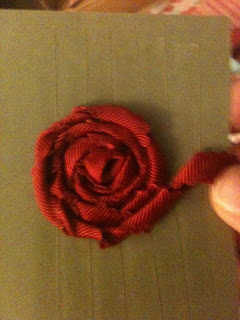
4. Keep twisting and wrapping until your rosette is the size you desire.

5. Trim the ribbon and tuck the end under the completed rosette.
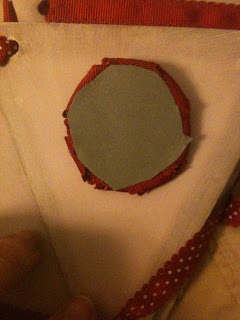
6. Trim away all the excess cardstock until you can no longer see it from the front. You will place your adhesive on the cardstock backing of the rosette. It is now ready for your project!
Happy to be sharing at Feathered Nest Friday on French Country Cottage!
Valentine's Day Decor | String Hearts

I originally found this idea via Pinterest. It led me to Camilla's lovely blog, Family Chic. There you can find the directions to these simple, yet quite lovely hearts.

I swapped out the bright colors Camilla chose for something a little closer to my decor style. I picked up white and flax colored yarn at a local store. I didn't have the floral wire Camilla used, so I used a medium gauge craft wire to shape the hearts. After some trial and error, I realized I needed to wrap the wire heart with a layer of yarn before weaving the web around them. This kept the yarn webs taught with no slipping.

I love this project. It was simple enough to do with my children and they add a special touch to our living area.